12 Instagram Accounts For UI & UX Design Inspiration

Instagram is one of the best sites to find quality UX inspiration. But you need to know who to follow and which hashtags are worth browsing.

I’m hoping this article will set you on the right path with a collection of the 12 best UX accounts on Instagram. These are all very active and perfect for anyone breaking into the field, or looking to expand their reach with more Instagram inspiration.

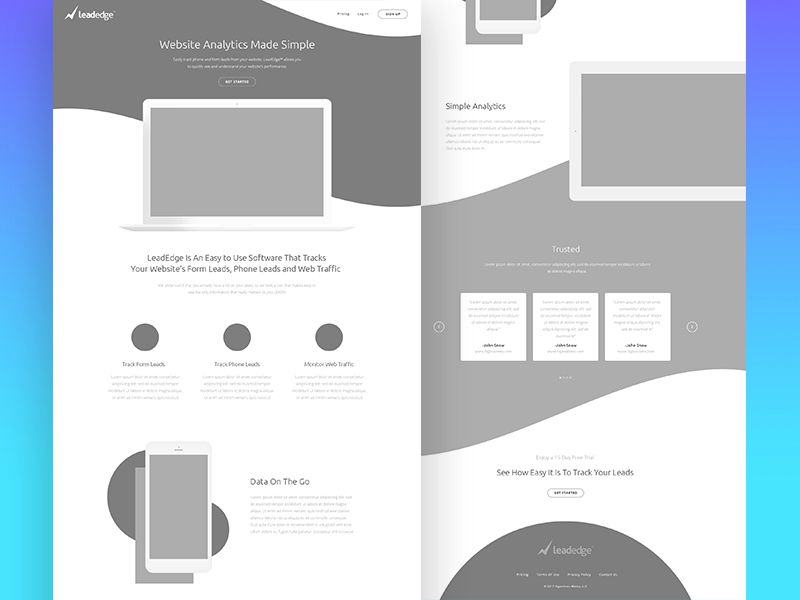
1. @ux_ui_wireframes

uiux wireframe instagram

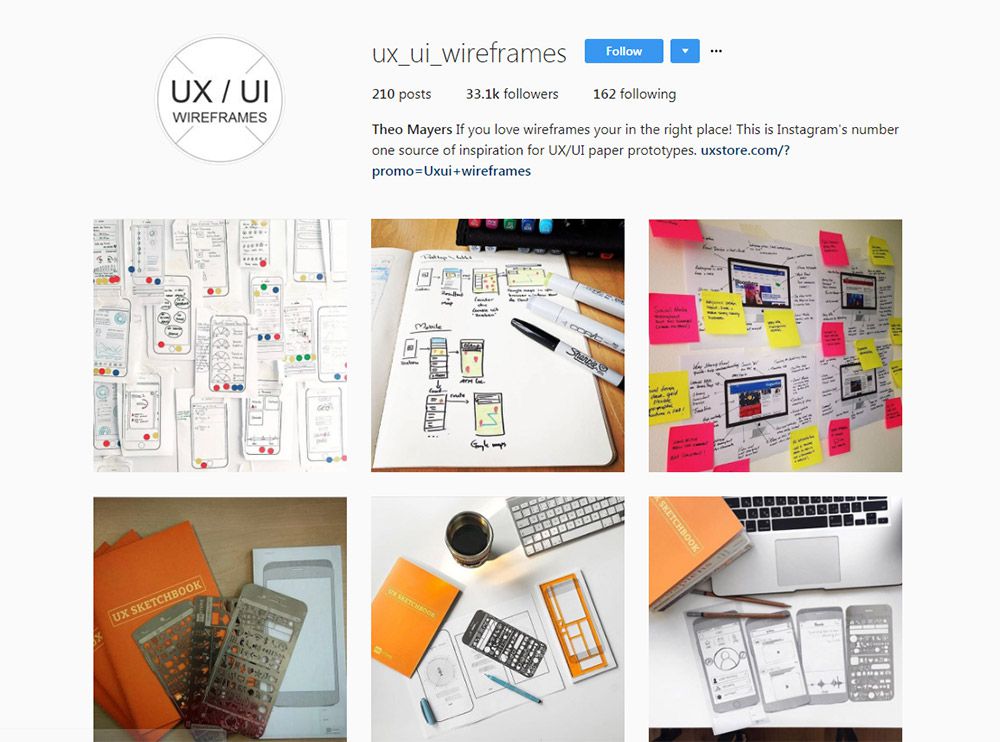
My absolute favorite account is @ux_ui_wireframes and it’s been around for years now.

New posts are frequently added, and many of them are sourced from designer accounts through hashtags. So this works like a curation resource where the account owner connects with other designers and asks if they can republish the photo on their account.

Naturally this draws more attention to the designer’s work and gives you a bunch of diverse UX inspiration. Cool stuff!

2. @uxdesignmastery

ux design mastery

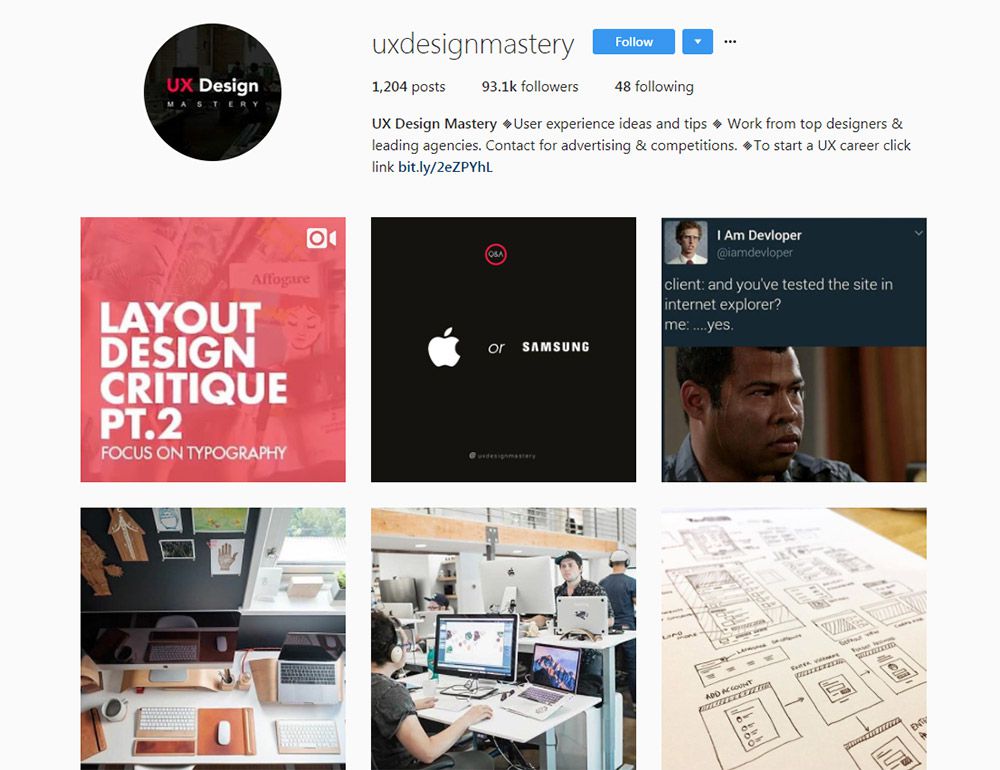
Here’s another one I really like that’s pushing just about 100k followers.

The @uxdesignmastery account comes from the main website offering tutorials and courses on this topic. So their photos are meant to guide you towards the site and increase users while offering some cool inspiration.

New UX designers will find this incredibly valuable since the website is chock full of knowledge. But even if you just follow the Instagram account you can still learn a lot from their uploads.
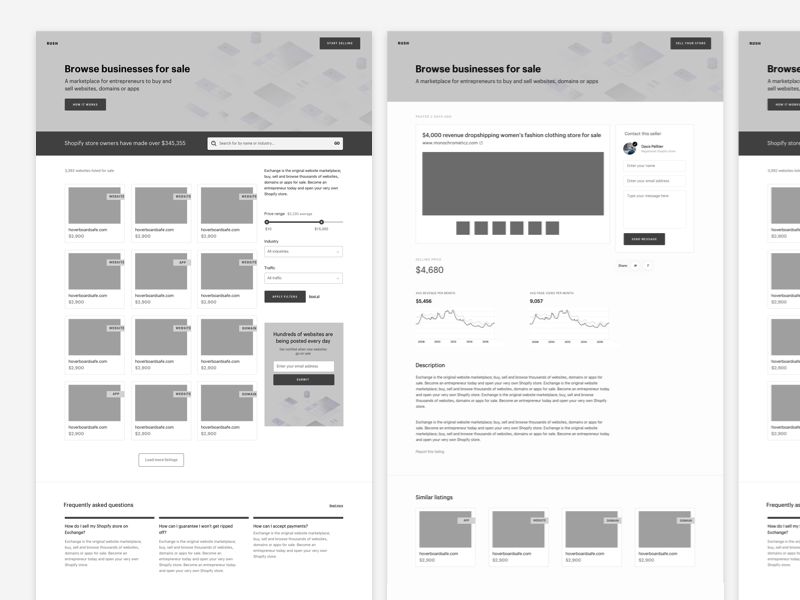
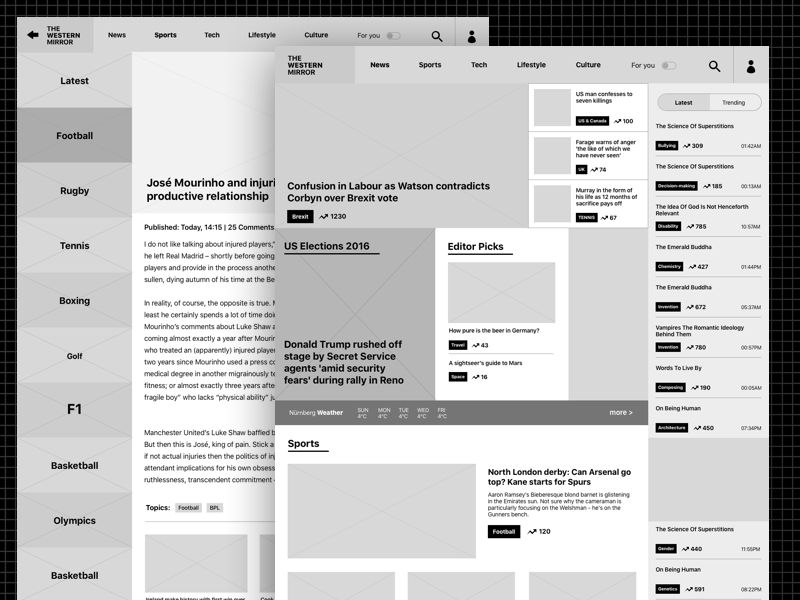
3. @wireflow

wireflow instagram page

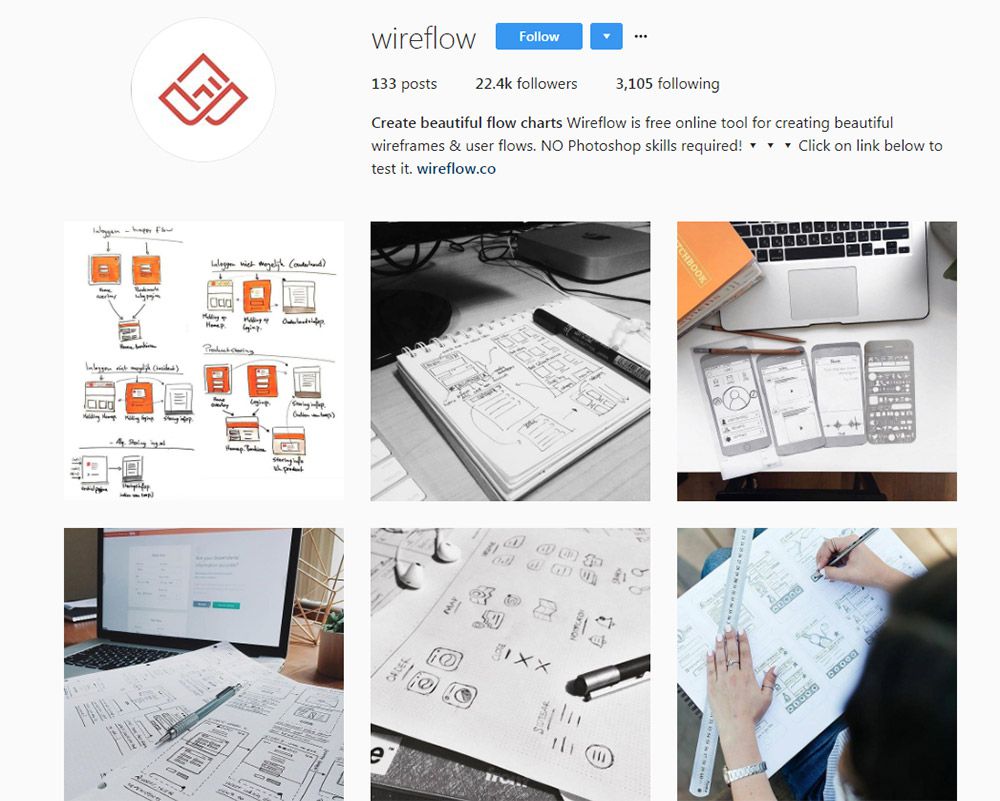
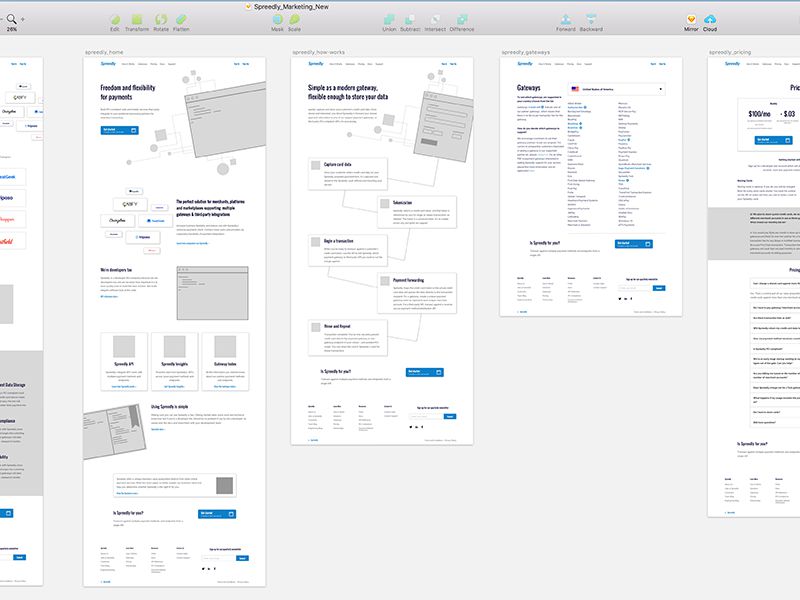
The team at @wireflow have their own Instagram account for publishing custom wireframes, prototypes, and storyboards for user flows.

Again this is managed by the main site which promotes their tool for simple flowchart management. It’s actually a great tool because you can use it freely on the web and the results are instantaneous in your browser.

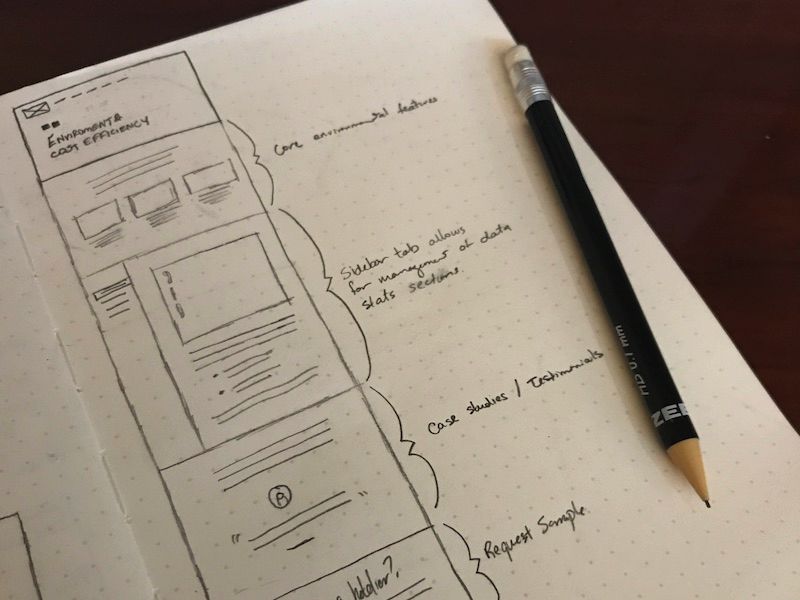
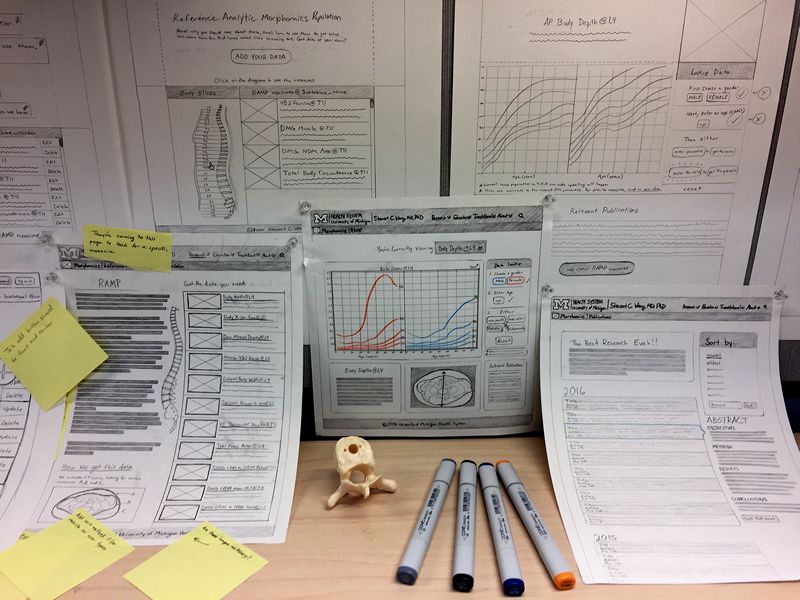
But their Instagram account goes beyond digital work to include a lot of hand-drawn wireframes and user flows. Excellent for people who prefer classic methods of brainstorming.

4. @uxpiration

uxpiration instagram

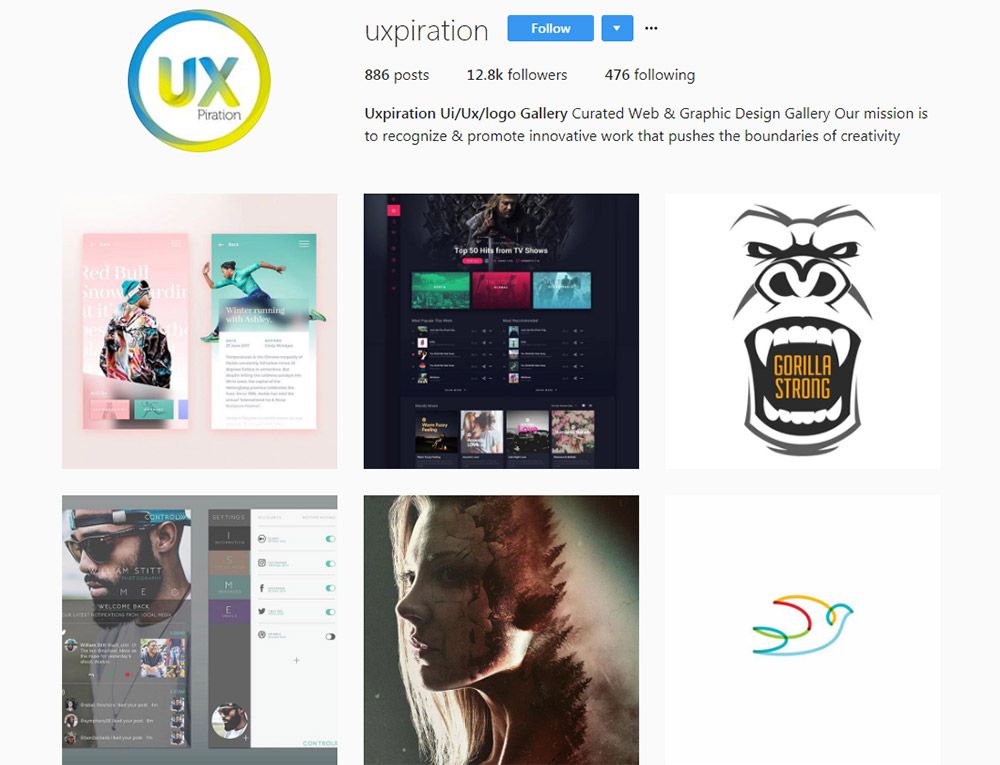
With a following of 12k designers and growing fast, one of my favorite newer accounts is @uxpiration.

It’s built solely to promote designers and help get work out there for ideas. This account almost takes on a communal feel giving back to the overall design community.

Well worth following if you want UX, UI, or general design inspiration.

5. @uxdesigns

uxdesigns instagram

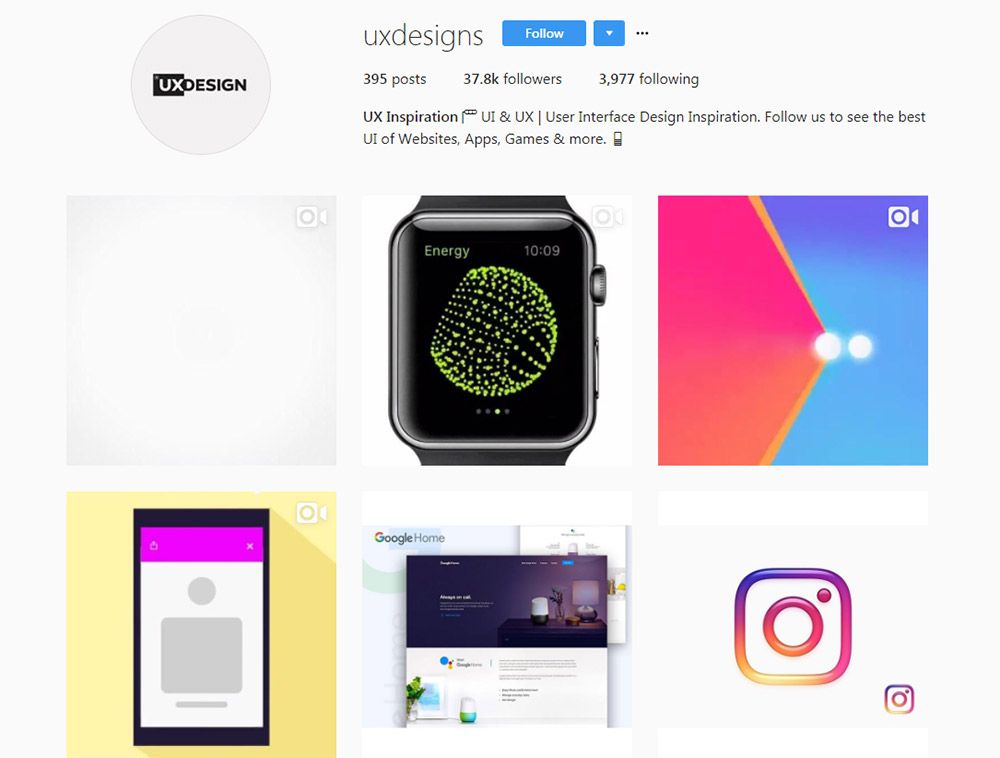
Looking for animated interface designs? Then you’ll want to follow the @uxdesigns Instagram page.

A lot of these photos are pulled from Dribbble where designers share UX animations and custom interfaces. They’re all tagged properly so you can usually find the original designer pretty quickly.

But this is one feature I like about Instagram’s support for GIFs, and it shows just how useful this account is.
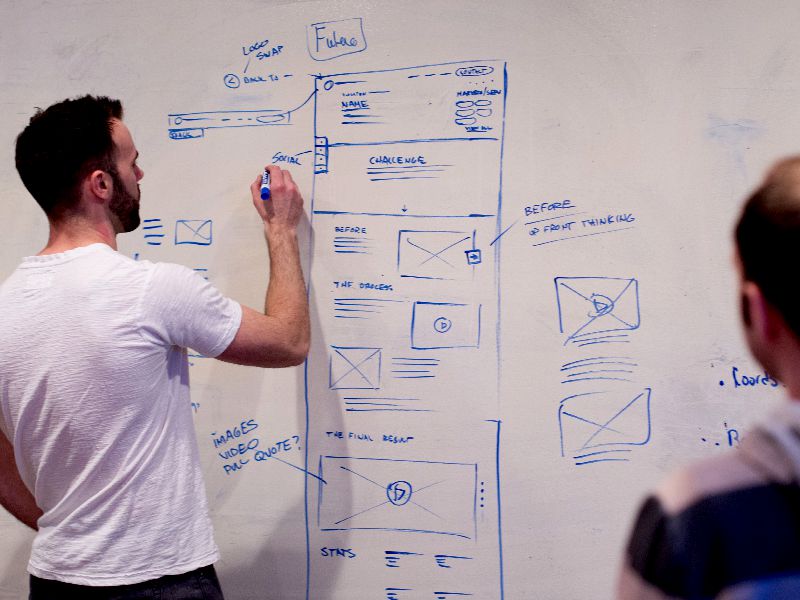
6. @humble_ux

humble ux instagram

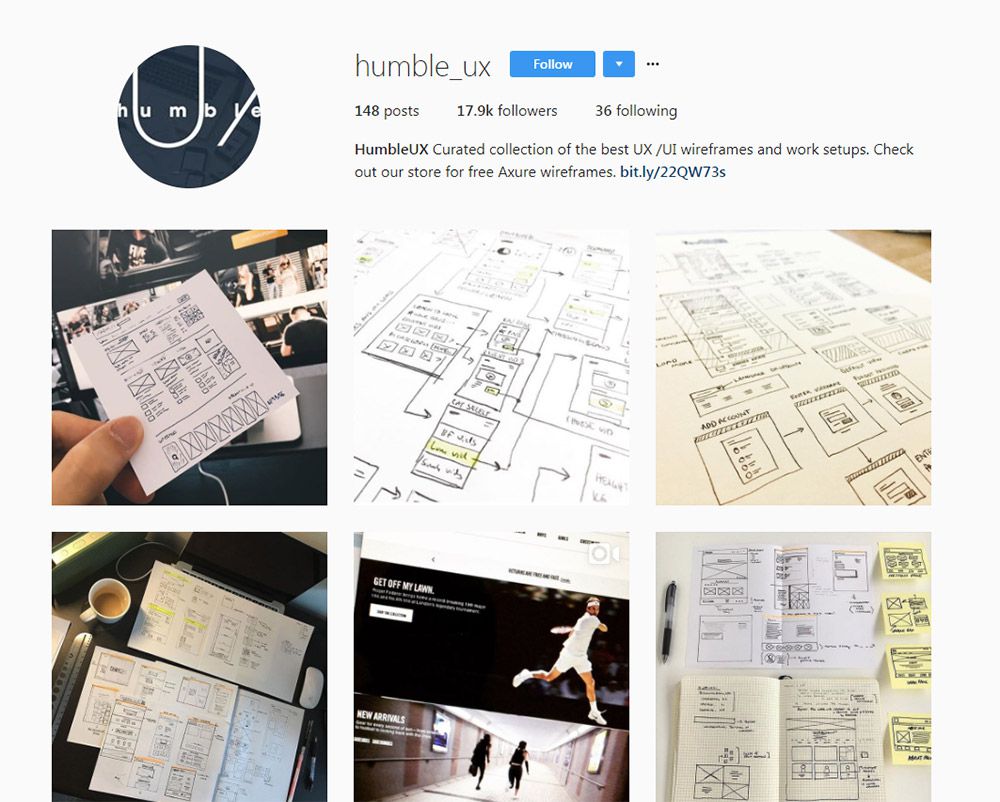
For a good mix of digital and traditional, check out @humble_ux.

It has almost 20,000 followers and over 150 posts with many new ones added every week. The photos come from the Humble UX team who curate shots from around the web and share a few of their own too.

Most designs are sketches or brainstorms on a whiteboard, so you’ll see a lot of traditional mediums. This is great for all types of UX from mobile to websites and even desktop apps too.

7. @uiuxgifs

uiuxgifs instagram

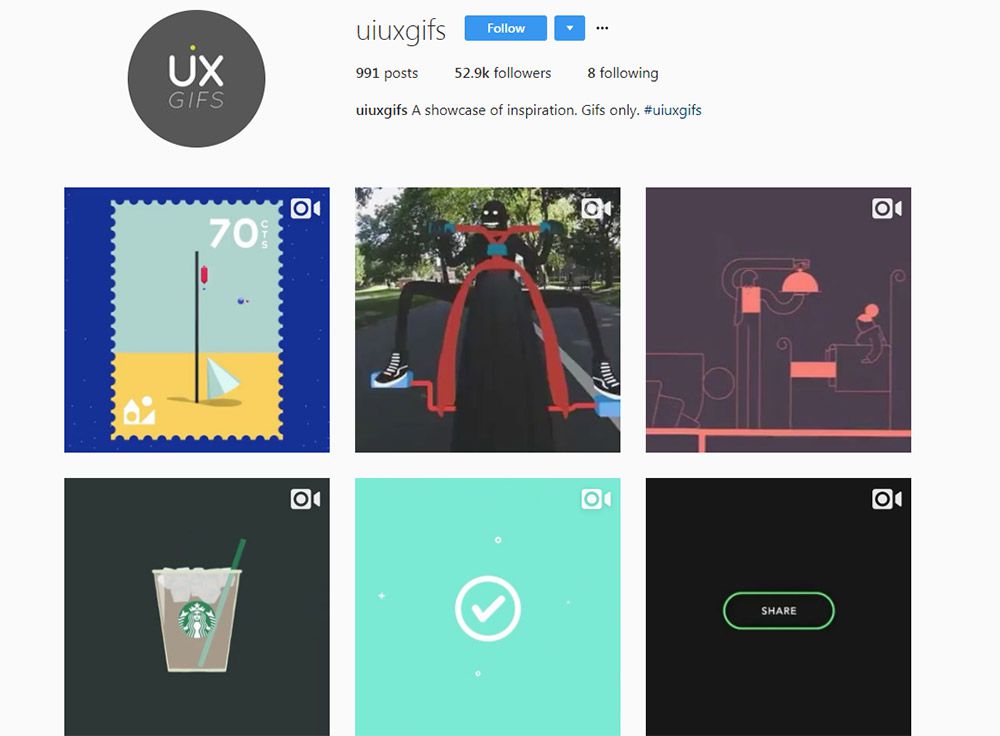
Here’s a premiere animation UX account that everyone should know about.

@uiuxgifs only publishes animated designs that feature logos, icons, or interfaces in motion. It’s a fairly large account with over 50,000 followers and they update constantly.

But the thing to note is that they publish a lot more than just interfaces. Many of their posts do center around logos and icons that animate separate from any interface, so this may not be as relevant to strict UX designers.

8. @uitrends

uitrends instagram

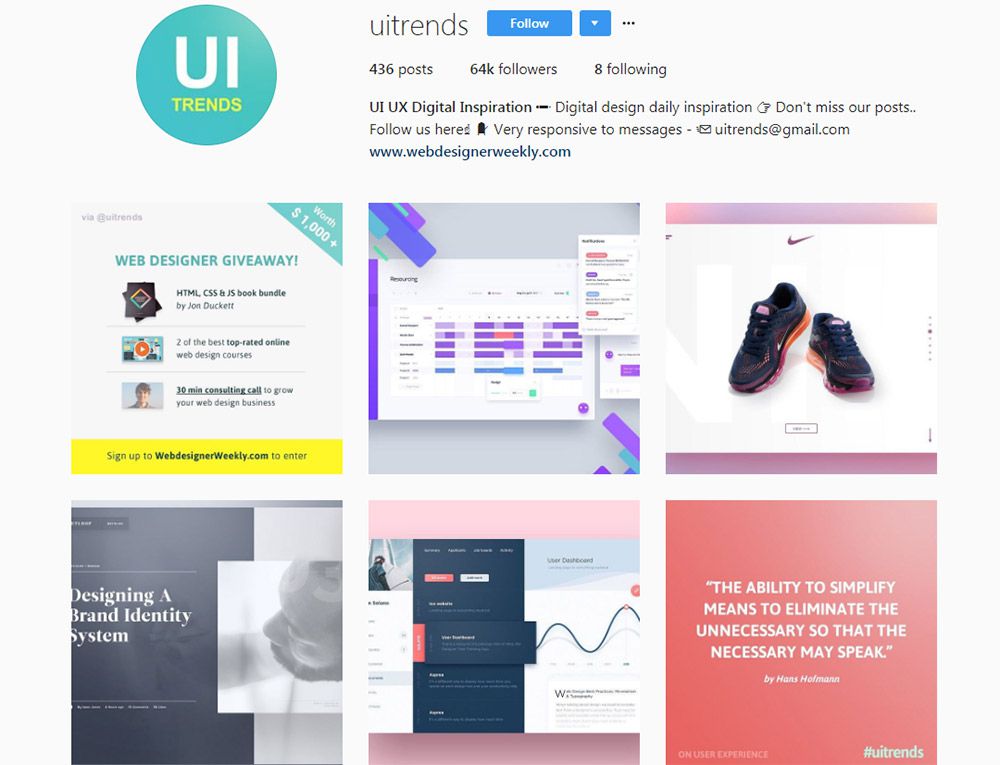
On the flip side here’s an account that only focuses on interfaces. The @uitrends Instagram is full of custom designs and even redesigns from popular websites.

Many of these are sourced from Dribbble so they all have that Dribbblification look to them.

But there are some gems mixed in, and you can find a lot of quality inspiration on this page. Plus they frequently update so it’s an excellent resource to browse for design ideas.

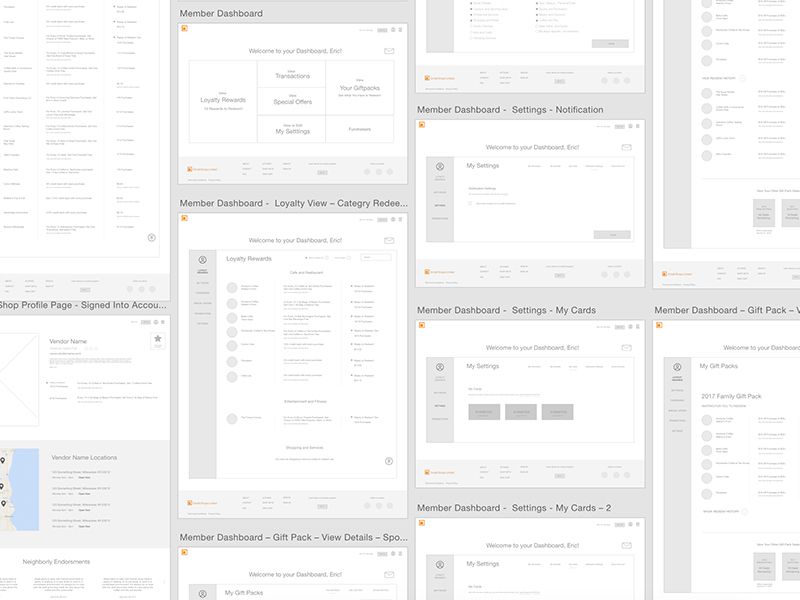
9. @interaction_design_foundation

interaction design Instagram

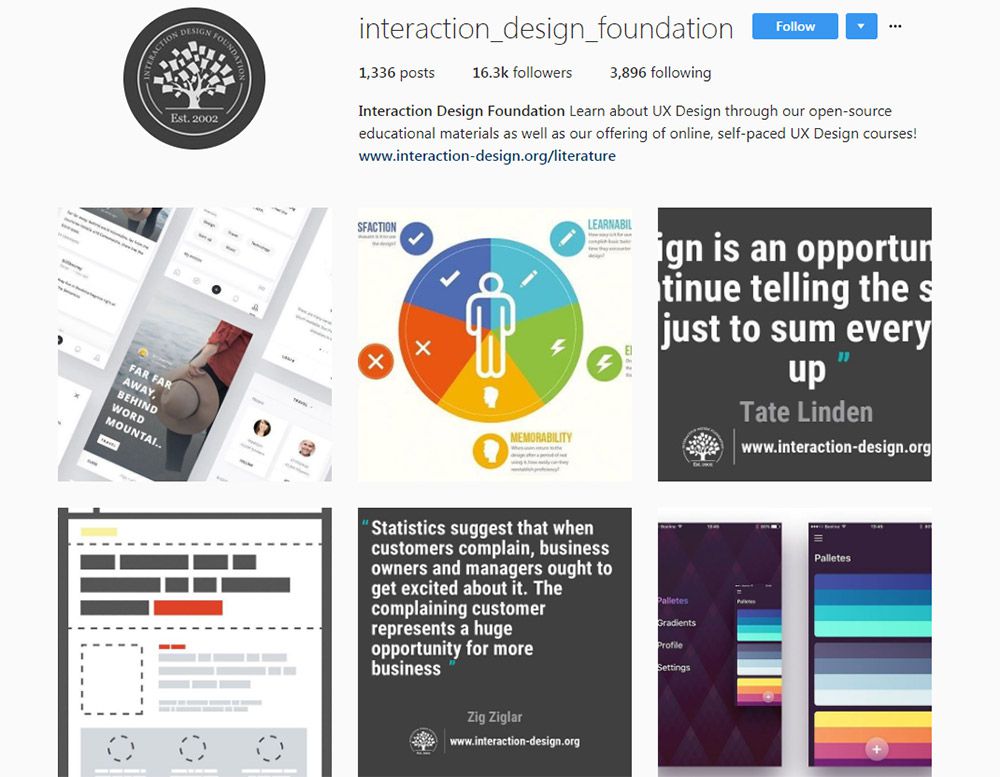
The Interaction Design Foundation offers lessons and courses in UX design along with free articles for beginners. It’s a massive resource with a ton of great learning materials on the topic of user experience.

So naturally they have an Instagram account and it’s got a lot of posts in there.

As of this writing it totals over 1,330 posts and has just above 16,000 followers. This is one of the few Instagram accounts that mixes UX inspiration along with photos featuring tips, advice, infographics, statistics, and quotes from UX designers.

I definitely recommend this account for adding some variety to your feed.

10. @wittydigital

wittydigital instagram

The team at @wittydigital run a gorgeous digital design account with over 50,000 followers.

I’m not sure who updates this account but it is the official one for Witty Digital’s agency. It’s a massive international design firm with operations from Hong Kong to the Israel.

But their Instagram account is packed full of animated UX pieces and some really inspiring design concepts. Well worth following if you love animated GIF designs.

11. @Uidesignpatterns

uidesignpatterns instagram

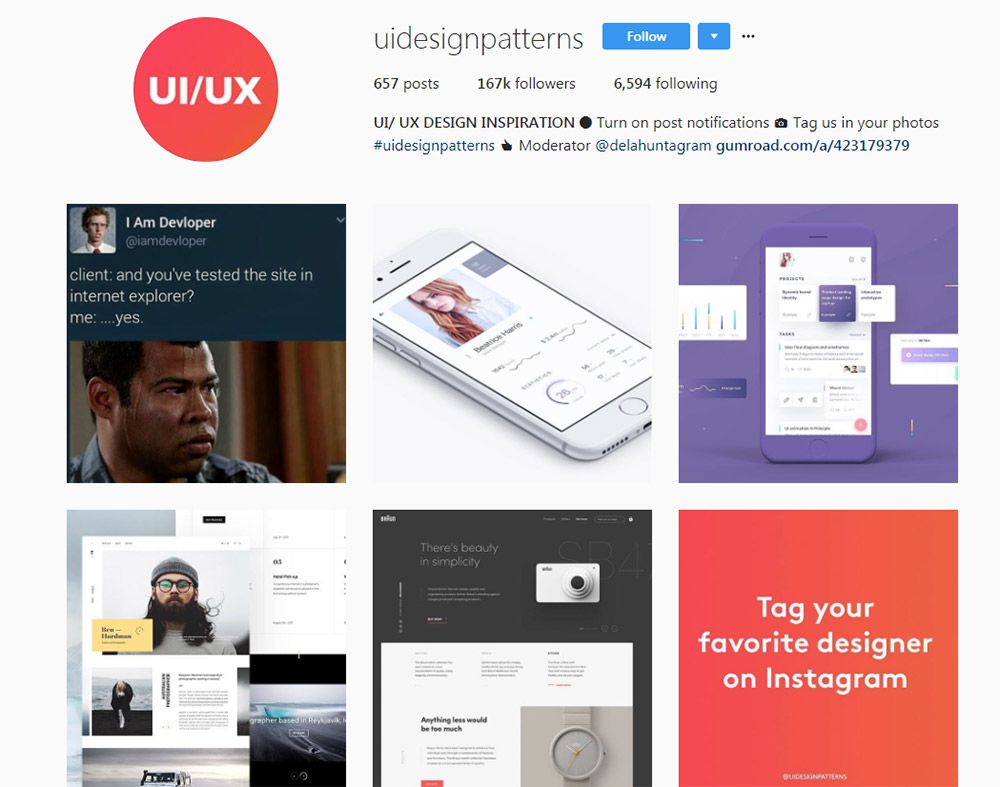
@Uidesignpatterns is quite possibly the largest Instagram account on design work.

It totals a massive 167,000 followers with only about 600 posts. These posts come from designers from all over the world, and you can even tag your content on Instagram to have them feature your work.

Each post includes a mention to the designer so you can browse around and find people who may inspire your work. Plus this account is really made for designers, and you can tell by some of the humorous posts they do.

12. @instaui

instaui instagram

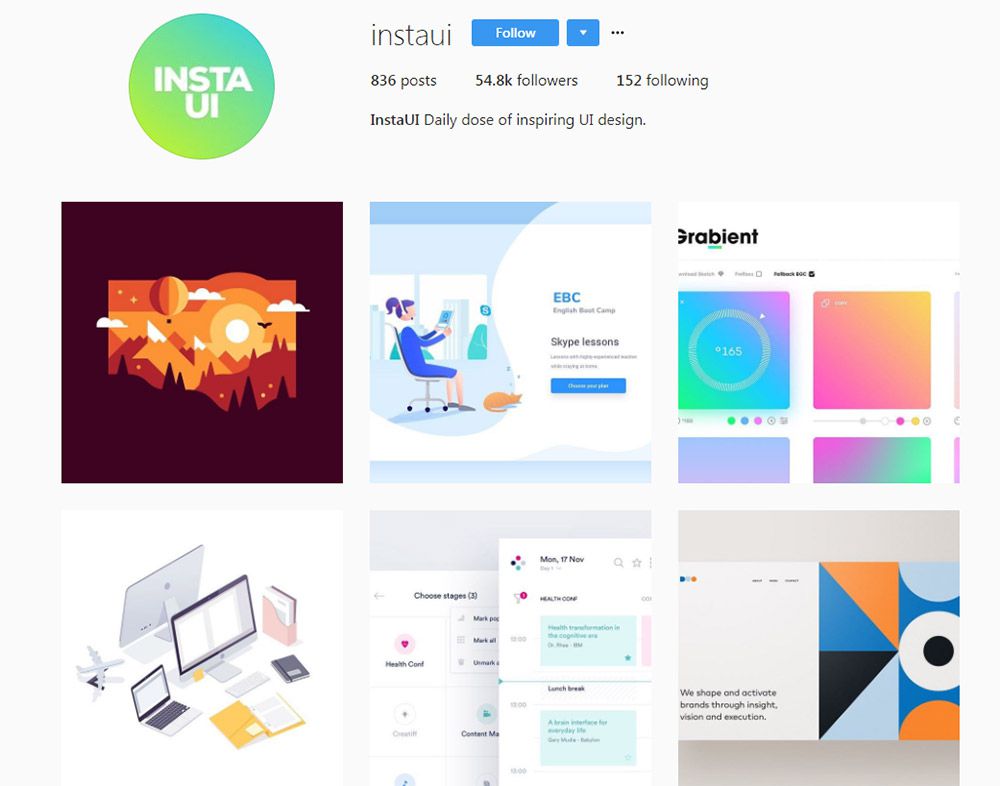
Last but certainly not least is @instaui. This one’s also pretty large with over 50k followers and new posts every day or so.

One thing to note is that despite their username they don’t always post UI designs. There are lots of digital illustrations, vector icons, logo designs, and general graphic design pieces.

But this is still a really cool Instagram account if you’re looking for general design ideas and want to follow active accounts that update on the regular.

And if you want to try finding even more accounts, check out the #uxdesign hashtag. If you dig deep enough, you’re bound to find more profiles worth following.

Source:

What You Need To Know About Anticipatory Design


The word anticipatory comes from the Latin anticipare, which means “taking care of ahead of time.” We normally associate it with something that happens, is performed or felt in anticipation of something.

What You Need To Know About Anticipatory Design

In a way, most products contain at least one element of anticipation. Aaron Shapiro from HUGE defined anticipatory design as a method where it’s up to the designer to simplify processes as much as possible for users, minimizing difficulty by making decisions on their behalf.

The post What You Need To Know About Anticipatory Design appeared first on Smashing Magazine.

What You Need To Know About Anticipatory Design
http://www.smashingmagazine.com/2015/09/anticipatory-design/
http://rss1.smashingmagazine.com/feed/
Smashing Magazine
For Professional Web Designers and Developers

Powered by WPeMatico

How to Build and Organize Tables in WordPress? Try wpDataTables

You have a beautiful, responsive website. Better yet, your visitors love it. Why not – it’s filled with quality content, and it features eye-catching images. You also put effort into incorporating interesting and thought-provoking videos.

Occasionally, however, you hit a bump in the road. That’s when you’re trying to manipulate a huge amount of data. It is not that easy to fit it into a neat-looking, easily-readable table to place on your website.

No matter how hard you try, the resulting table is incomplete or unattractive. Sometimes this huge amount of data just crashes your page when you attempt to load it.

That’s where you’ll find the wpDataTables plugin comes in handy. With this WordPress plugin, you can display any amount of data in a tabular format on your website. You can do so intuitively and interactively.

If you purchase wpDataTables between the 22nd and 29th of August, it’s yours for $22. This is a 50% discount!

Who Has a Use for It?

One of the reasons professionals like wpDataTables is because it doesn’t need a single line of code. Thus, this plugin saves programmers and web designers a ton of time. However, it’s not just for techies.

Anyone faced with a need to organize data in a tabular format will find this WordPress plugin useful.

This would include:

  • Small business and eCommerce store owners;
  • Human Resource and other workplace administrators;
  • Event planners, bloggers, and marketers

What Can You Use WpDataTables For?

You can use this WordPress table plugin to convert any amount of data into readable tables. This includes millions of rows of data, arranged in hundreds or categories or labels.

Moreover, with this plugin, you can publish responsive and informative tables in WordPress. You can use it for:

  • Product and price comparisons, product and services catalogs, price lists, and inventories
  • Event rundowns, including sporting events results and statistics
  • Progress tracking for businesses and projects, and
  • All types of data collection

How to Use This WordPress Table Plugin: Six Simple Steps, plus a Bonus Step

Creating and publishing a responsive data table is easier than you think. All you need to do is follow these simple steps:

Step 1: Save time from the get-go by being prepared

The best way to successfully work your way through any process is to have a plan. In this case, you want to have your data organized to fit into your tables’ structure. If you already have a table in Excel, you’re just a couple of clicks away from a good start.

The wpDataTables plugin accepts most any type of data; e.g., Google Spreadsheets, Excel, or MySQL.

Want a PHP array-based table with images for a product catalog? Not a problem with this WordPress table plugin.

Step 2: Adding a new table takes only 2 seconds

Go to the left-hand side of your WordPress dashboard, navigate to wpDataTables. Then click Add New.

Step 3: Now, it’s time to organize your table – down to the minutest detail.

When you click on Add New, a Settings menu will appear; from which you can adjust your new table’s parameters.

Now it’s time to give your table a title. You have the option of making it public, or visible to you alone.

Next step: select your data source. You can choose from Excel, Google Spreadsheet, XML, CSV, JSON, or Serialized PHP Array.

You can also build your table manually with the plugin. This does not require the use of the table source. Feel free to create your table manually in WP Admin with wpDataTables.

Now, you can upload your data file of choice. Don’t be concerned with how massive or complex it might be; wpDataTables can accommodate it.

That’s the basics. There are plenty of other useful and interesting features you can work with to make your table just as you want it. Enjoy yourself by taking the time to experiment with them first.

Here’s a sampling of what you can do:

  • You can make your table responsive (Responsive feature);
  • You can scroll it horizontally (Scrollable feature);
  • You can hide it while the page is loading (Hide Table feature);
  • Do you want to create a filter below each column or within the form? Use the Advanced Filtering feature, or the Filter in Form feature, respectively;
  • The Table Tools and Enable Sorting features lets you copy, save to Excel or CSV, or sort your tables;
  • If you want to limit a table’s width, select the Limit Table Layout feature. Also, you can use the Display Length feature to define how many entries you want to display on a page;
  • If you need to display the sum of the values in numeric columns, the Sum/Totals Row feature will do the trick.

Step 4: Make your table flat-out immaculate

You can preview your table at any time, including when you’re about to make the final touches. This does not involve having to go back and forth to do so.

When you’re satisfied with your table’s structure, it is time to address its aesthetics. Work on different colors, color schemes, or font sizes. You can also edit the columns with respect to their type (numbers, text, strings).

The Conditional Formatting feature is not only useful, but fun to work with. It enables you to highlight rows, columns, or individual cells, based on their content. This is an excellent feature to have available if your table is strictly numerical.

Step 5: Adding a table to a page with a shortcode

When you’re pleased with your table, click Save, and then, Close.

This will take you to the wpDataTables home page. Here you will see your newly-created table, in all its grandeur and ready to publish. You will also be given the shortcode you’ll need to input into your page.

First, copy the shortcode, and then navigate to the page or post the table is to appear on.

Paste the shortcode into the page editor.

Select the location where you want the table to appear on the page. Usually, this is the location that will allow you to build any needed content around it.

Step 6: Publish your table.

Step 6 is not only the easiest step of all, it’s also the most satisfying.

Click on Publish.

That’s it!

The Bonus Step

If you want to have a flawless graph or chart on your website, the wpDataChart Wizard enables you to do just that. As is the case with tables, your graphs and charts can also be responsive. They can also be highly interactive and easily editable.

The Wizard can be used with the Google Charts, Highcharts, and Chart.js render engines.

Wrapping it up

There are other features in addition to those mentioned here. They will help you create beautiful, highly-organized, responsive charts in minutes.

With wpDataTables, there’s no more need for struggling to fit massive amounts of data into a small “box”. Another great advantage is that there is no need to write a single line of code!

You can use wpDataTables to manage and present financial and operation statistics. It also allows you to produce large product or services catalogs in a breeze. Moreover, you can feel like a pro performing complex data analysis and comparisons.

Be sure to mark the period between August 22nd and 29th on your calendar. That’s when you can get wpDataTables at a 50% discount.

Source:

10 Fascinating Examples of Wireframes in Web Design

For most web designers the first phase of any given web project is wireframing. It allows the designer to map out exactly how the structure of the website can work, as well as the general layout direction of important elements such as navigations, forms, and content sections.

Each designer often has their own unique way of producing these wireframes. Many work off paper, while others prefer to go straight into creating them on a computer using tools like Balsamiq, Figma or Sketch. Either way, the results are often fascinating, and more often than not are visually impressive despite their supposed roughness and simplicity.

Wireframes by Brandon Wimberly

Brandon uses a web browser template printed onto dot grid paper. From there he uses carefully constructed lines to build very uniform and accurate wireframes for exploring how a website will scale from desktop to mobile devices.

Wireframes

Lead Edge Hi-Fi Wireframe by Vando Sanchez

Vando’s wireframes for Lead Edge Hi-Fi have been created on a computer and use mainly dummy text with just the primary titles and taglines filled in accurately. Simple 2D mockups are used in place of realistic device mockups, and background and visual elements are filled with a block color at this stage.

Lead Edge Hi-Fi Wireframe

Shopify Exploratory Wireframes by Janna Hagan

Janna Hagan’s beautiful wireframes for Shopify are higher fidelity with most of the layout design finalized and even some visuals beginning to be introduced.

Shopify Exploratory Wireframes

Wireframes by Andre Picard

Andre Picard looks to a whiteboard when working on the initial wireframing stage of a web design project. This allows for quick and easy edits as well as easy feedback and collaboration around the office.

Wireframes

<h2 Wireframe x 78 by Melody Rose

Melody’s 78 wireframes for this web design project are incredibly cohesive through the consistent use of shapes to define different content types and elements such as user avatars. The palette is kept within two to three simple gray tones.

Wireframe x 78

Sketching a New Project by Tim Knight

Tim Knight’s wireframes are toward the more simple and high-speed wireframing approach – very useful when approaching the foremost stages of a project or mapping ideas out for a client in a meeting or on a call.

Sketching a New Project

Morphomics Website Mid Fidelity Wireframe by Lauren League

Lauren’s mid-fidelity wireframes for the morphomics website are considerably complex in having to solve a data visualization problem. They use a well-structured template with filled-in content blocks and crossed rectangles for image placeholders.

Morphomics Website Mid Fidelity Wireframe

Back To My Body Dashboard Diary Wireframe by Alyoop

The Back To My Body Wireframes by Alyoop are toward the more simple style of digital mockups. They use a simple gray color palette and icon placeholders for user avatar and content imagery. Text placeholders are used throughout for elements such as the logo and pie chart.

Back To My Body Dashboard Diary Wireframe

Spreedly Marketing Website Wireframes by Dane Wesolko

Spreedly’s marketing website uses a high-fidelity digital wireframe in Sketch app which has defined most of the content layout and color, leaving only the visuals and imagery to be integrated.

Spreedly Marketing Website Wireframes

Newspaper Website Wireframe by Ziya Fenn

Ziya’s newspaper website mid-fidelity wireframe is very well-refined and one of the most visually attractive wireframes I have come across. Much of the typographic elements and direction have been defined, and the layout is visually impressive in its structure and tessellating block form.

Newspaper Website Wireframe

Source:

Image Optimization in Advanced Web Development

Web-quality imagery is always a balancing act between using the smallest possible file size while providing good image quality. Embedding a photo straight off your DSLR may look nice, but it will slow your website’s load to a crawl, while an over-compressed image may improve the speed of your site yet discredit the design and overall aesthetic.

For the two types of image assets we predominantly deal with – photos and icons/illustrations – we perform a mixture of image quality checks and compression techniques that work well in most case scenarios.

File Types and When to Use Them

There are three image file types we use when building websites: .jpg .png and .svg.

JPGs are best used for photos such as landscapes, scenery or people. For imagery in content, such as a blog article image, we aim for 20-70kb. Larger background photos can get up to 500kb, but 200kb is a good average.

JPGs are lossy (they recompress and degrade the image quality each time you export), and they don’t manage gradients very well. If you have a gradient in an image, sometimes you can separate the image into two cuts so that you can render the gradient in a separate background using CSS gradients instead.

PNGs are best for assets such as logos and icons because they support transparency and because logo and icons often use a more limited color palette – since PNGs achieve compression through a reduction in the number of colors.

A PNG can be lossy, but we typically use lossless, meaning every pixel is saved exactly without degrading the color palette, resulting in a higher-quality image.

SVGs have the best quality of all and are used for vector art due to their scalability. We often use them with logos, however, SVGs do create more work for the browser to render and can create sluggishness as the page loads, so the quality of your image should always be balanced against its complexity.

As an example of when we use PNGs and SVGs, compare the logos for Silver Screen Insider and Bozeman Websites. For the former, we used an SVG. For Bozeman Websites, because of the complexity introduced with CSS animation when a user scrolls down, we chose to use PNGs instead so as not to compromise browser performance.

Sometimes the best solution is a combination of both: for the logo on JTech’s website, the “JT” component is a PNG, but the “Celebrating 20 Years” is an SVG in order for it to retain its quality in all viewport sizes.

Optimization Techniques

In order to get the best possible results, it is important to optimize your images. To do so, we utilize three programs: ImageOptim (for JPGs and PNGs), ImageAlpha (for PNGs) and Scour (for SVGs).

Optimizing JPGs

ImageOptim reduces the file size of JPGs and PNGs. For large images, such as the ones we use for background panels, we cap dimensions at 1600x1200px. For content photos such as an image inserted in a blog article, we cap dimensions between 200-800px wide.

After resizing to its final resolution, the image is output in Photoshop using the best quality available. Each time we compress the image it loses some fidelity, so we prefer to rely solely on ImageOptim for compression rather than having Photoshop do a pass. Photoshop is noticeably less efficient: its “save for web” at quality 65 produces an image of equal file size but poorer fidelity than ImageOptim’s quality 85.

Retina JPGs

When targeting retina or other high-density displays, we’ve found it works best to save a single JPG at twice the resolution, but use higher compression, around 50-60 in ImageOptim, which can produce a high-quality image that looks good on both retina and standard, lower-density displays. This technique allows us to use a single asset for retina and standard displays rather than cutting and loading multiple versions and without quadrupling the size of our images.

Optimizing PNGs

For PNGs, we output from Photoshop using PNG 24 in their “save for web” option, then run it through ImageOptim. If it detects that the image is using fewer than 256 colors, ImageOptim will losslessly convert the image to a PNG 8, a simpler file format that can produce very light-weight files.

With ImageOptim, our final output of an image without too many complexities (minimal color, simple shapes, and resolution less than 200x200px) can range in size from 15kb down to under 1kb.

Optimizing Larger PNGs

For more complex images, if we can’t produce a file between 15kb and 50kb with ImageOptim, we use ImageAlpha. ImageAlpha is used to process PNGs from a PNG 24 (millions of colors) to a PNG 8 (256 colors maximum), changing the image from lossless to lossy, ultimately aiming for the one with the smallest number of colors.

Lossiness in this format primarily means strategic refinement of the color palette, eliminating the least-noticeable colors to produce an image that still looks great while reducing its complexity.

After exporting from ImageAlpha, we run it through ImageOptim so it can be optimized further.

Optimizing SVGs

When it comes to SVGs, we reduce as much complexity as possible before we export the image from Illustrator. An often tedious process due to their size, we first try to reduce the number of layers to a minimum while still accurately displaying the artwork. It is then saved as an SVG in Illustrator and optimized with a program called Scour.

We use this automator script to make it a bit easier to use in macOS, allowing you to right-click an SVG file in the Finder and optimize the SVG through the Services menu. We often use font files for vector graphics that are single-color with a program called Glyphs.

Conclusion

Properly optimizing imagery is just another way we can improve the performance of our websites, prevent browser bloat, reduce server and bandwidth resource usage, hasten page load time, keep the development infrastructure clean and provide a much more desirable experience for the end-user.

We hope this exploration of our experience with JPG, PNG and SVG file types, image compression and quality tools are a resource for you as we continually refine our own process to produce websites of high caliber.

Source:

10 Essential WooCommerce Plugins for Managing Your Store

What makes WooCommerce such a compelling eCommerce platform is that, just like other WordPress plugins, it can be extended to perform more and more tasks. For example, complex functionality (advanced reporting, rewards programs, etc.) that used to be reserved for high-end SaaS providers is now within everyone’s reach.

Even so, shopkeepers don’t always need something complicated. In fact, they often need to add more basic functionality that makes life easier for both them and their customers. And plugin authors have excelled at extending WooCommerce in this area, as well.

Here are 10 plugins that you can use to build the WooCommerce store you’ve always wanted:

WooCommerce Wallet

WooCommerce Wallet is an interesting solution for shops who want to allow customers to keep a balance on hand.

Customers can deposit funds, earn cash back and even request a refund. The plugin also allows for partial payments which could be handy for big-ticket items. Site admins can directly add funds to a user’s account from the back end, as well.

WooCommerce Wallet

WooCommerce Ultimate Reports

WooCommerce Ultimate Reports serves a very important need. It generates a variety of reports to help you make sense of your sales. You can view reports for product variations, taxes, inventory, and coupon use, along with various profit types.

Overall, there are 55+ reports included. Data can also be exported to XLS, CSV and PDF formats. Finding trends and analyzing data isn’t a strongpoint of WooCommerce out-of-the-box, so adding it in is critical.

WooCommerce Ultimate Reports

XL WooCommerce Sales Triggers

While XL WooCommerce Sales Triggers doesn’t add big-time functionality, it does specialize in adding the little details that help to drive sales. Many of the seven included sales triggers are staples of major eCommerce retailers.

The Countdown Timer, Stock Alert and Potential Savings encourage action. The Most Recent Sales Activity, Guarantees, Best Sellers and Satisfaction Rate increase consumer confidence. They may be little things, but they can add up to something big.

XL WooCommerce Sales Triggers

WooCommerce Ultimate Points and Rewards

WooCommerce Ultimate Points and Rewards enables you to set up a rather sophisticated customer rewards program.

You can reward customers based on their purchases, referrals, posting comments or just for signing up. As an admin, you can assign cash value to points and customers can then redeem them via a coupon. Various settings allow for tweaking the program to meet your specific needs.

WooCommerce Ultimate Points and Rewards

WooCommerce Products List Pro

While WooCommerce looks great by default, creating a custom product layout can provide a huge boost to UX. WooCommerce Products List Pro provides an attractive and highly-customizable product listing table for your shop. You’ll be able to create custom lists and filter products in numerous ways.

Choose which product data you want to display with your listing. A simple Shortcode can be generated so you can display your lists anywhere. Developers will like that the plugin includes several hooks and filters for even further tweaking.

WooCommerce Products List Pro

WooCommerce Product Variations Layouts

Taking custom layouts one step further, WooCommerce Product Variations Layouts makes variable products much more attractive. Variable products require the user to select options – think of a T-Shirt with multiple sizing and color options.

Their default layout consists of boring old HTML select boxes. This plugin lets you display them in a more visual way. Choose from Table, Grid, List or Boxed layout. The result is better usability and maybe even better sales.

WooCommerce Product Variations Layouts

WooCommerce Support Ticket System

If you’re running an online shop, then you need to think about how you want to handle customer support. WooCommerce Support Ticket System is a clever plugin that integrates both orders and customers with support tickets.

Also included is Pay Per Ticket, which allows you to sell blocks of support tickets for premium service. Tickets can include front-end formatting via TinyMCE and customers can even upload attachments.

WooCommerce Support Ticket System

Stock Synchronization for WooCommerce

Stock Synchronization for WooCommerce allows for automatically synching product inventory from an outside source.

This provides a whole lot of convenience for shops that sell in multiple places with the same inventory. Syncing occurs through a remote CSV file (Google Drive, Dropbox and password-protected files are supported). Set synchronization to run hourly, daily or twice daily.

Stock Synchronization for WooCommerce

WooCommerce Simple Bulk Discounts

Offering bulk purchase discounts is a great way to create loyalty. With WooCommerce Simple Bulk Discounts, shopkeepers can create custom percentage or fixed bulk discounts.

Discount rules can be set on a per-product basis. You can even assign bulk discounts based on a user’s role. For example, you might set things up so that only registered customers have access to a deal.

WooCommerce Simple Bulk Discounts

ARG Multistep Checkout for WooCommerce

ARG Multistep Checkout for WooCommerce enables you to customize and enhance the checkout process.

The multistep process can do wonders for UX and can be customized to achieve the look you want. The tabbed layout is responsive and is ready for tweaking. Colors, button and label text can be easily changed. Specific steps can be hidden if desired.

ARG Multistep Checkout for WooCommerce

Power Up Your WooCommerce Shop

If you’re using WooCommerce to power your online store, you have an almost unlimited selection of additional functionality to choose from. The plugins above are only a small sampling of what is available.

No matter what type of shop you run or the type of features you want to implement, chances are that there is a WooCommerce extension out there to make it happen.

Source: