

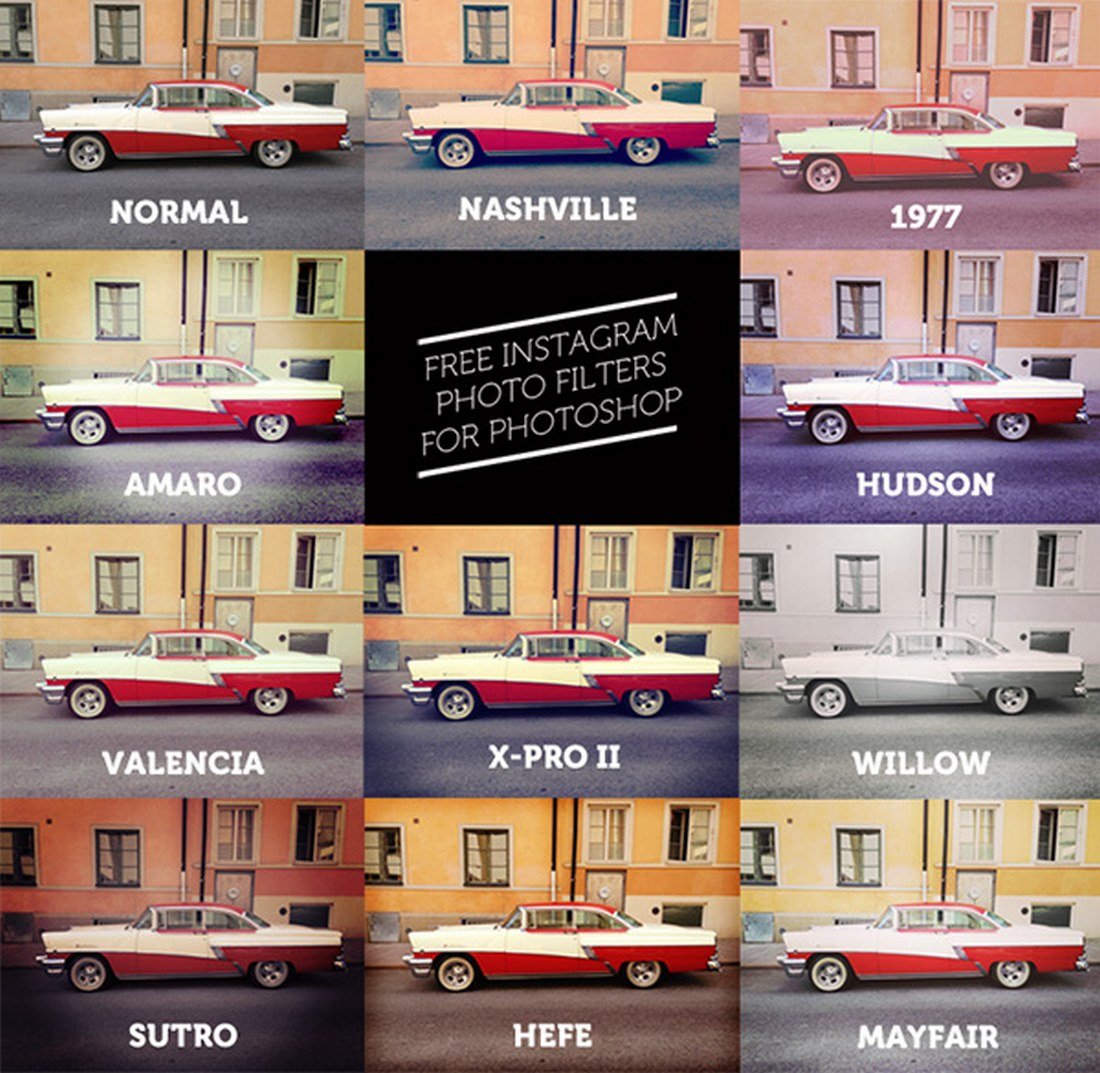
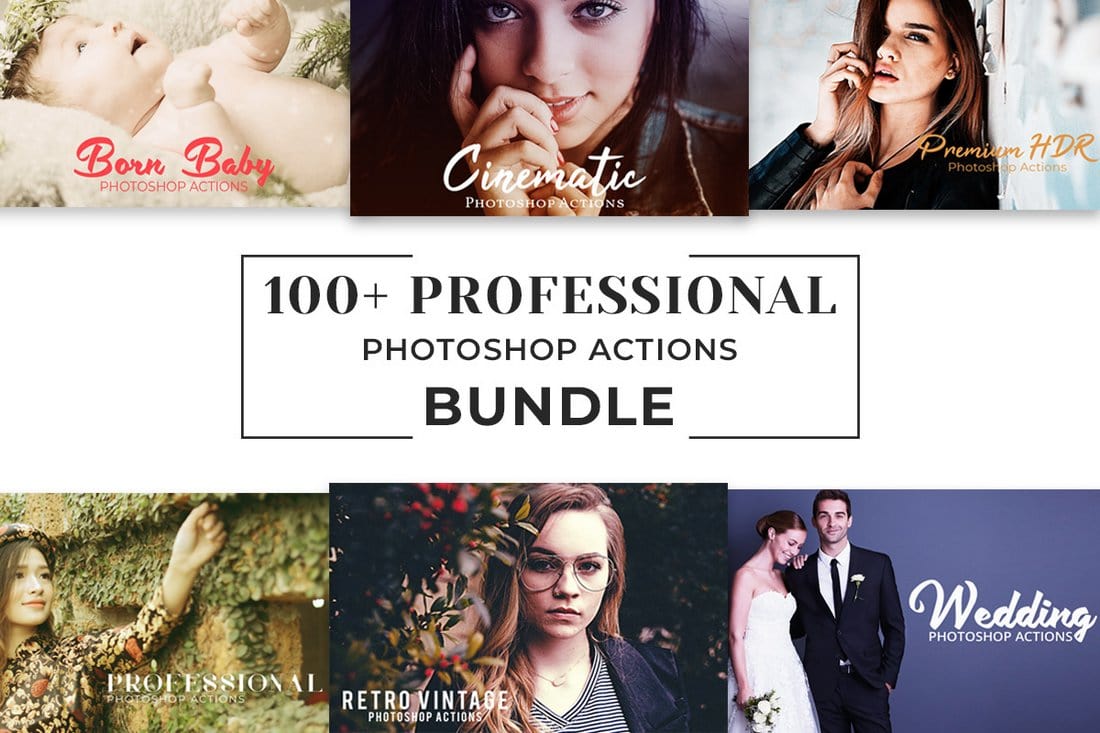
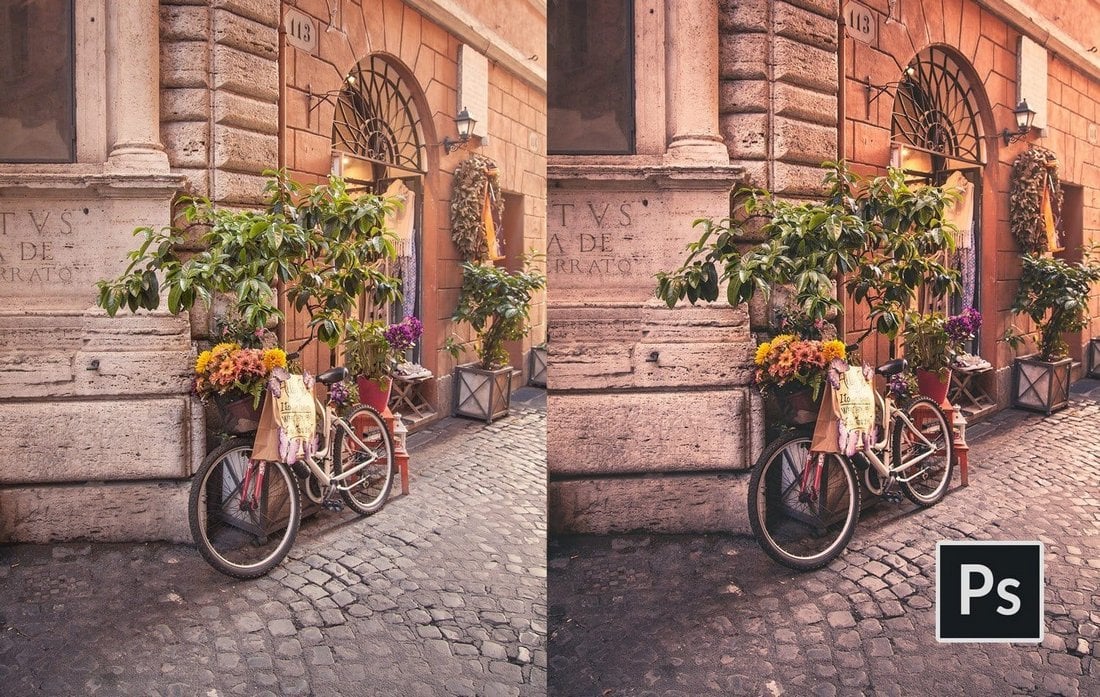
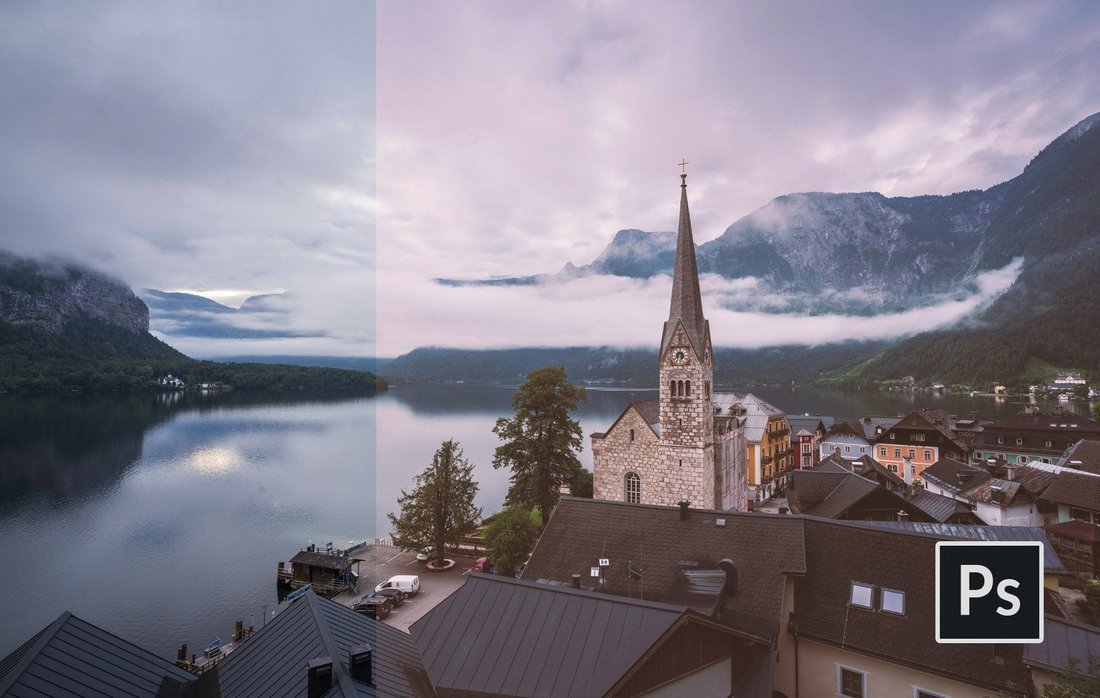
Filters are one of the best features of Instagram. Everyone loves the idea of prettifying their photos in an instant and sharing them with their friends and family. But have you ever wanted a set of Instagram filters for Photoshop? I know I have.
The good news is, you don’t just need the Instagram app to apply filters to your photos. You can actually create even more beautiful photos with customizable filters using Photoshop actions and upload them to not just Instagram, but any other social network you want.
We handpicked a collection of free and premium Instagram Photoshop actions for creating creative and stylish Instagram filter effects in Photoshop. With a single click, you can apply these effects to your photos and customize them to your preference.
We’re also sharing our tips and advice on how to use Instagram filters in Photoshop.
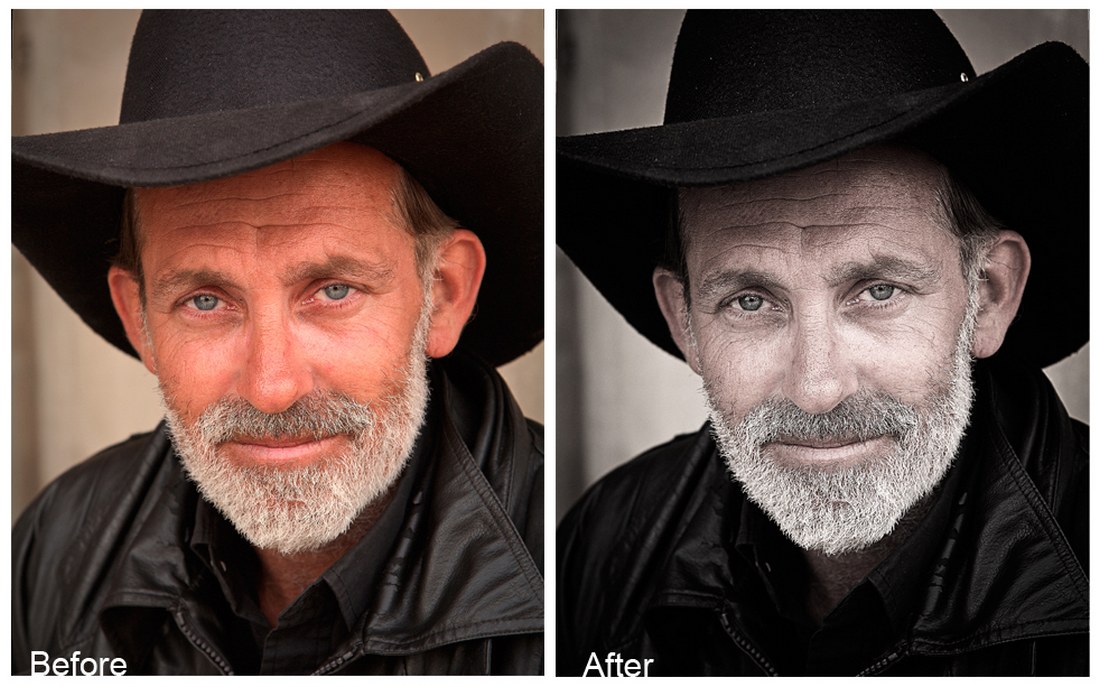
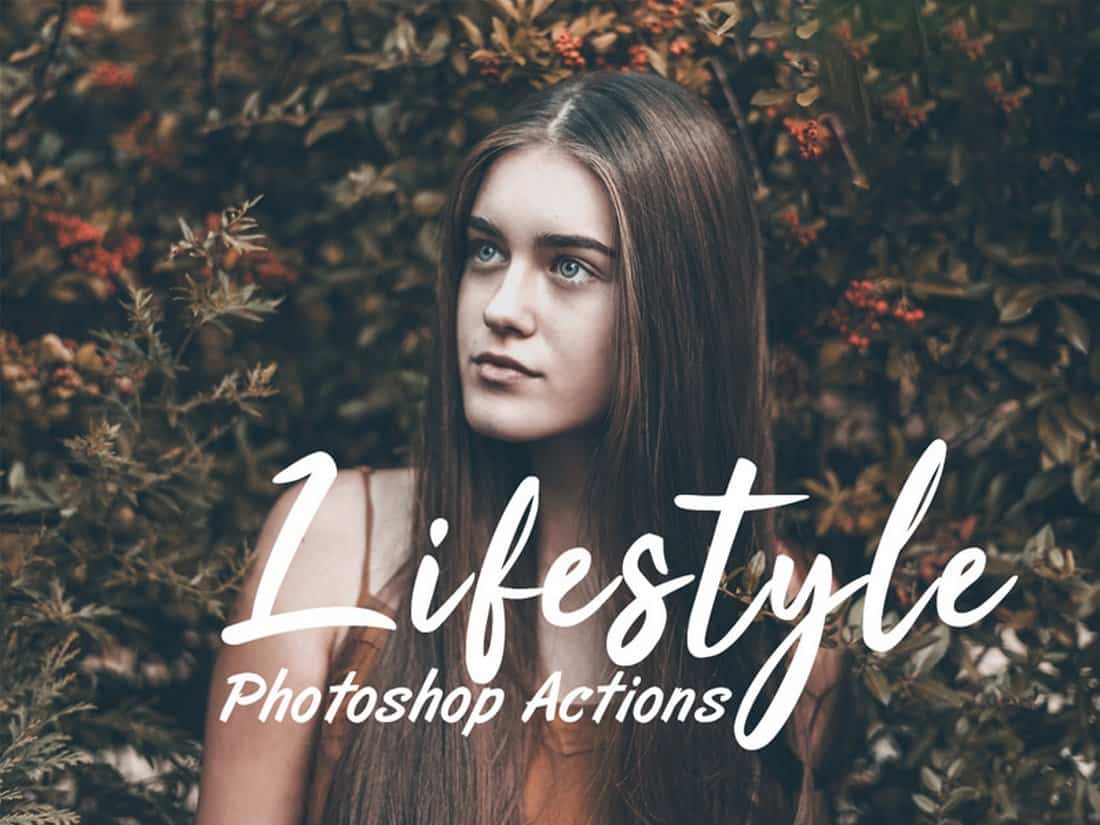
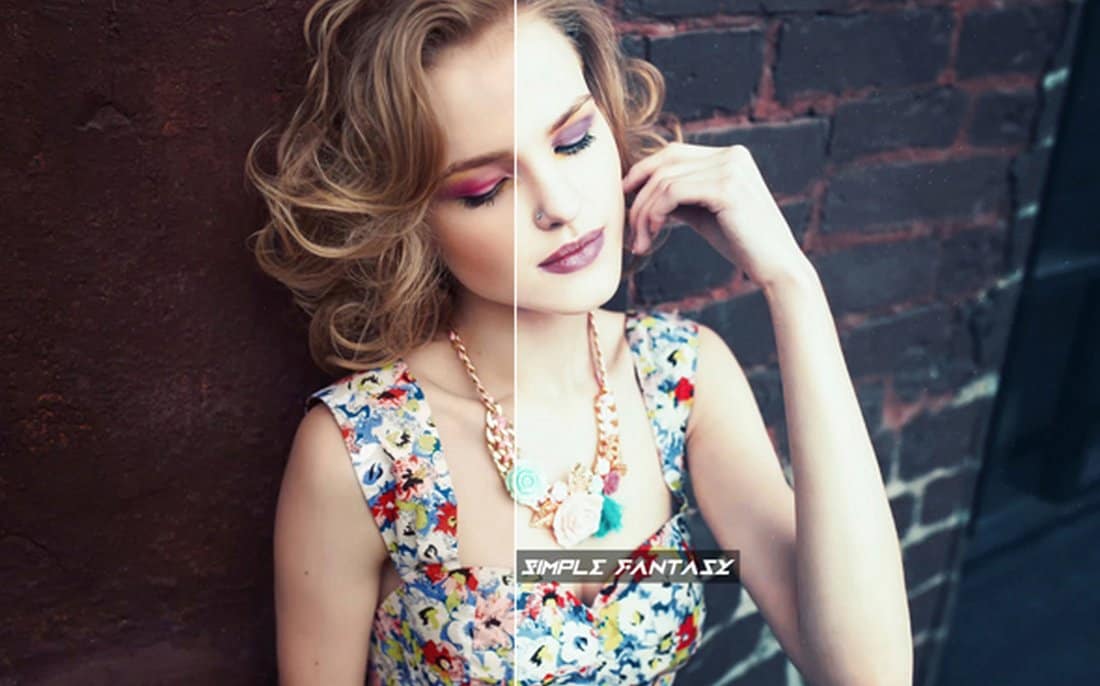
Glamour Photography Photoshop Actions

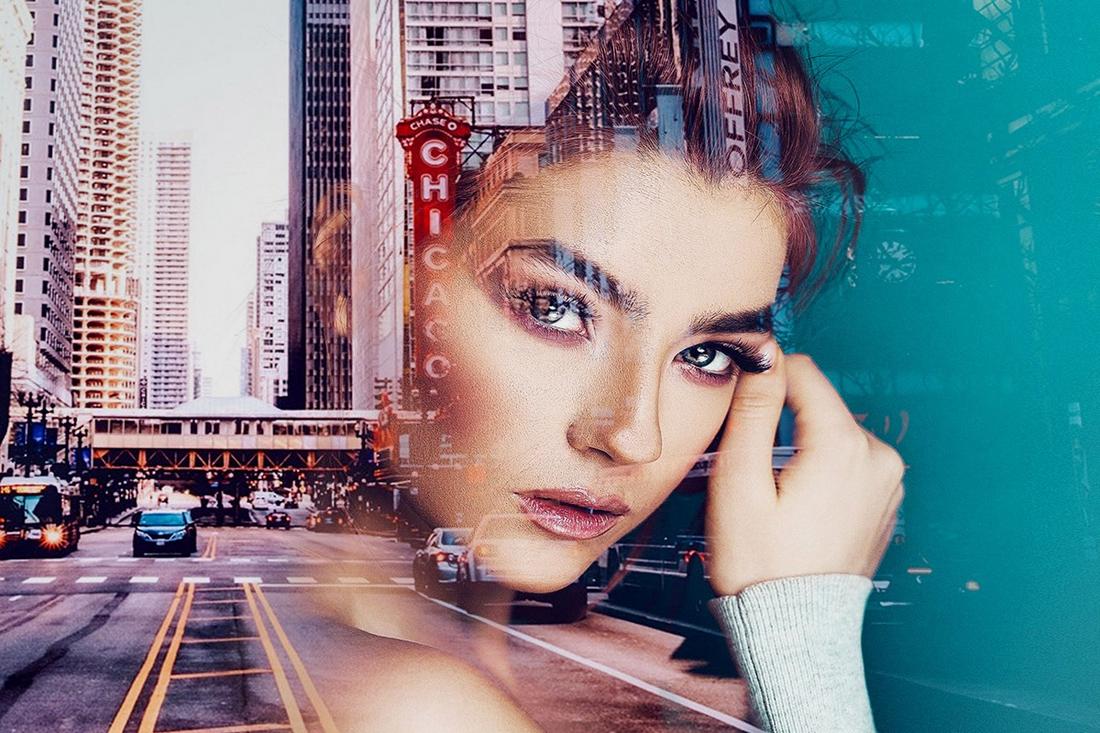
Instagram mostly consists of lifestyle and fashion bloggers who regularly share glamourous photos of their lives. This is a pack of Photoshop actions made specifically for those users.
This pack includes 15 unique Photoshop actions that are designed for enhancing lifestyle portrait photos to make them more attractive and beautiful.
Why This Is A Top Pick
With this Photoshop actions bundle, you’ll be able to make your smartphone photos look just as good as photos taken with an expensive DSLR. All of the filter effects are non-destructive and fully customizable as well.
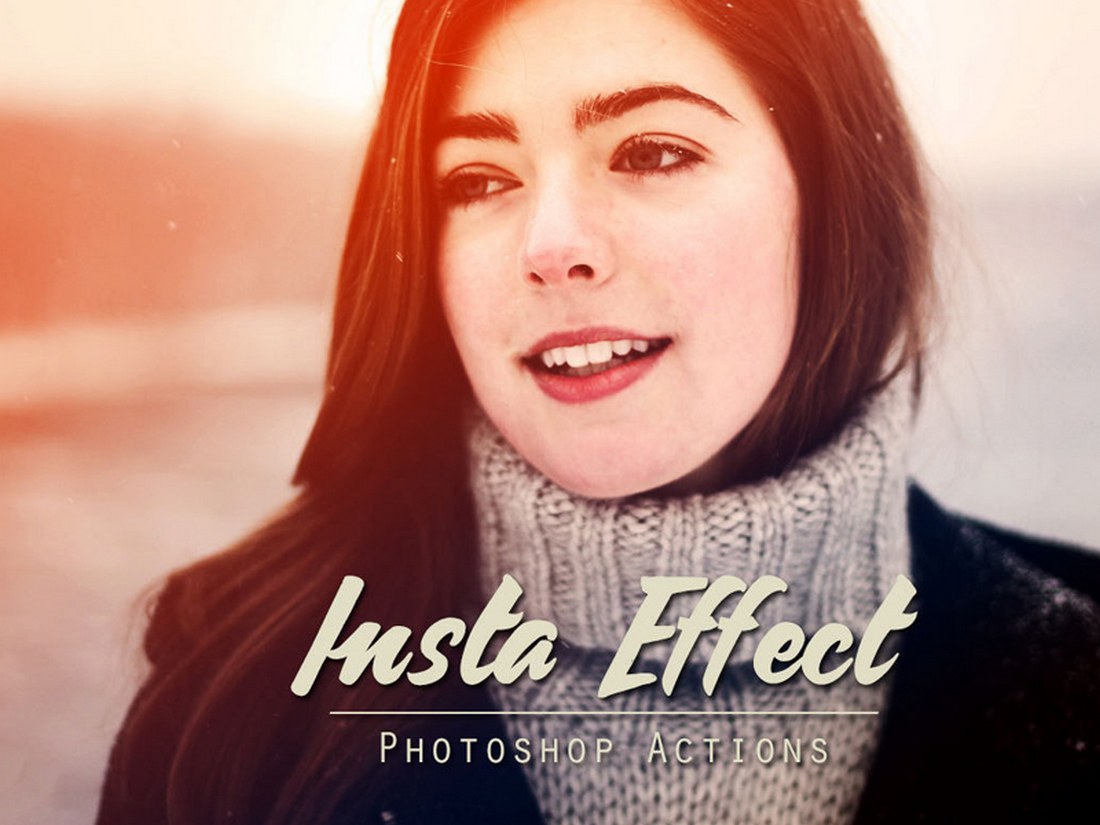
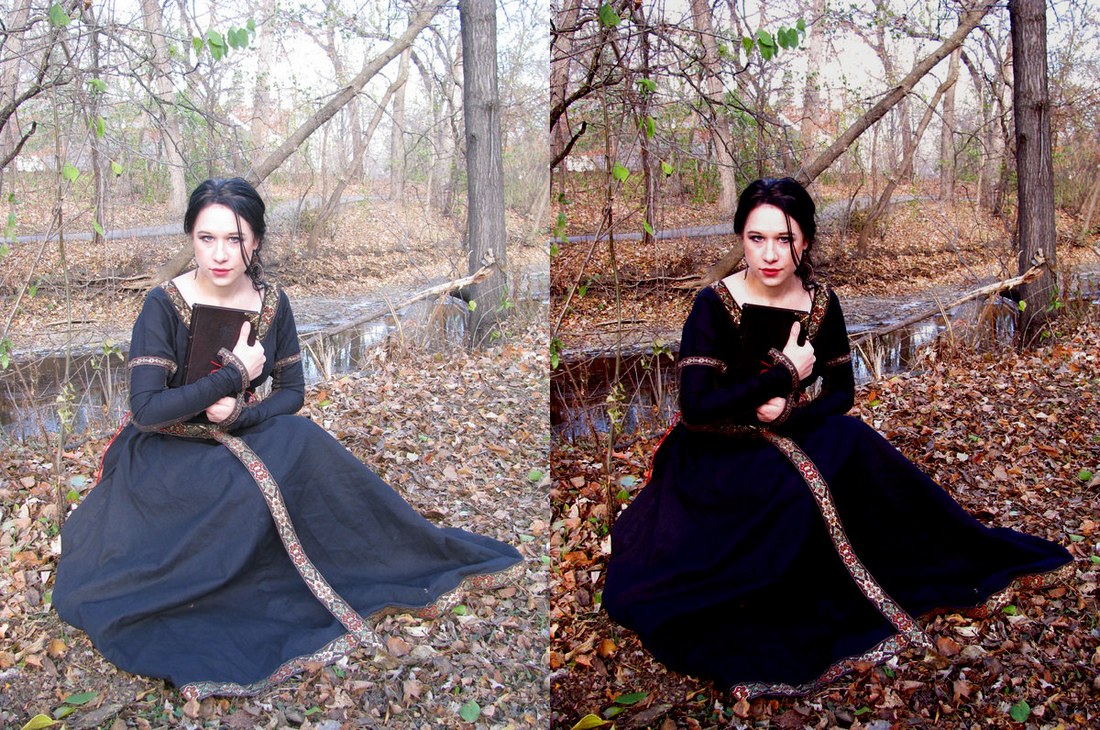
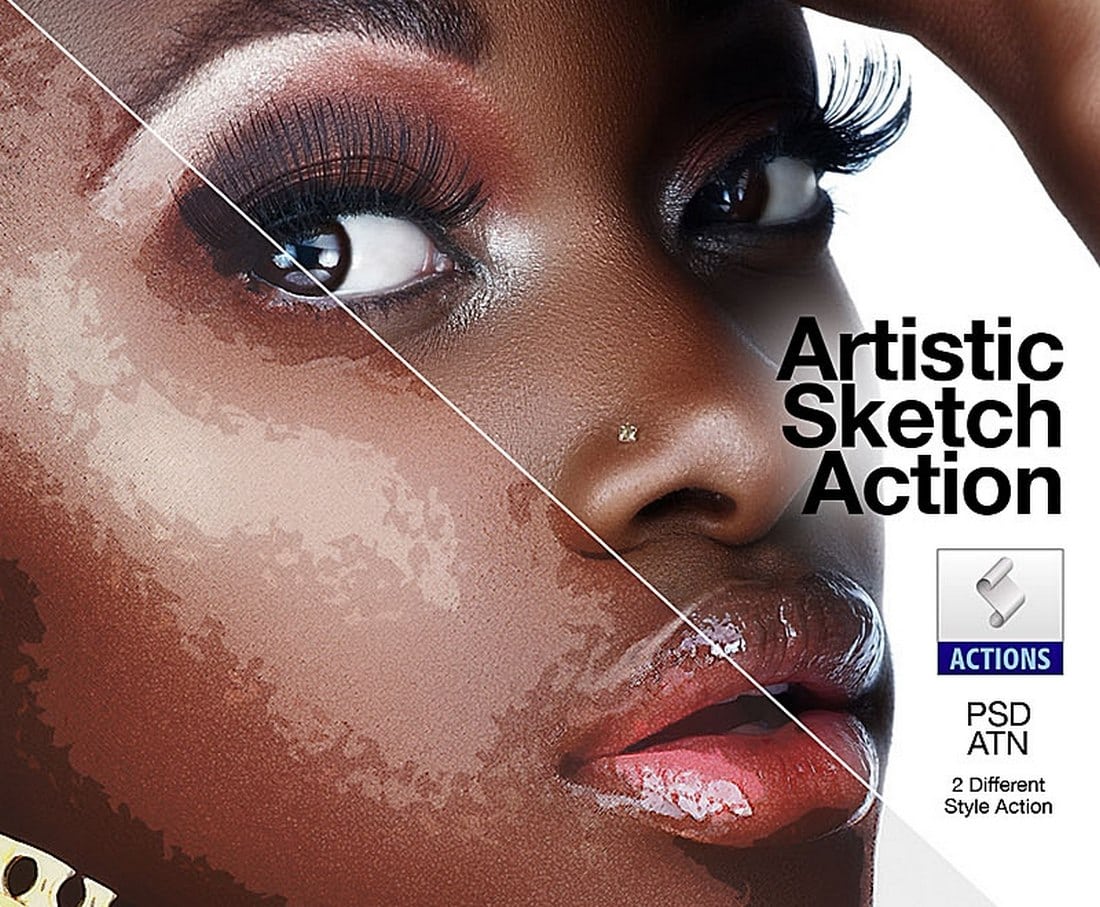
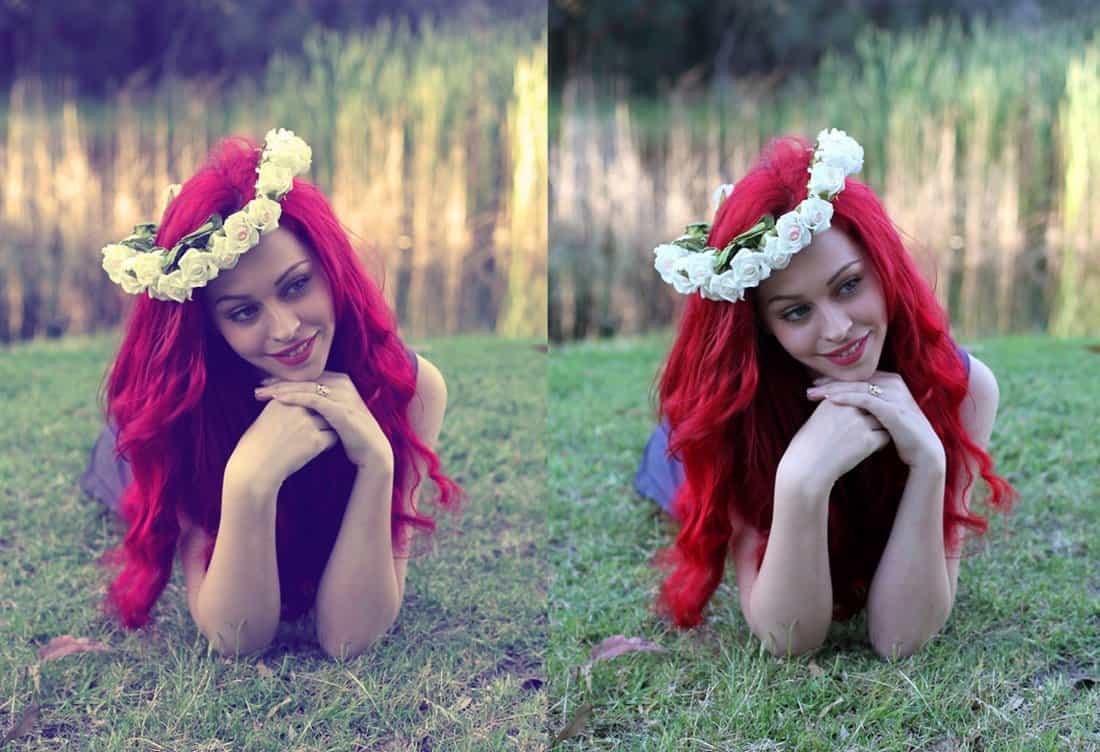
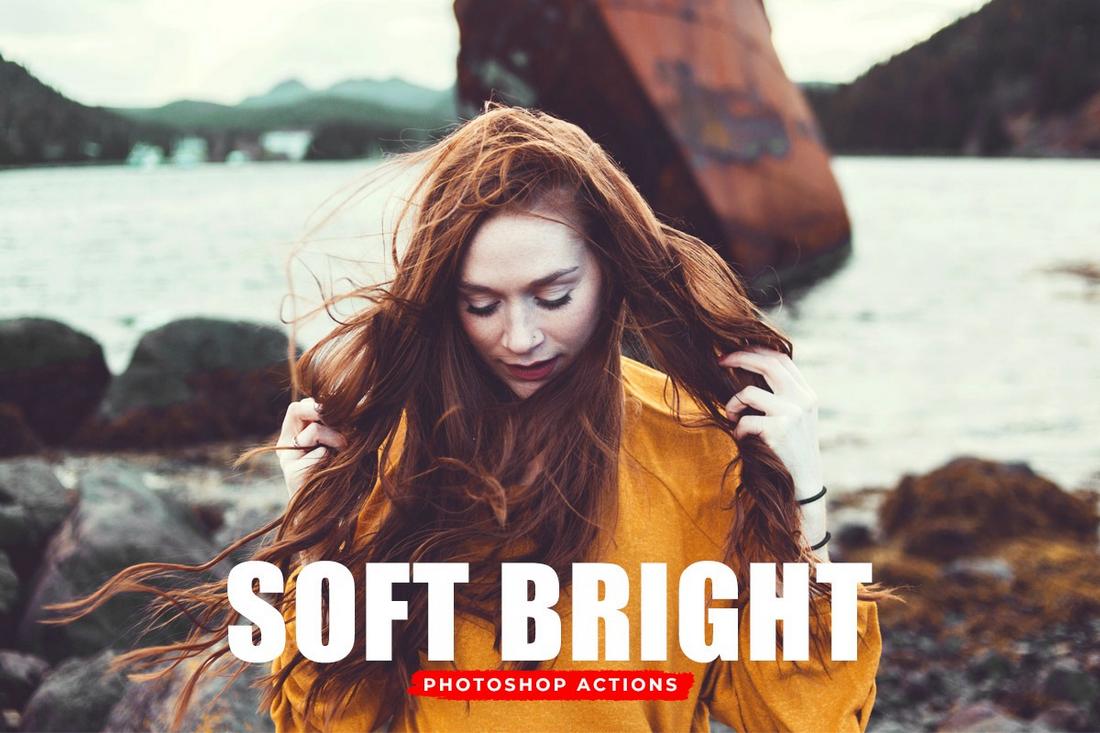
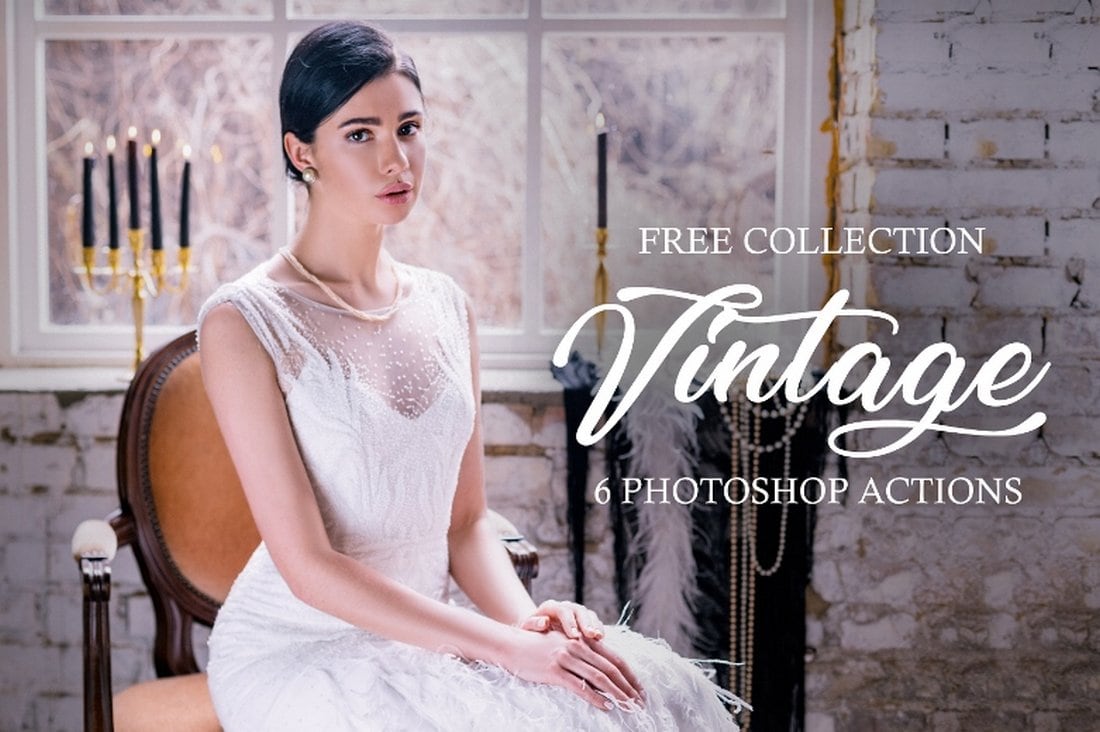
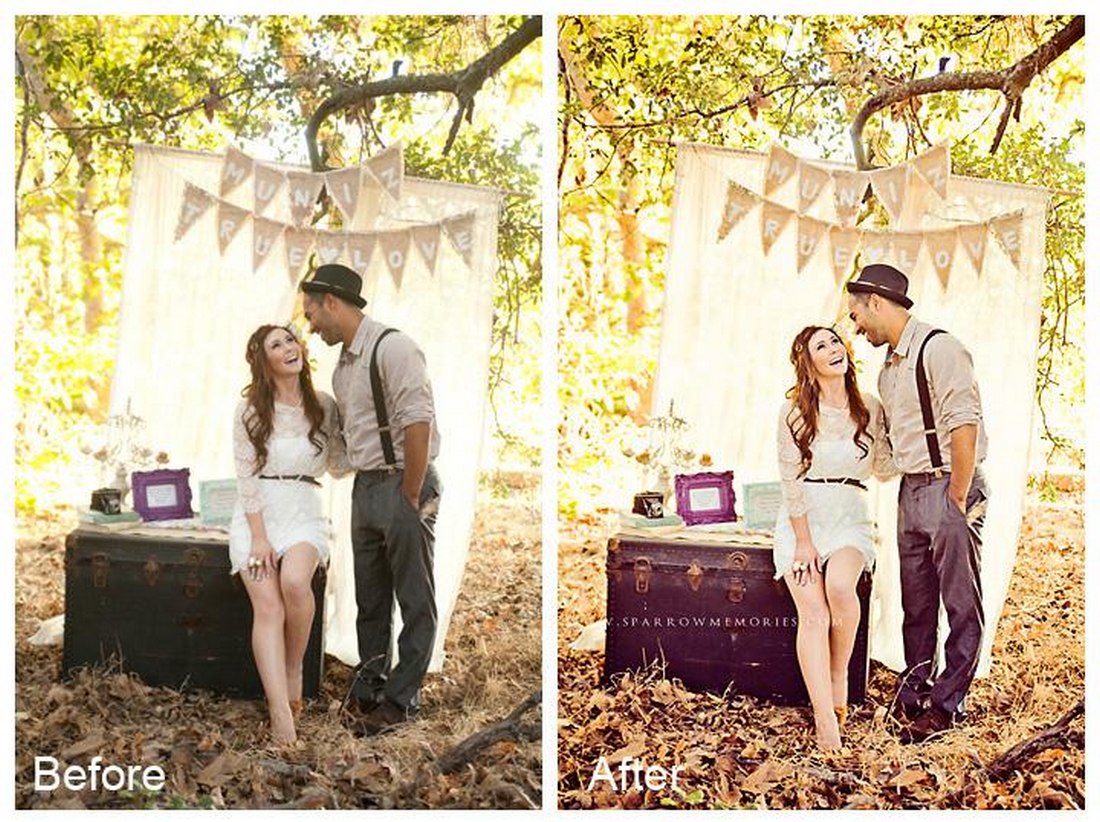
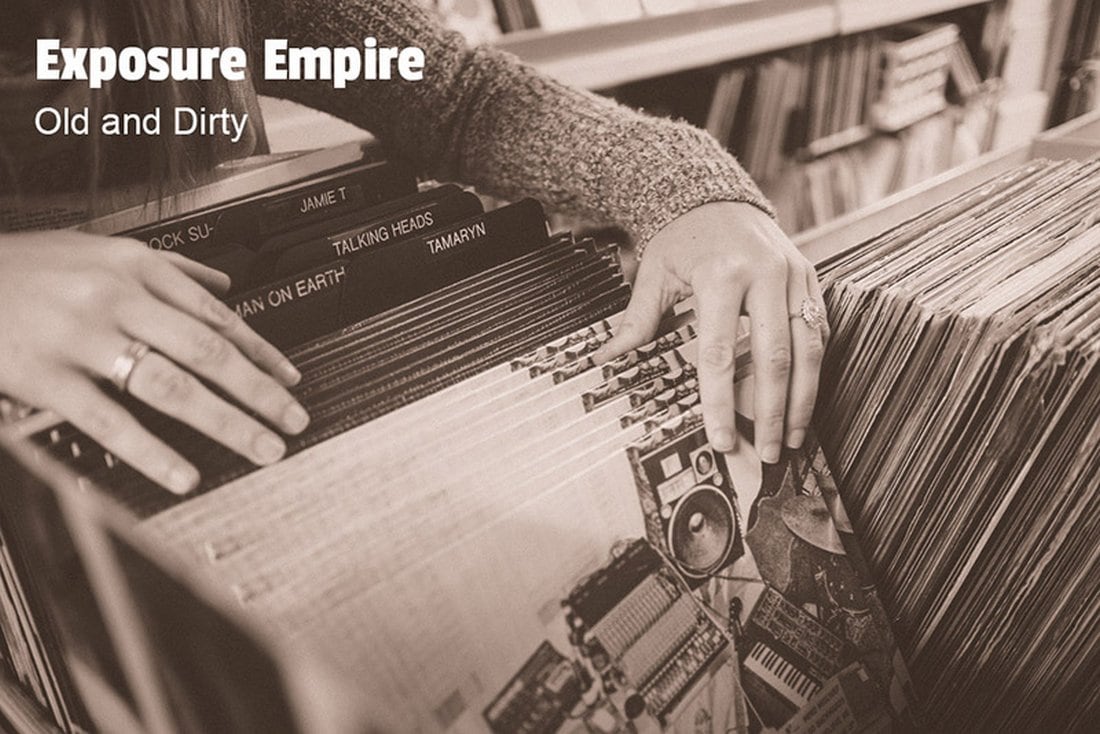
Vintage Film Effect Photoshop Filter

This Photoshop filter gives your photos an appealing, Instagram-style vintage look. This easy-to-use filter includes Smart Object layers for customization, making the whole process straightforward. Simply replace the placeholder with your image, save it, and revel in the modified artwork.
Grain Film Instagram Photoshop Filter

A unique Photoshop effect that can completely change the appearance of your images. Designed to convert your photos with a grainy film look, this filter lets you fully customize the look and feel with adjustment layers as well. Ideal for photos with resolutions between 1000 and 3000 pixels.
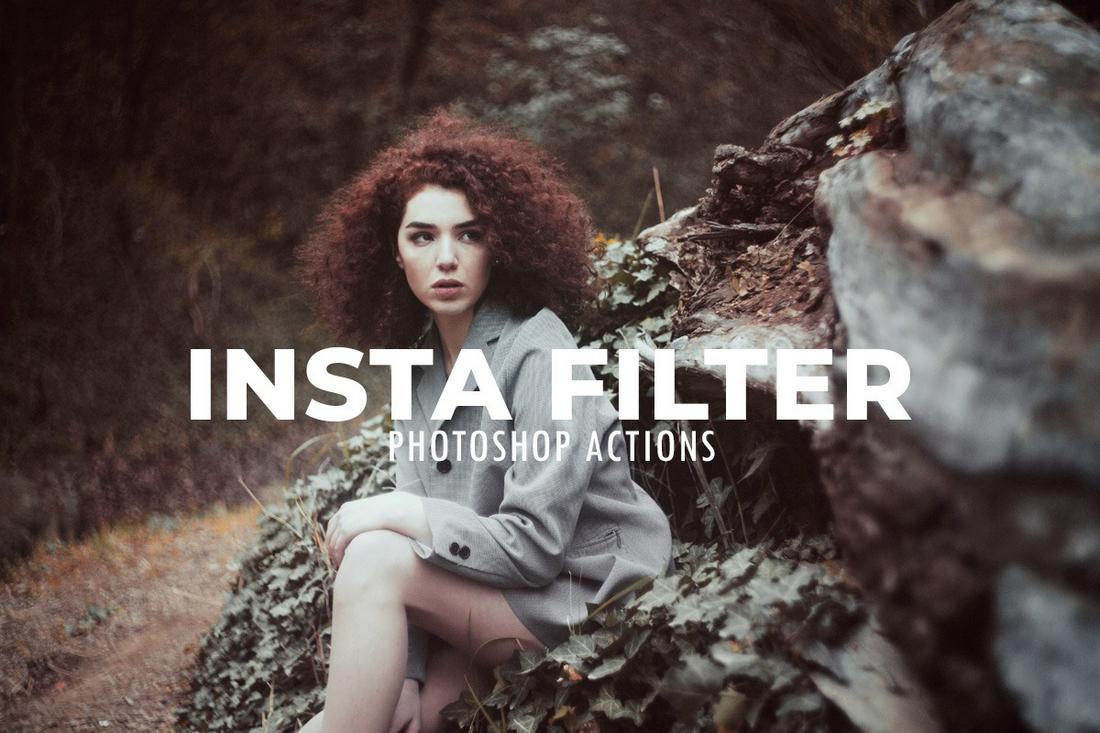
Prism Image Effect for Photoshop
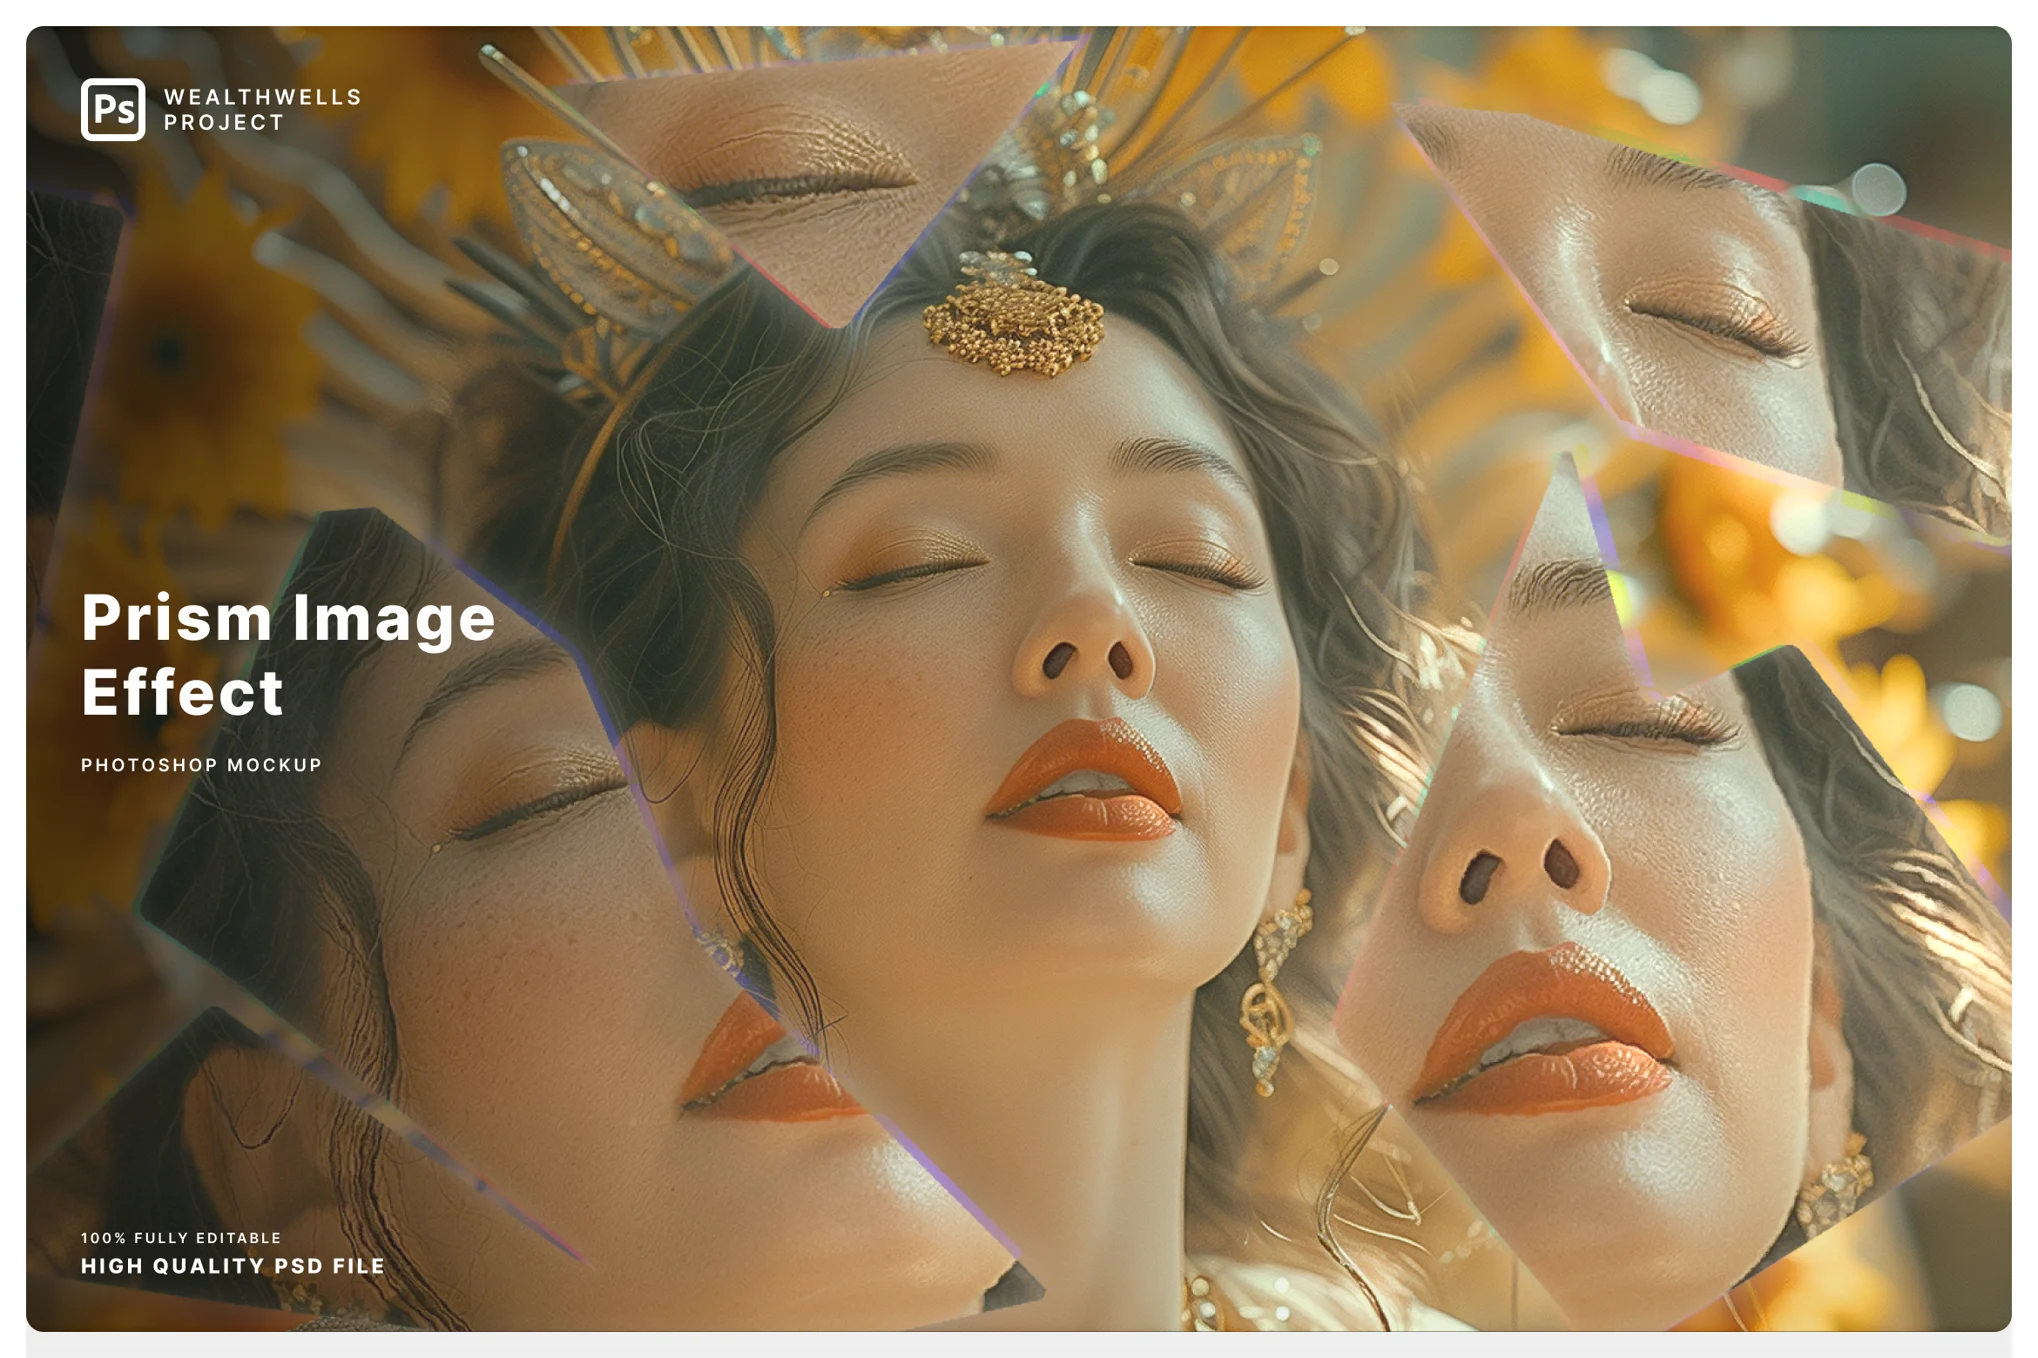
This is a dynamic Photoshop effect perfect for enhancing your portraits and selfies with a unique vibe. Ideal for influencers and content creators, this template offers simple-to-use, customizable effects with prism-like look.
Gradient Grunge Instagram Photoshop Filter

Inject a touch of trendy grunge into your images with this Photoshop filter. It offers a distinctive digital art-like look mixed with duotone colors. This high-resolution, customizable template is tailored for Photoshop, providing fast editing via smart objects and an editable color background.
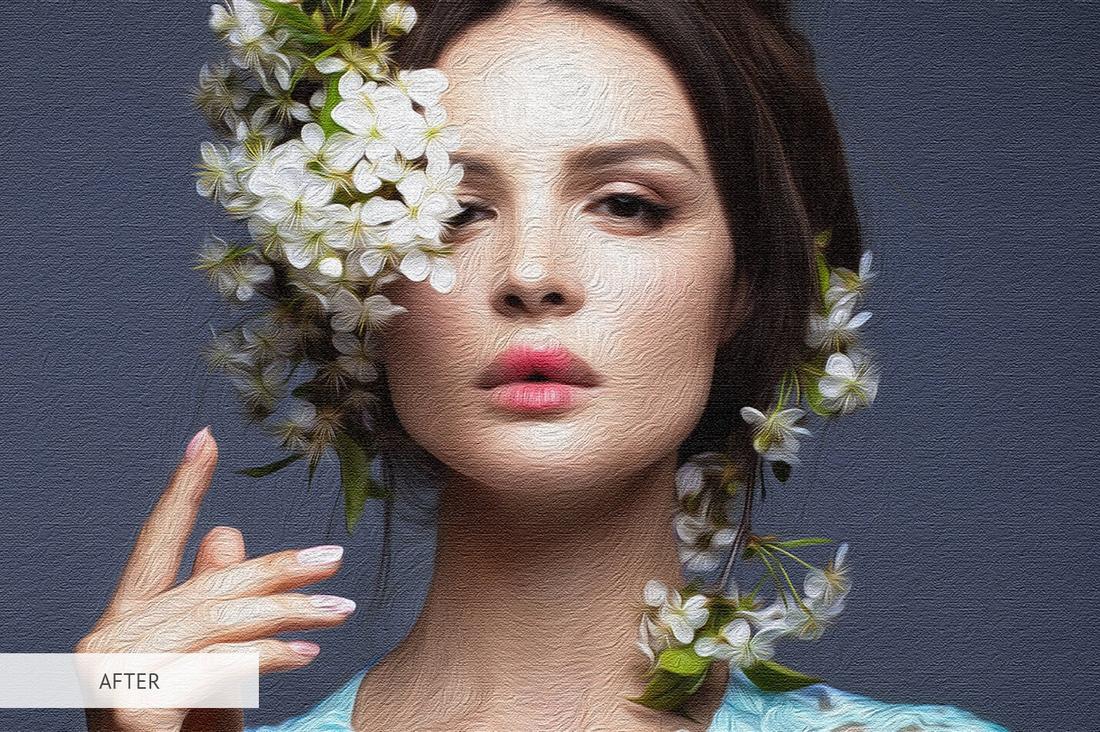
Oil Painting Photo Effect for Photoshop
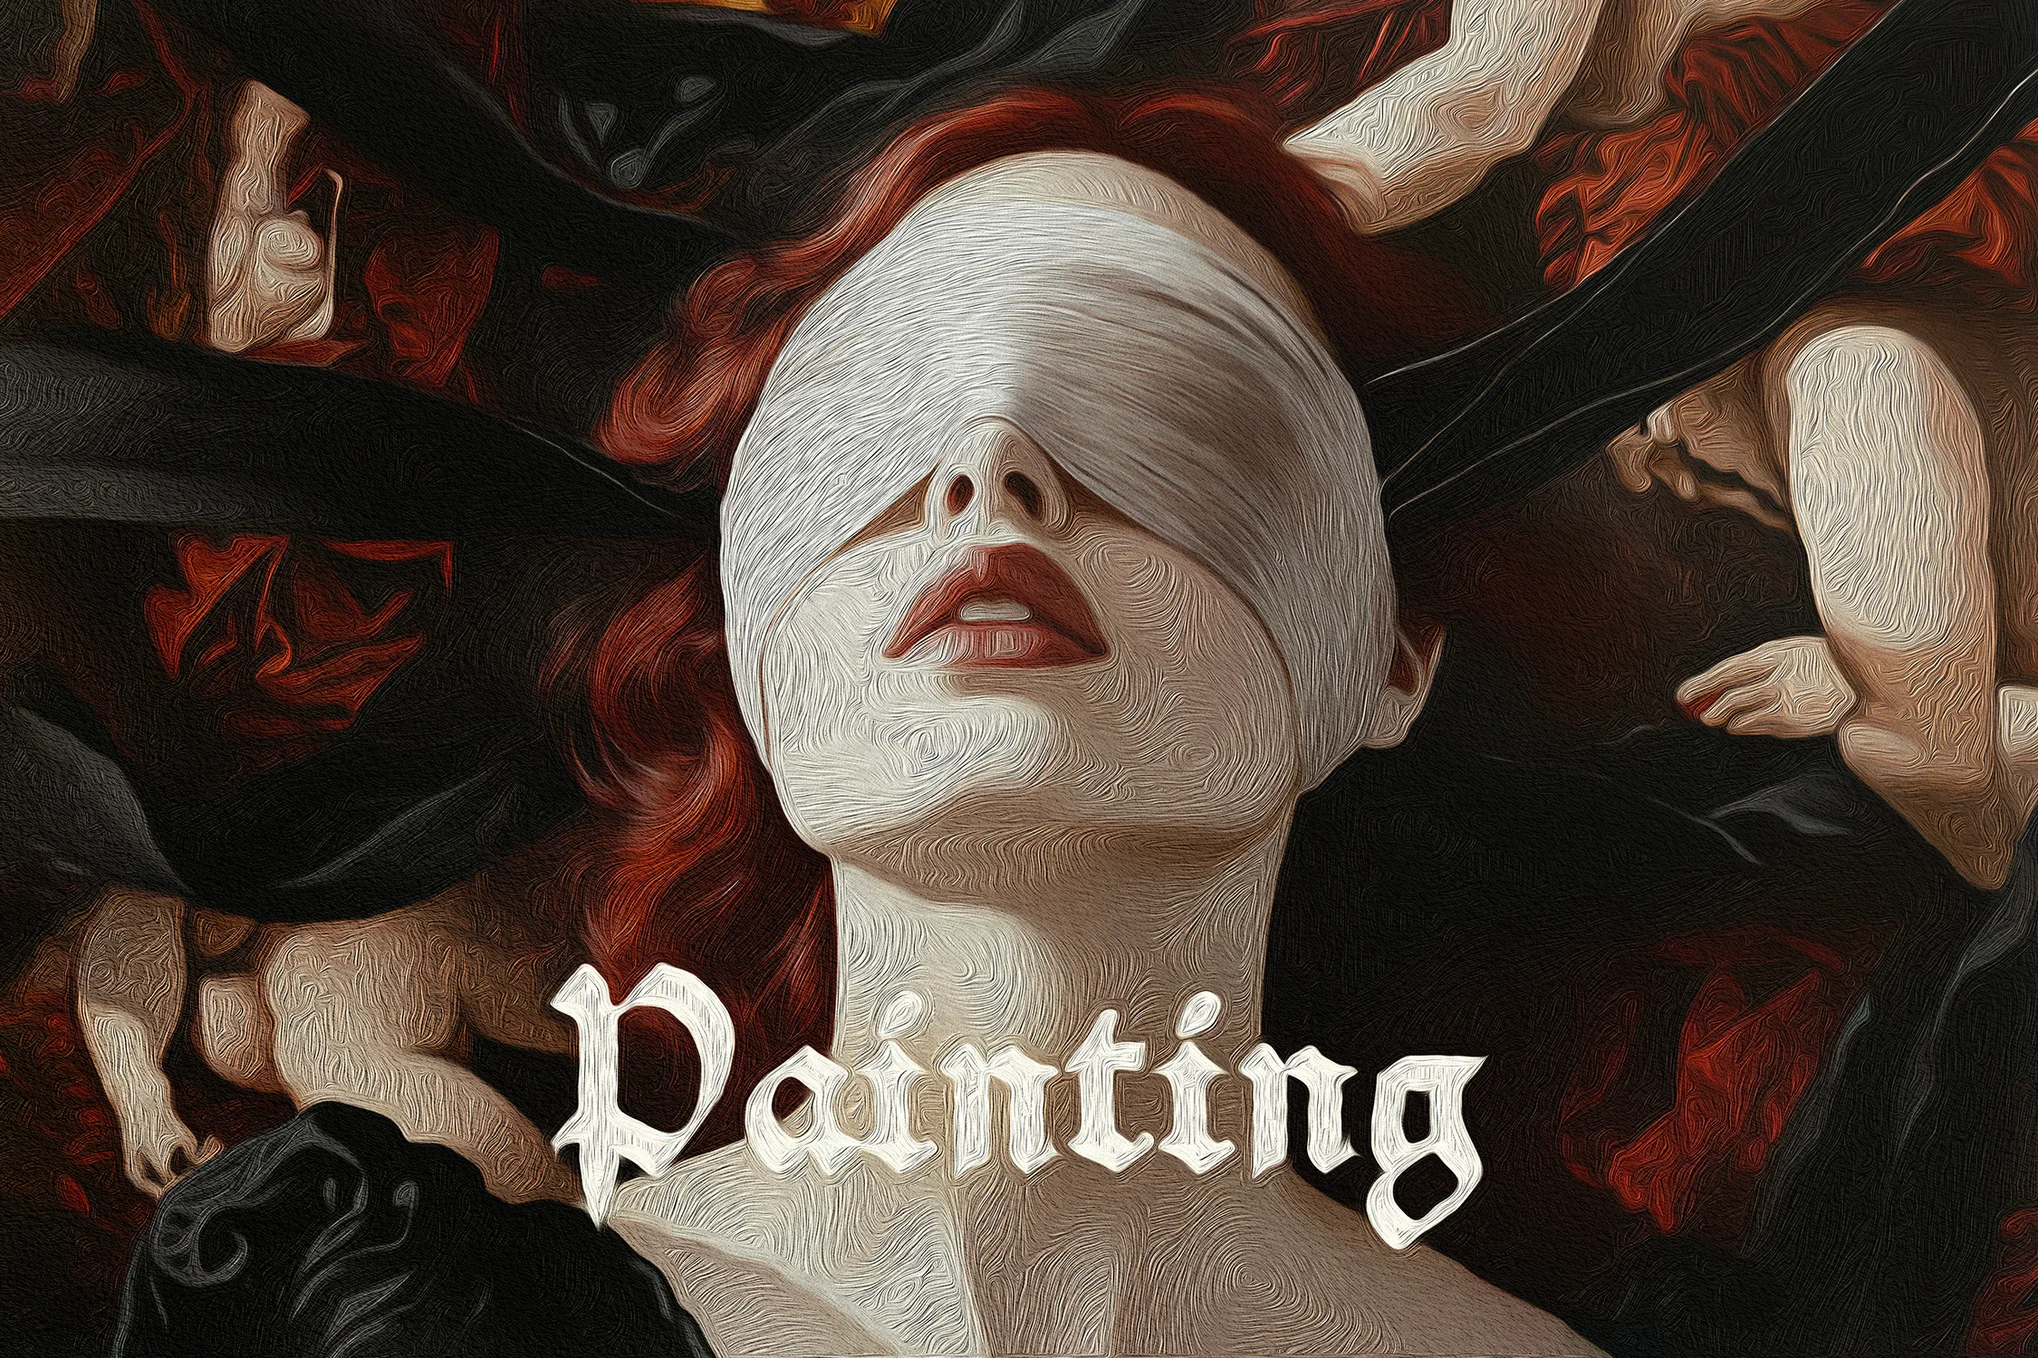
A creative Photoshop effect that enhances your Instagram images into mesmerizing, high-quality works of art with just a few clicks. With Smart Object layers for full customization and easy-to-use features, you can simply add your graphics, save, and watch as your designs transform.
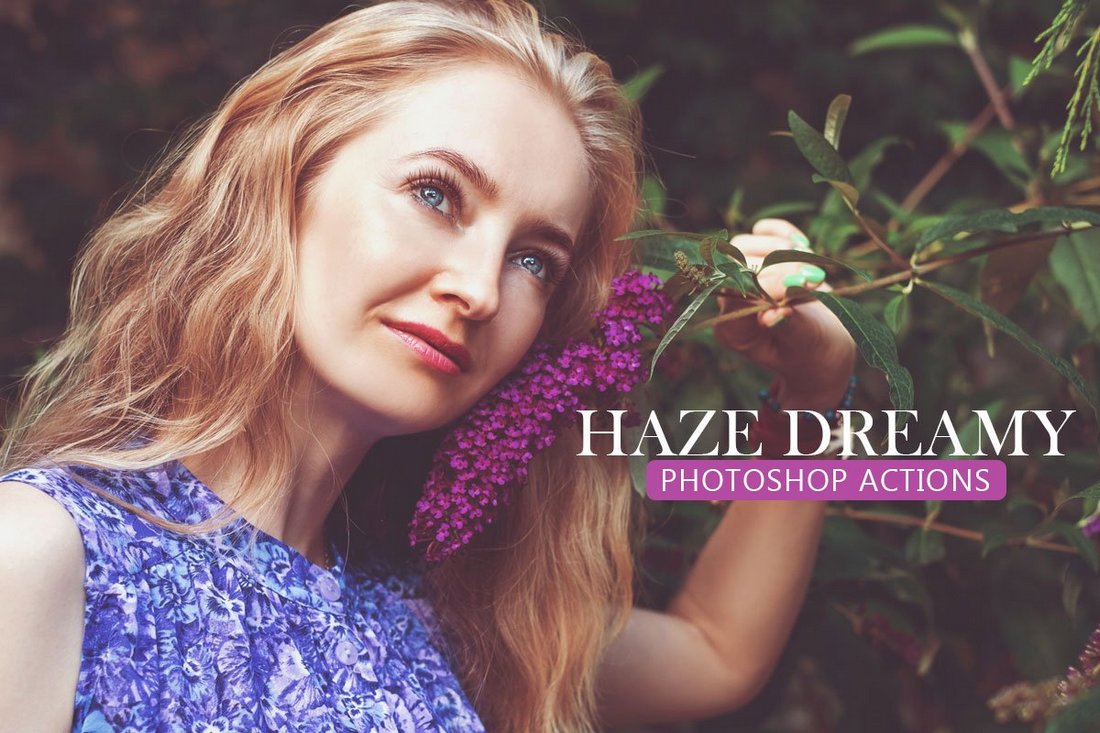
Dreamy Sparkle Instagram Photoshop Filter

This Photoshop filter offers a captivating way to enhance your images with a dreamy sparkling look. This creative asset includes 2 high-quality PSD files with a resolution of 4500 x 3000 px and 3000 x 4500 px, at 300 dpi, plus a helpful guide.
Bronze Instagram Effect Photoshop Actions
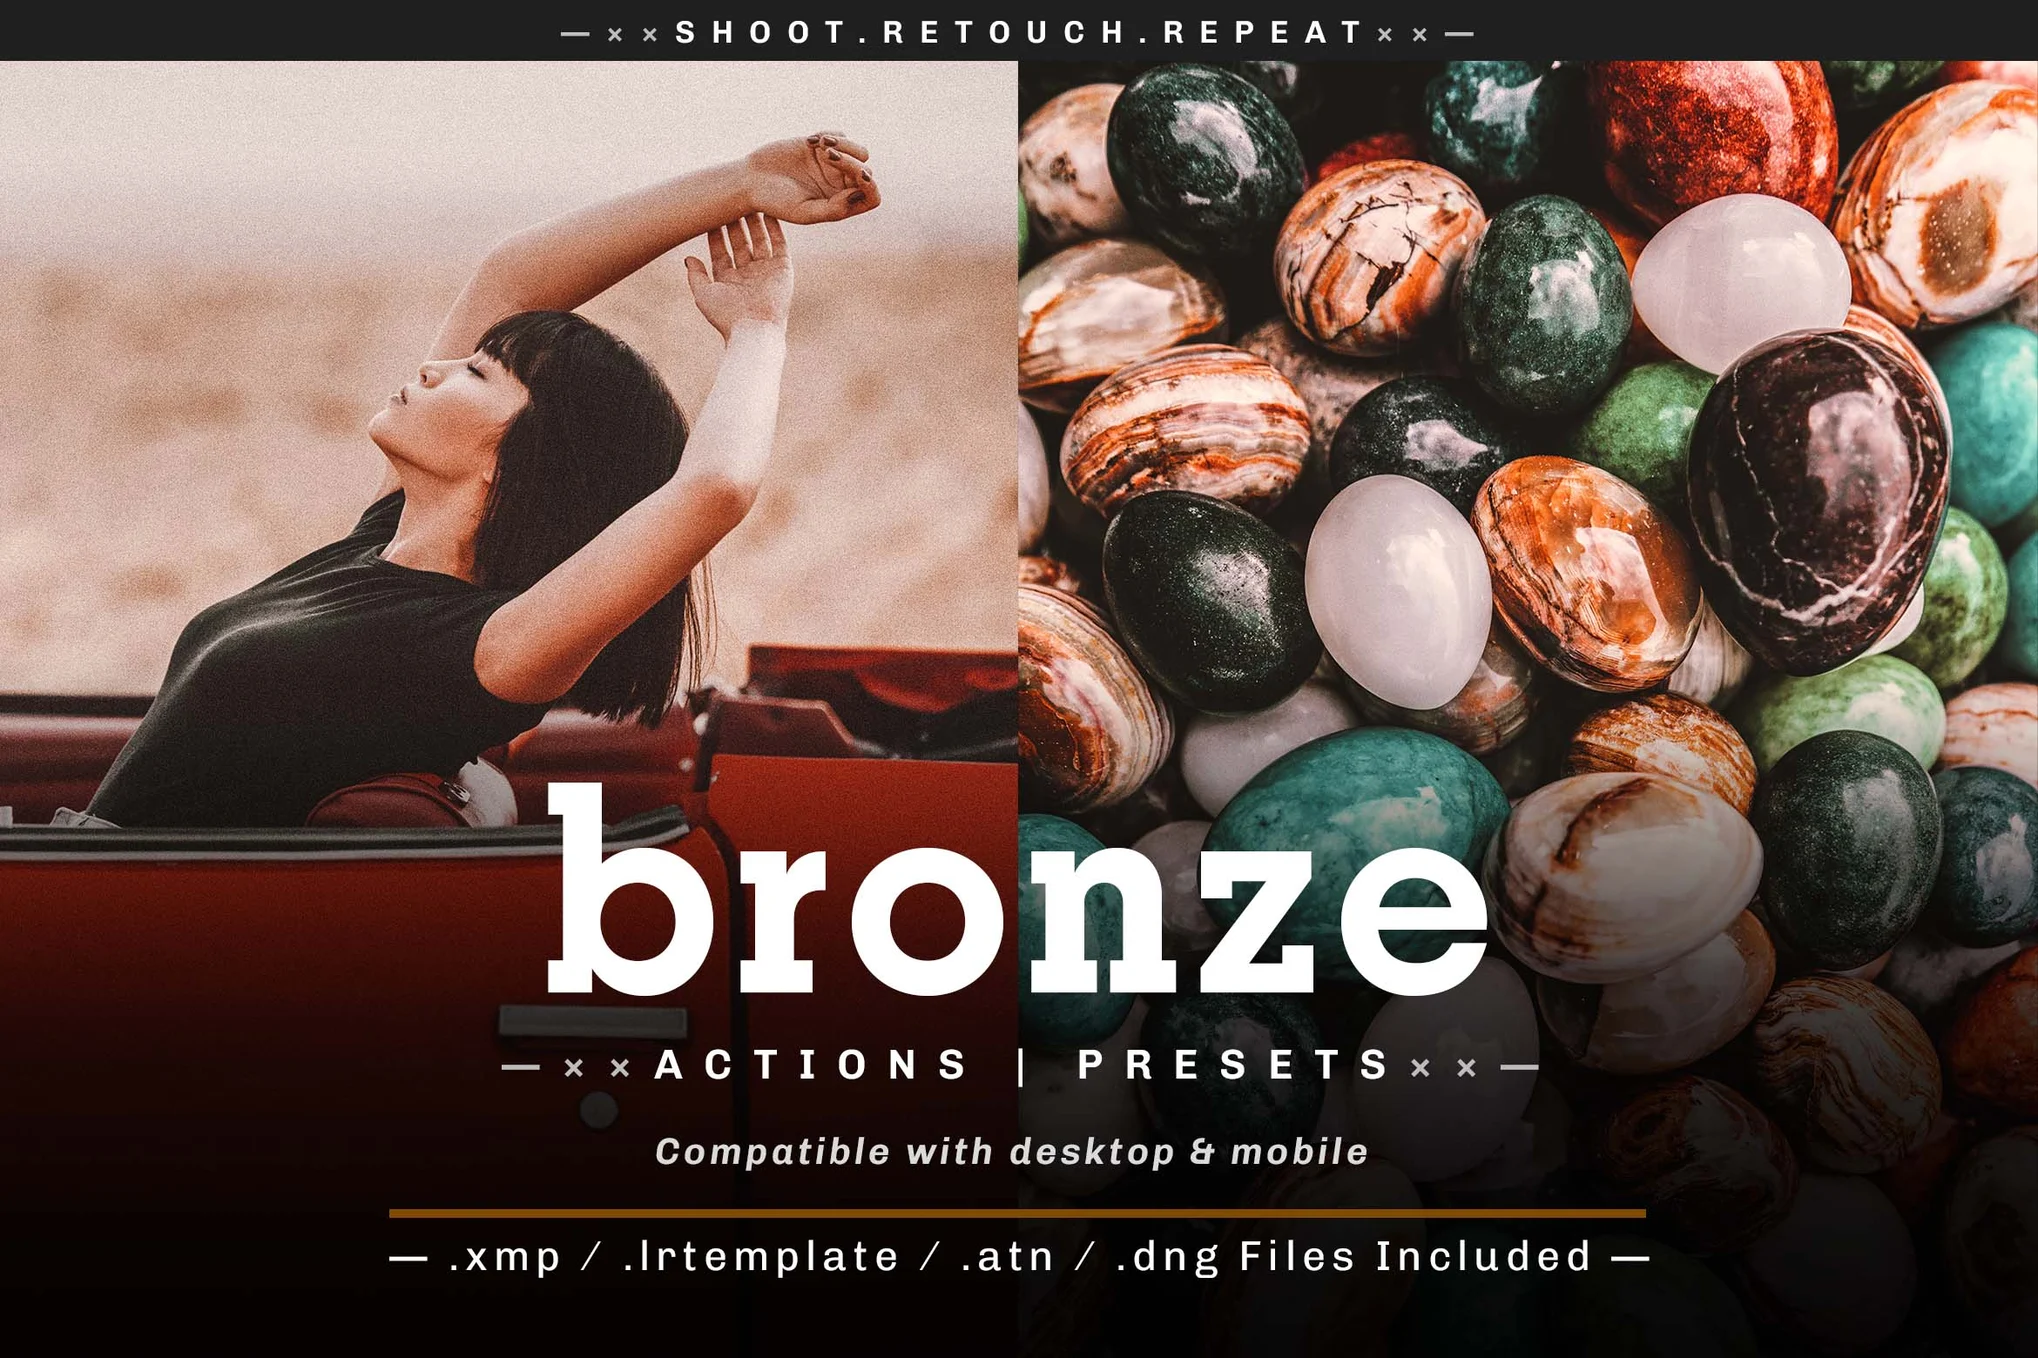
This Photoshop action enhances your visuals with a bronze-gold glow. Ideal for portraits, landscapes, and Instagram selfies, these actions can be applied with a single click, making your editing process efficient. Catering to photographers, influencers, and graphic designers alike, the package includes Lightroom presets, Photoshop actions, and camera raw presets.
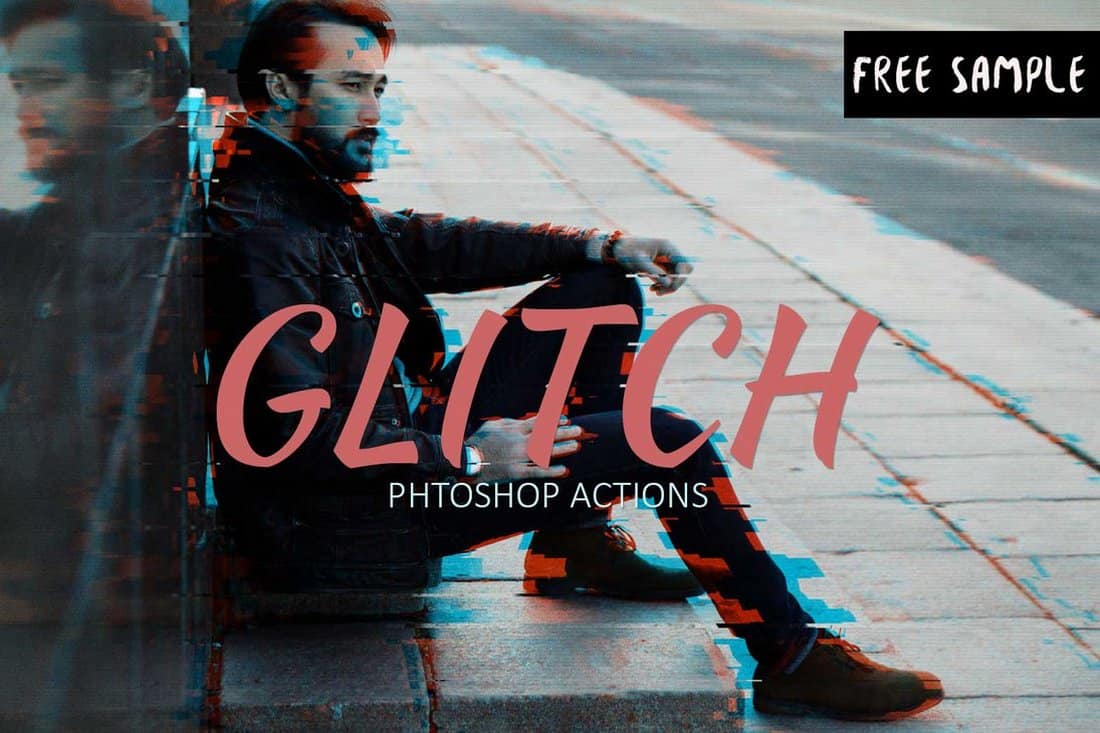
Retro Glitch Acid Photo Effect for Photoshop

This is a Photoshop template that comes with a cool acid photo-style retro glitch effect. It’s one of the most unique filters on our list that will help you transform your regular selfies and photos into unique designs. You can use smart objects to apply the filter to your photos with just a few clicks.
Old Sepia Burn Photo Effect for Photoshop

If you prefer classic vintage filters for adding a nostalgic look to your photography, then this Photoshop effect is a must-have for you. It features a realistic-looking sepia burn effect. This template also comes with organized layers and smart objects for easy editing.
Matte Look Instagram Filters Photoshop Action
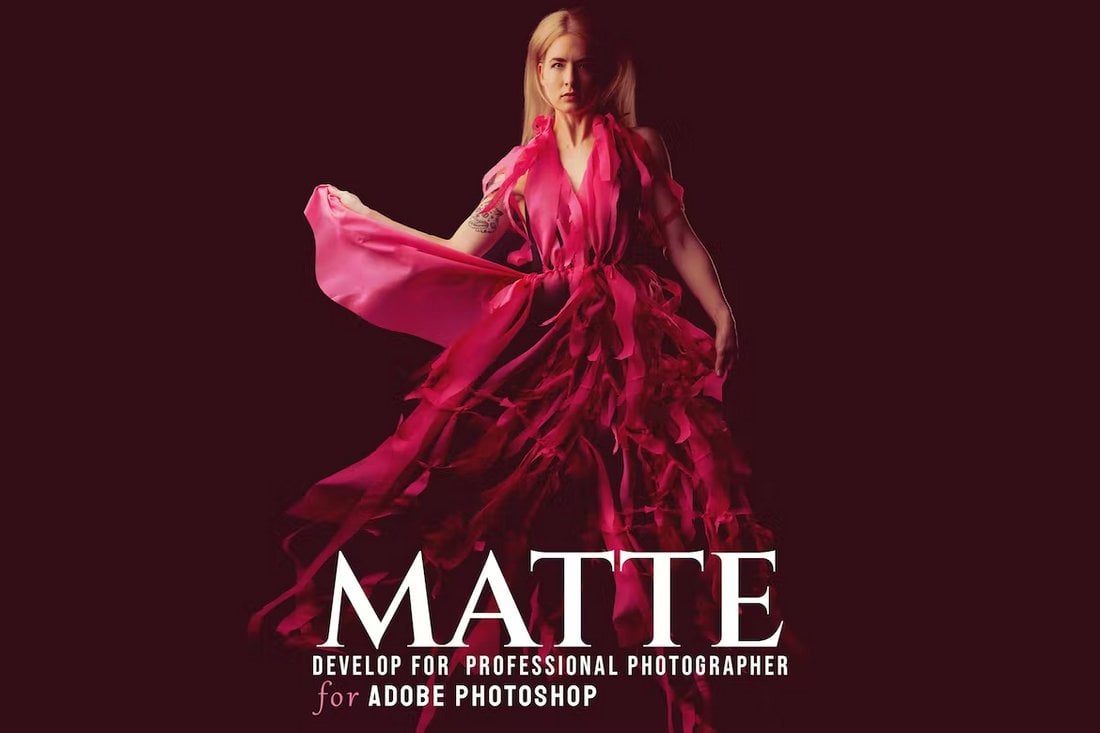
This Photoshop action features a creative matte effect that’s ideal for enhancing your Instagram photos. The PS action is designed by a group of professional photographers and it has a subtle retro-vintage style filter that’s ideal for outdoor photography.
Urban Vintage Instagram Filter Photoshop Action
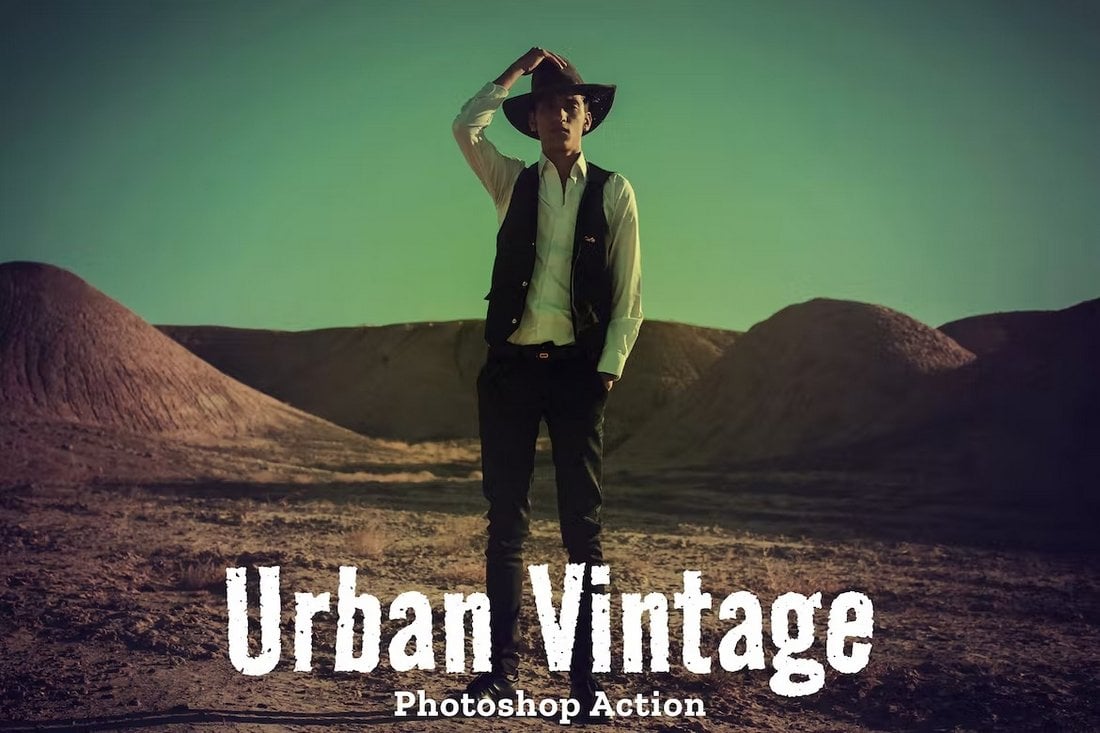
Your outdoor portraits and selfies will look much more attractive with this Photoshop filter. It features an urban vintage effect that adds a classic nostalgic look to your photos. The PS action is easy to use and has customizable features.
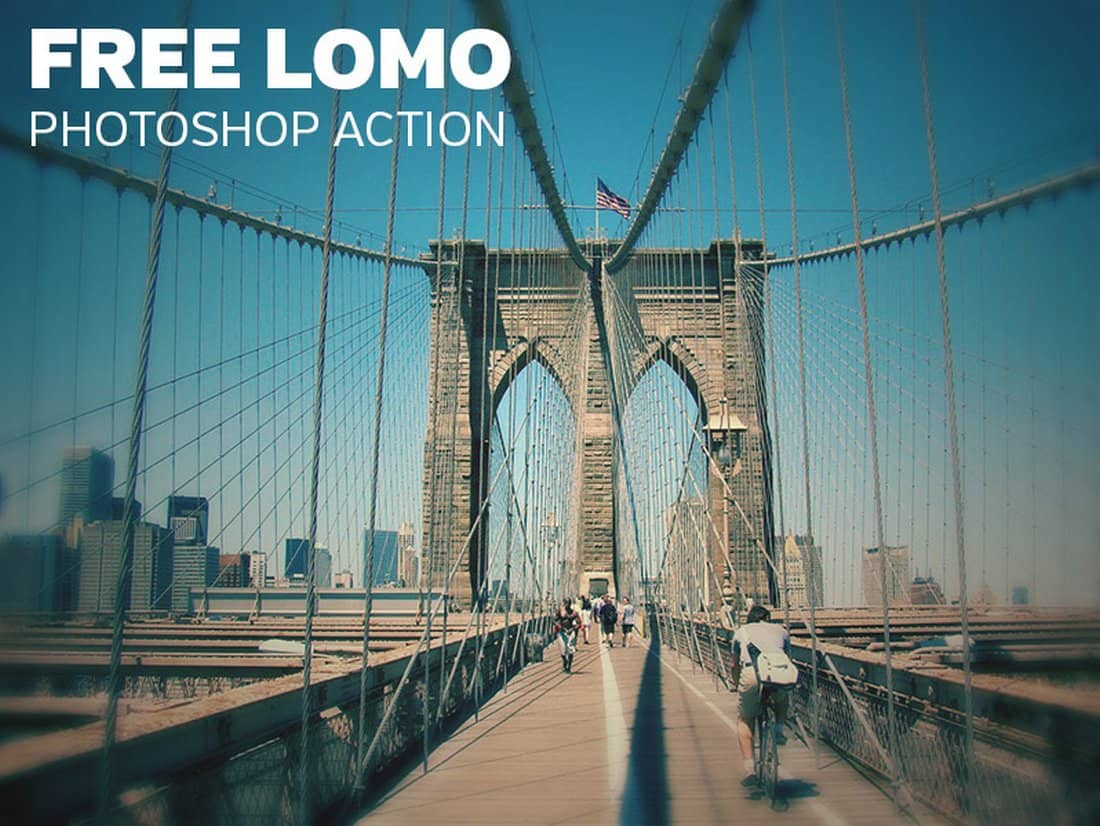
Lens Distortion Free Instagram Filter PSD

You can download this Instagram filter for free to add a subtle lens distortion effect to your photos. It comes as an editable Photoshop template with smart objects. You can easily replace the photo in the PSD file to apply the effect.
Fisheye Lens Photo Effect Template

This Photoshop photo effect template offers a unique way to transform your images with a fisheye lens-style effect. Ideal for photographers, digital artists, and graphic designers, it provides a dynamic twist to your projects using glitch, blur, and grunge effects.
Colorful Exposure Photo Effect PSD

This Photoshop photo effect can transform your photos into vibrant pieces of art in a few clicks. It features smart object layers for seamless customization and versatility. Replace the placeholder shot with your graphic, save, and see your creation come to life.
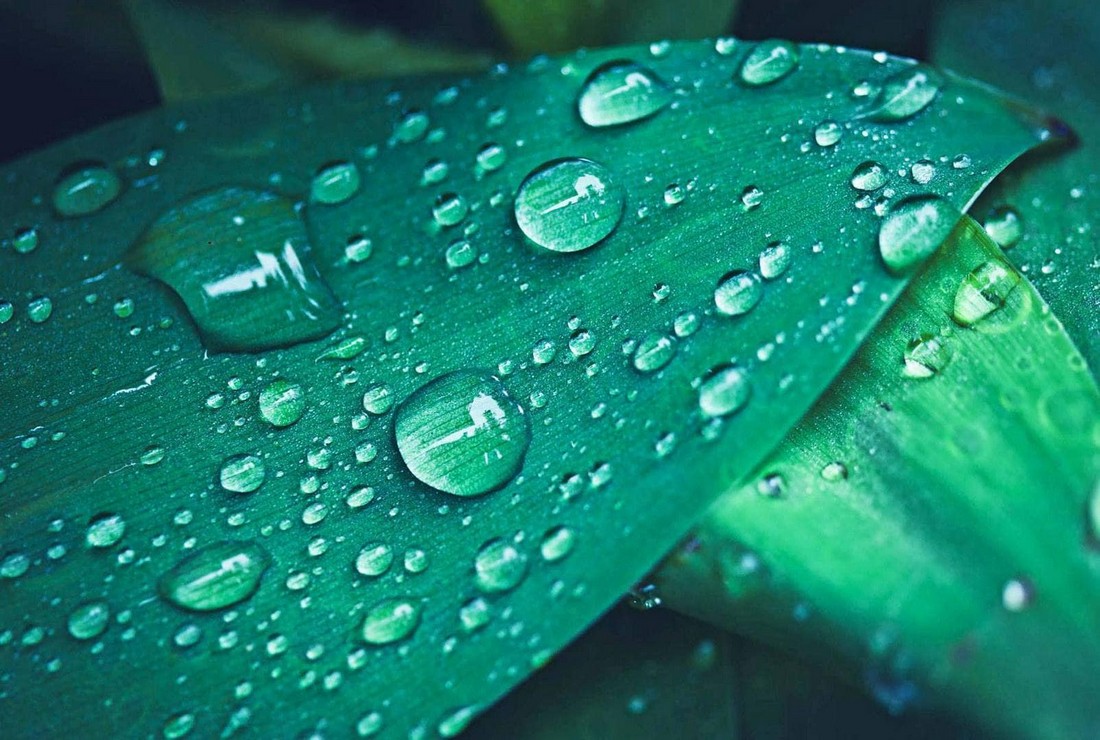
Grain Film Photo Effect for Photoshop

This Photoshop photo effect is perfect for a multitude of images including fashion, lifestyle, and moody product shots. It adds a unique vintage-style grainy film look to your photos. The download includes a PSD file and a helpful guide.
Painted Canvas Photoshop Effect

This Photoshop template allows anyone to create a painted canvas look on any image easily and quickly. It uses smart object layers for user-friendly customization, letting you add your own graphics just by opening a specific layer. The package includes two PSD files in high resolution.
Smudged Scan Line Photocopy Effect

Perfect for photographers and graphic designers, this Photoshop photo effect comes in Photoshop action that creates an alluring aesthetic look with just one click. Compatible with all Photoshop CC versions, it’s a straightforward way to elevate your photos, particularly for Instagram.
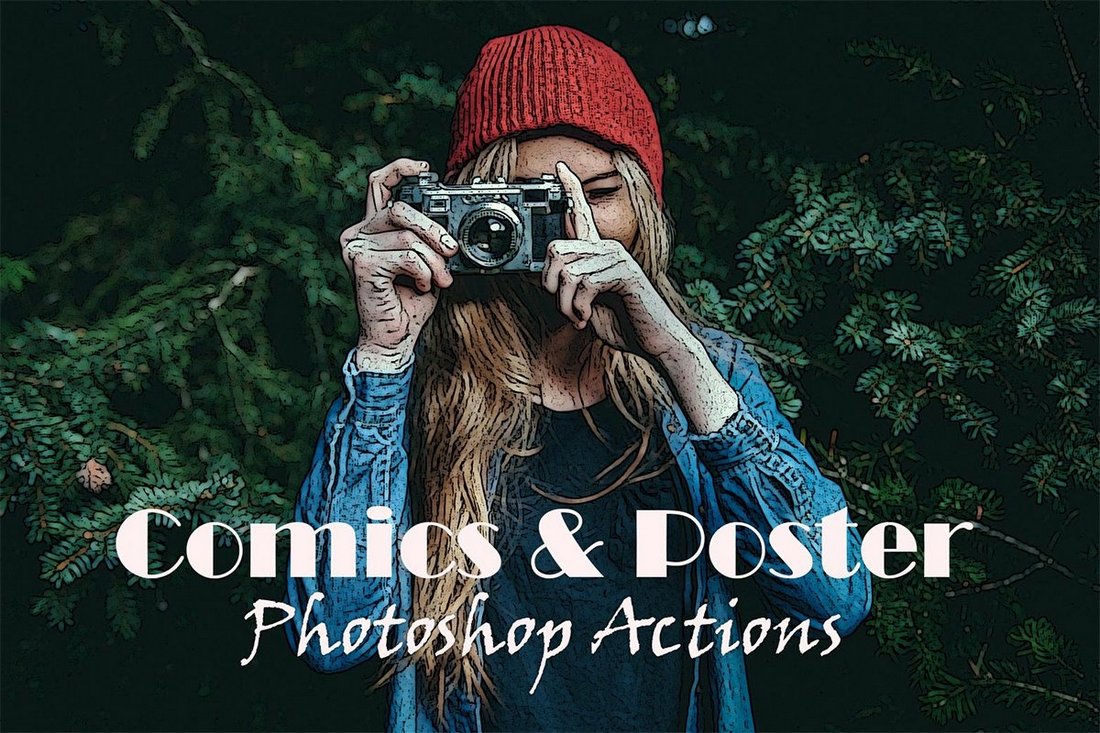
Cartoonist Avatar Photoshop Action
A handy Photoshop photo effect for photographers and graphic designers, enabling them to apply cartoon-style effects to portraits with just one click. Suitable for use with Photoshop CC and later versions, it offers a range of effects including HDR, oily and portrait oil effects, and even a classic oil painting effect.
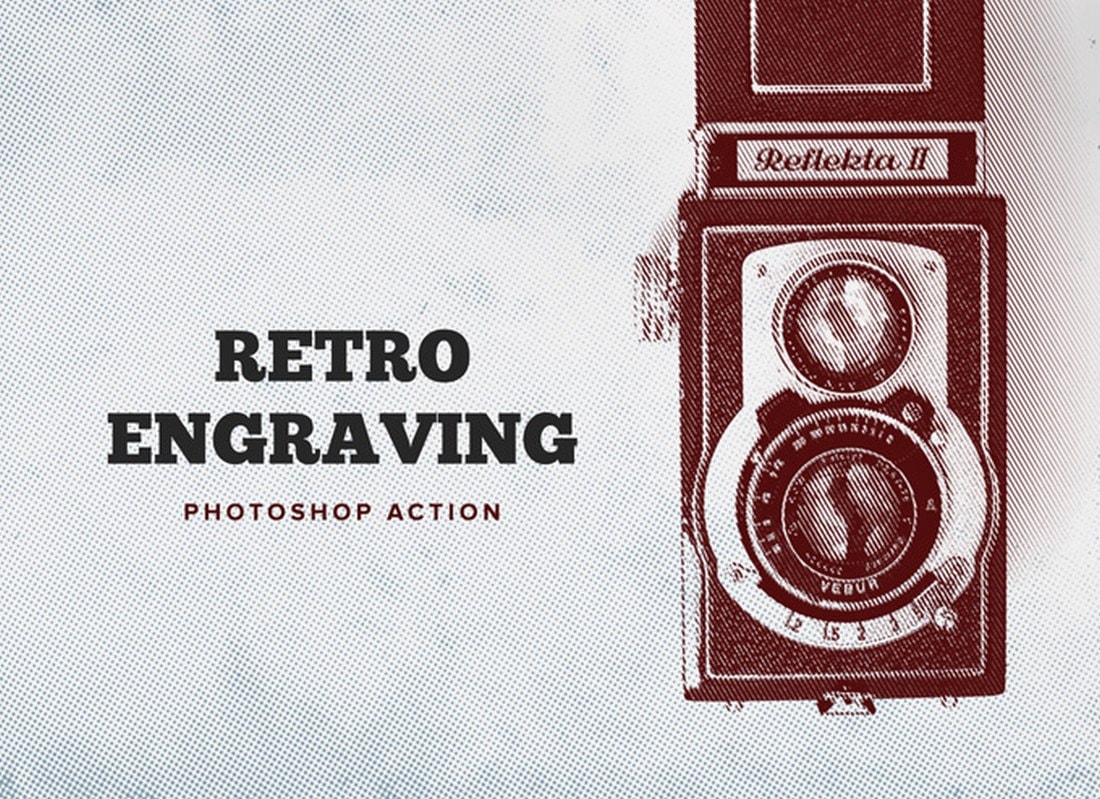
Retro Vintage Photoshop Film Effect

This is an excellent Photoshop photo effect for photographers and graphic designers. It provides an easy way to achieve the beautiful, nostalgic look seen in many classic photos. It offers a convenient one-click editing solution that’s perfect for enhancing your everyday or Instagram photos.
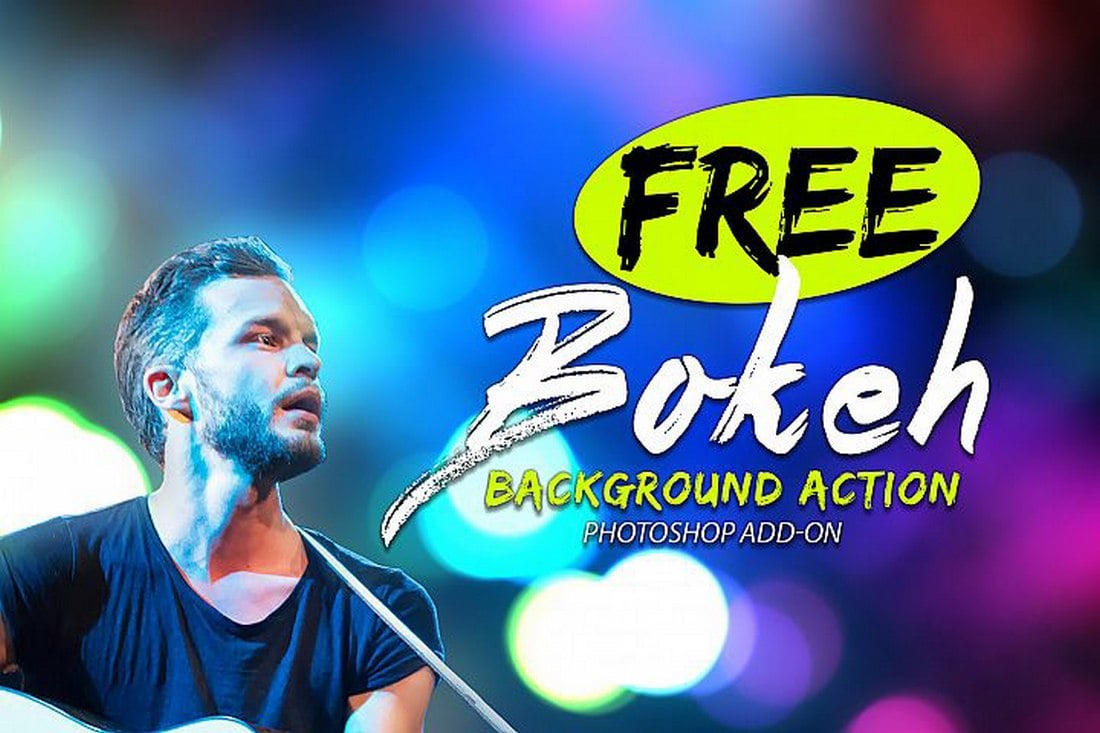
Bokeh Lights Effect for Photoshop

This Photoshop bundle empowers graphic designers and photographers with professional actions. It helps achieve a sought-after aesthetic look for photo posts with just a quick click. Ideal for enhancing Instagram photos and taking everyday pictures to the next level.
Halftone Image Effect for Photoshop

This is a photo effect that allows you to produce beautiful, high-quality halftone images. It uses Smart Object layers for full customization simplicity. It’s as easy as deleting the placeholder photo, inserting your graphics, and letting the design magic unfold.
Triangle Prism Photo Effect for Photoshop

With Smart Object layers for seamless customization, this Photoshop photo effect lets you transform your images into high-quality captivating visuals. The package includes 2 PSD files with fully customizable layouts and high-quality prismatic effects.
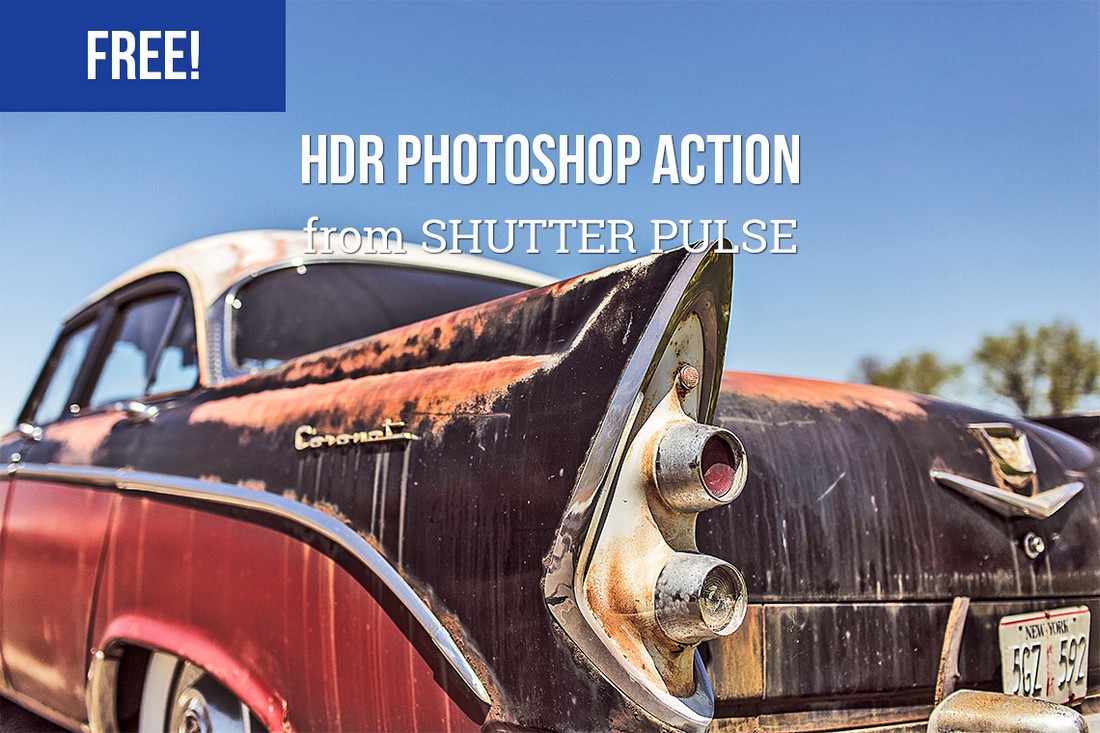
Ultra HDR Instagram Filter Photoshop Action

With this Photoshop action, you can add a realistic ultra HDR look to your everyday photos. It will simply make your photos look sharp and detailed, just like a photo taken with a DSLR camera.
Painted Art Photoshop Filter for Instagram

Just as the name suggests, this Photoshop action allows you to completely transform your photos into painted art. It works perfectly for portrait photos, especially for indoor photography. The effect itself can be customized to your preference.
Film Grain Photo Effect Instagram Filter

Use this Photoshop template to apply a retro filter to your Instagram photos. It comes with a nostalgic film grain effect that will make your selfies and portrait photos look extra special. The PSD file includes organized layers and smart objects.
Old Times Photo Filter for Instagram

Make your modern photos look like vintage black and white portraits with this Photoshop photo filter. It features a realistic-looking filter that applies a vintage weathered effect to your photos.
Free Oil Painting Instagram Filter for Photoshop

This free Photoshop action will make your photos look like oil paintings. It features a highly detailed effect that works best with portrait photos. The effect can be customized to your preference as well.
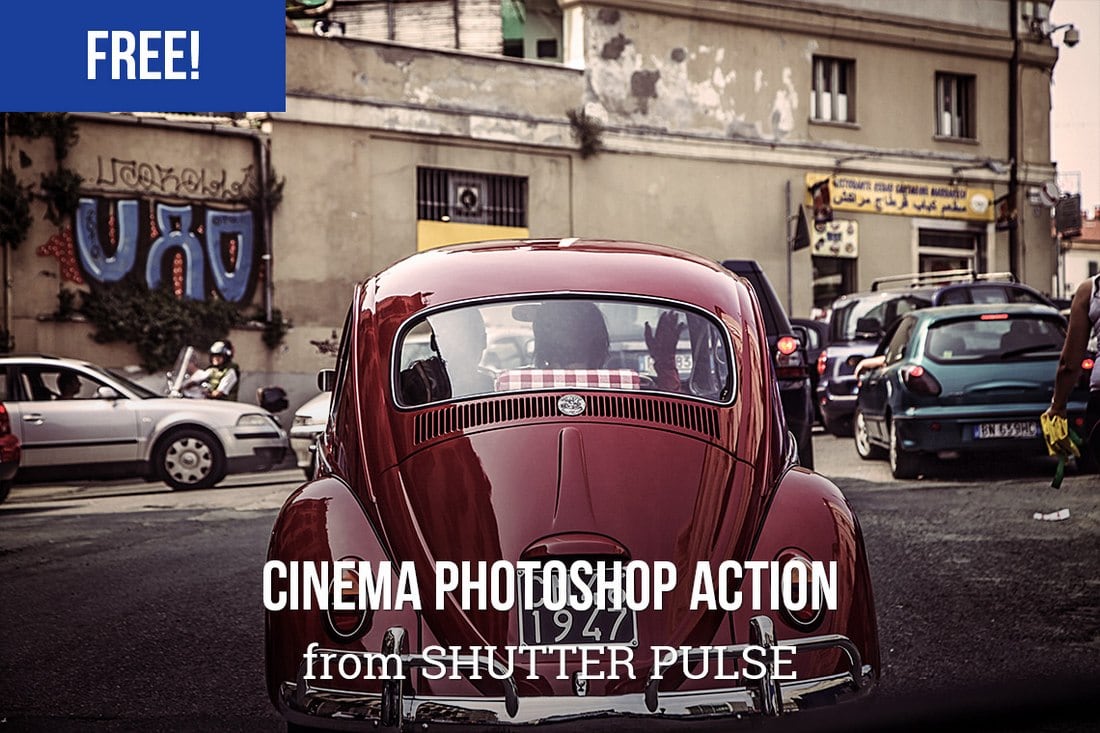
Asian Cinema – Instagram Photoshop Actions & Presets

This Photoshop action pack features a beautiful cinematic effect inspired by Asian cinema. It’s perfect for giving a colorful warm look to your Instagram photos. The filters are available in both Photoshop action and Lightroom preset formats.
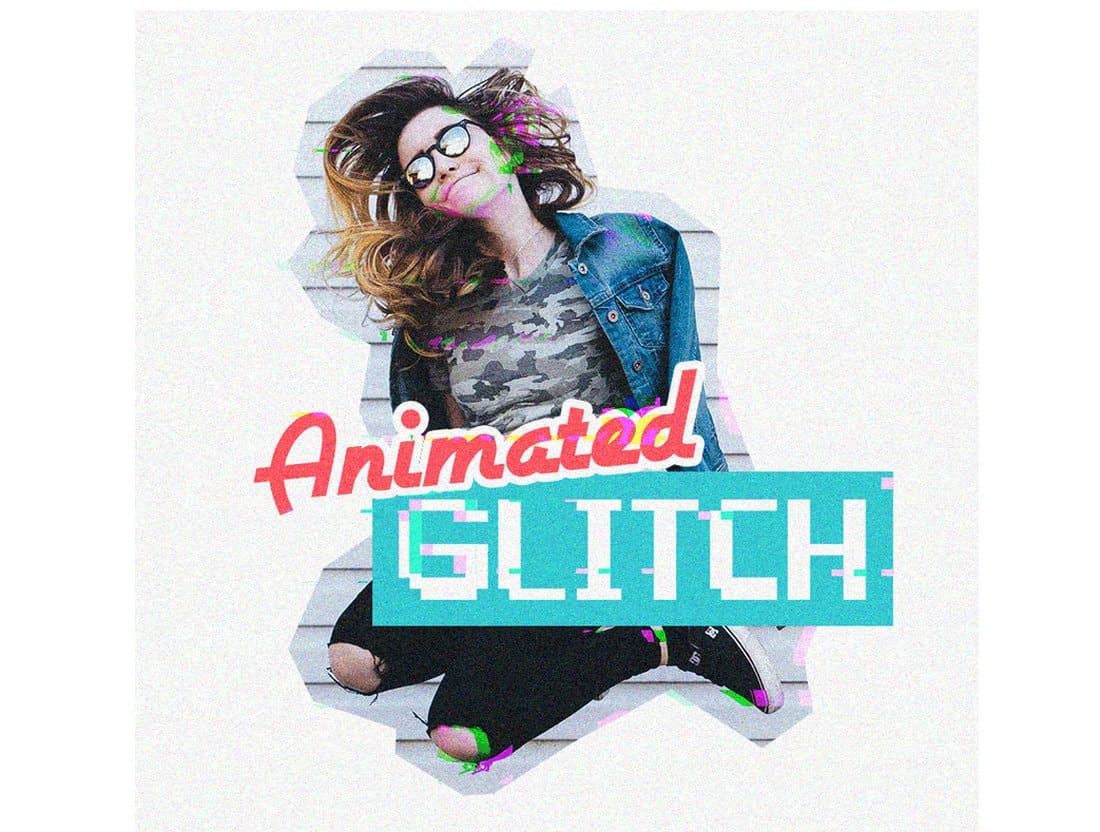
Glitch Effect Photoshop Action for Instagram

This action will come in handy when creating unique and promotional posts for Instagram. It allows you to create a cool glitch effect using your portrait photos. The action is very easy to use and it’s compatible with Photoshop CC.
Double Exposure – Instagram Photoshop Action

Easily create a stylish double exposure effect with your photos using this Photoshop action. It features an easily customizable effect that you can use to combine photos to create cool double-exposure filters for Instagram posts.
Avocado – Natural Instagram Photoshop Actions
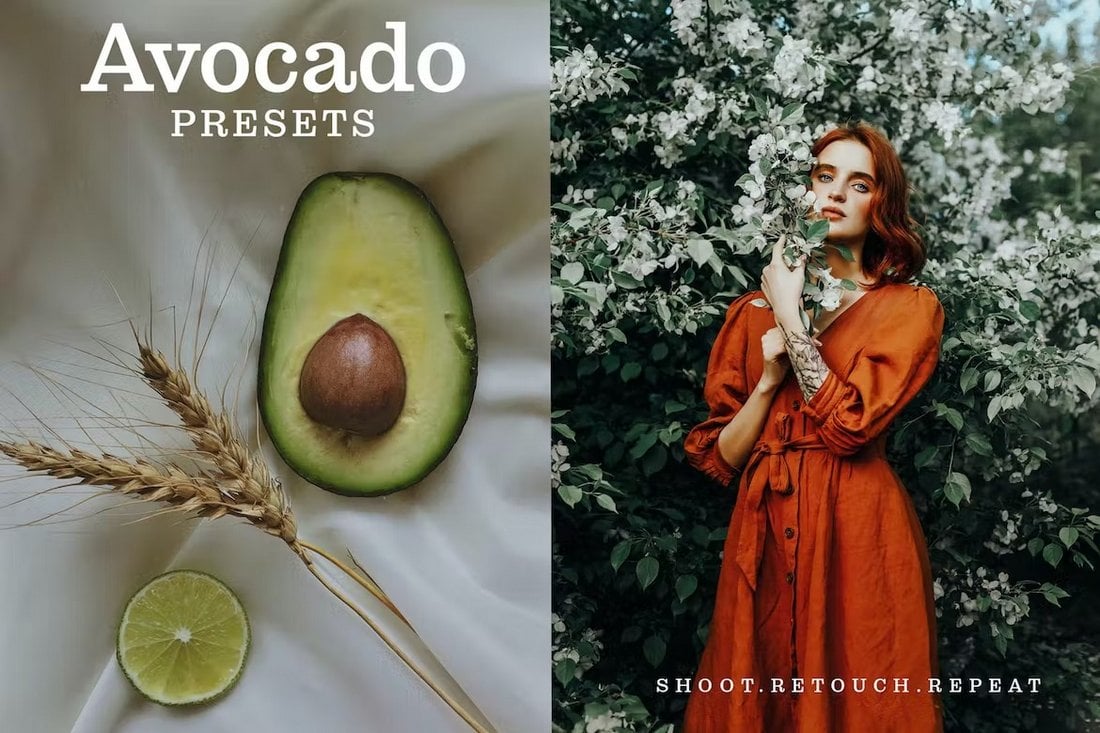
Inspired by natural color tones, this Photoshop action pack allows you to enhance your portraits and outdoor photos with proper lighting and exposure with just a few clicks. There are 7 different Photoshop actions and Lightroom presets in this bundle.
Cine – Cinematic Instagram Photoshop Action

A Photoshop action made for professional photographers. This action comes with a stylish cinematic filter that gives a Hollywood movie look to your ordinary photos. The effect can be customized to your preference.
Rustic – Free Instagram Photoshop Action

This free Photoshop action will instantly give your Instagram photos a dreamy look and feel. It has a rustic-theme effect that enhances the colors to bring out a retro look in your photos.
Soft Painting – Photoshop Action for Instagram Portraits

Want to make your Instagram portrait photos look like paintings? Then give this Photoshop action a try. It allows you to easily create a soft painting look for your selfies. It works with Photoshop CS3 and higher.
HDR Sports Instagram Filters for Photoshop
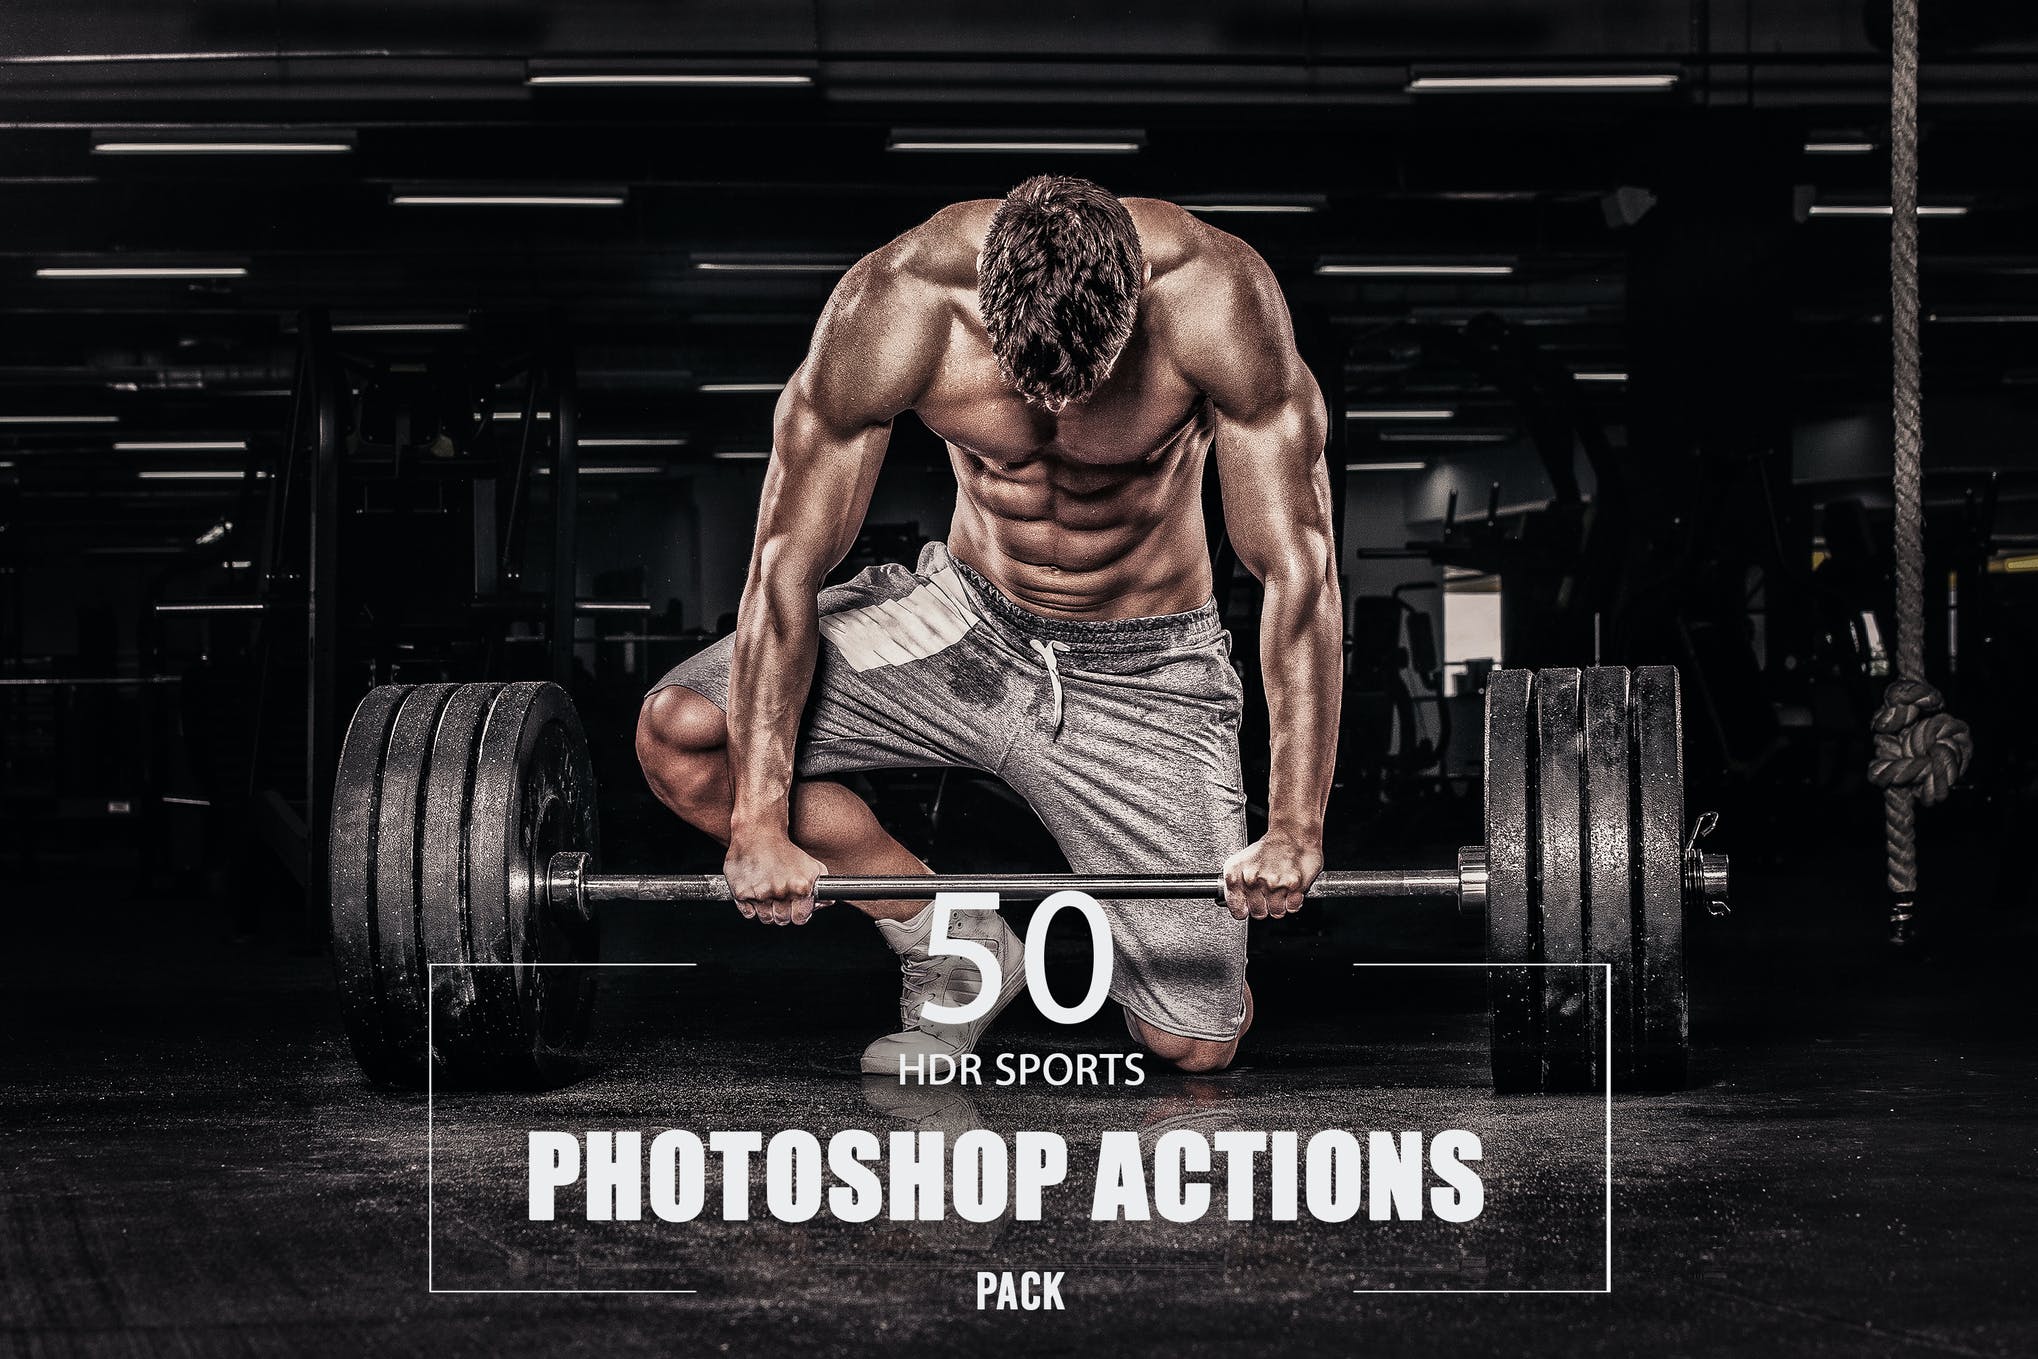
Here we have a collection of 50 Photoshop Instagram filters that lets you create incredibly amazing photos in mere minutes. The actions are non-destructive, work well with Photoshop CS4 and above versions, and are very easy to use. Try it out today!
Modern Instagram Filters For Photoshop

Wanting to give an appealing look to your pictures? Look no further than this premium Photoshop Action for Instagram that is sure to create an impression and make you Instagram famous overnight.
Stylish Photoshop Instagram Filters

Use this pack of Instagram filters for Photoshop and make your feed scroll-worthy. It comes with a range of professional Photoshop Actions that will give a complete makeover to your pictures and blow your followers away.
Insta Blogger – Free Photoshop Instagram Filters
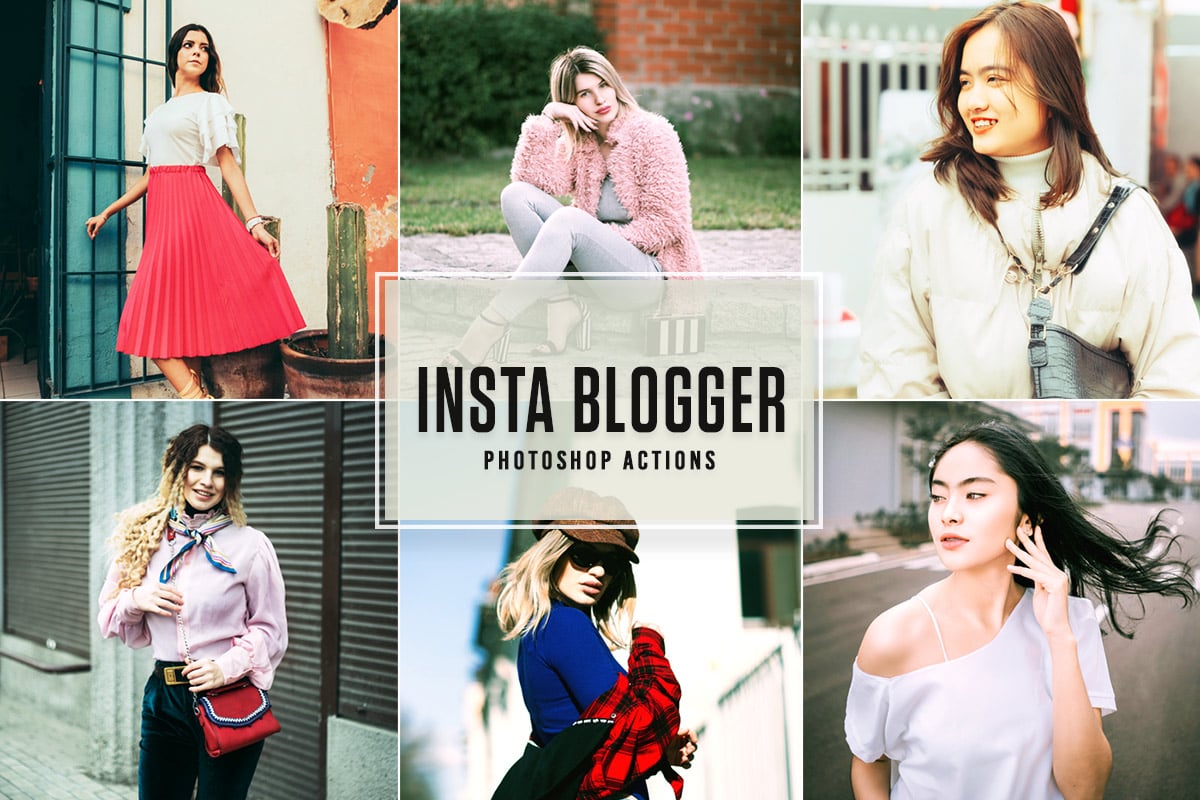
Ideal for amateurs and professionals alike, this collection of Photoshop Actions will help you achieve beautiful tones and make your pictures Instagram-ready in just a few easy mouse clicks. The best part? The presets are available for free download.
CineStock Moody Photoshop Actions

CineStock is a collection of professional Photoshop actions that feature 18 different filters you can use to add a moody toning effect to your outdoor landscape photos and nature photography.
Beach Vibes 25 Photoshop Actions
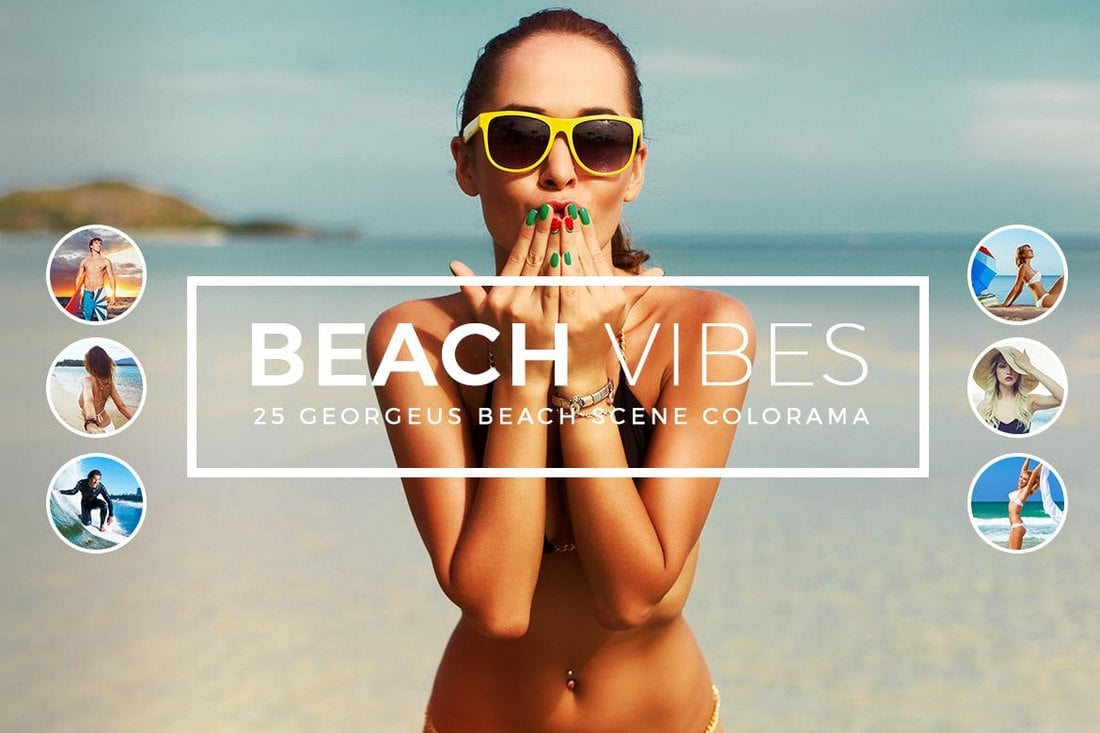
Make your beach photos look even more beautiful and professional using this bundle of Photoshop actions. It includes 25 different actions with various Instagram-like filter effects.
Selective Color Creative Photoshop Action

Selective color is a popular design technique used mostly in promotional materials for luxury and jewelry brands, especially for highlighting products. This Photoshop action will allow you to create the same effect in your photos to create better marketing graphics to promote your brand on Instagram.
Infrared IR – Instagram Photoshop Actions

Infrared IR is a collection of modern and creative Photoshop actions that features a set of effects similar to the filters you use on Instagram. This bundle includes 12 different Photoshop actions with smart filters, allowing you to easily customize the effect however you like.
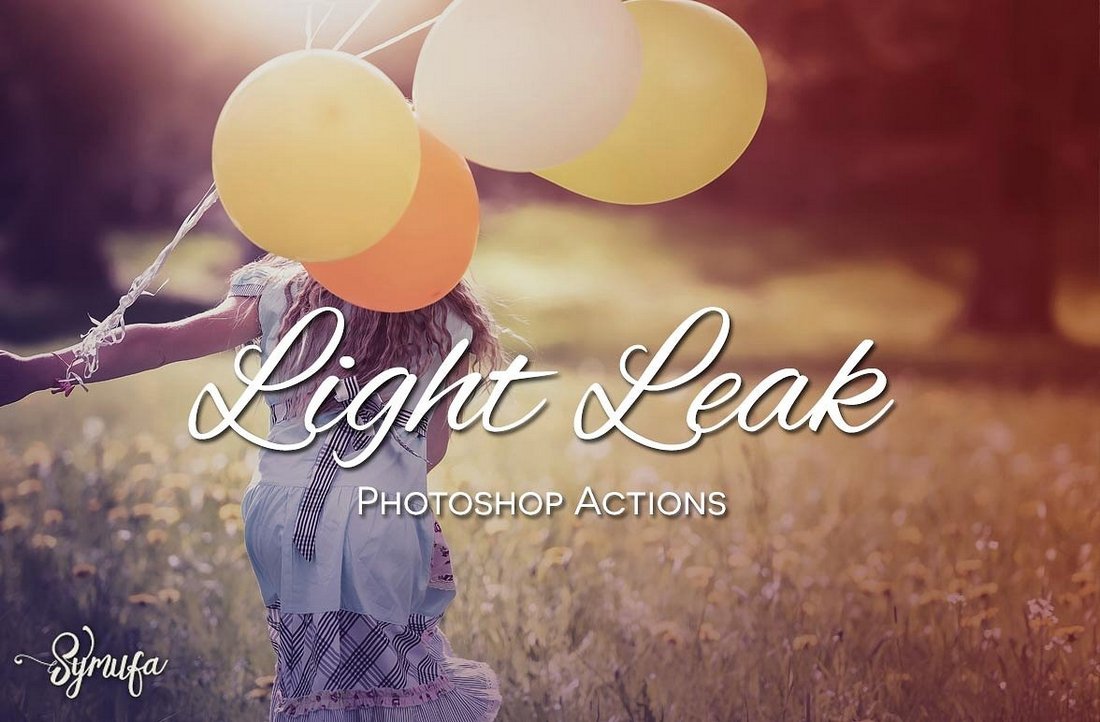
Lightleaks Photoshop Instagram Filters
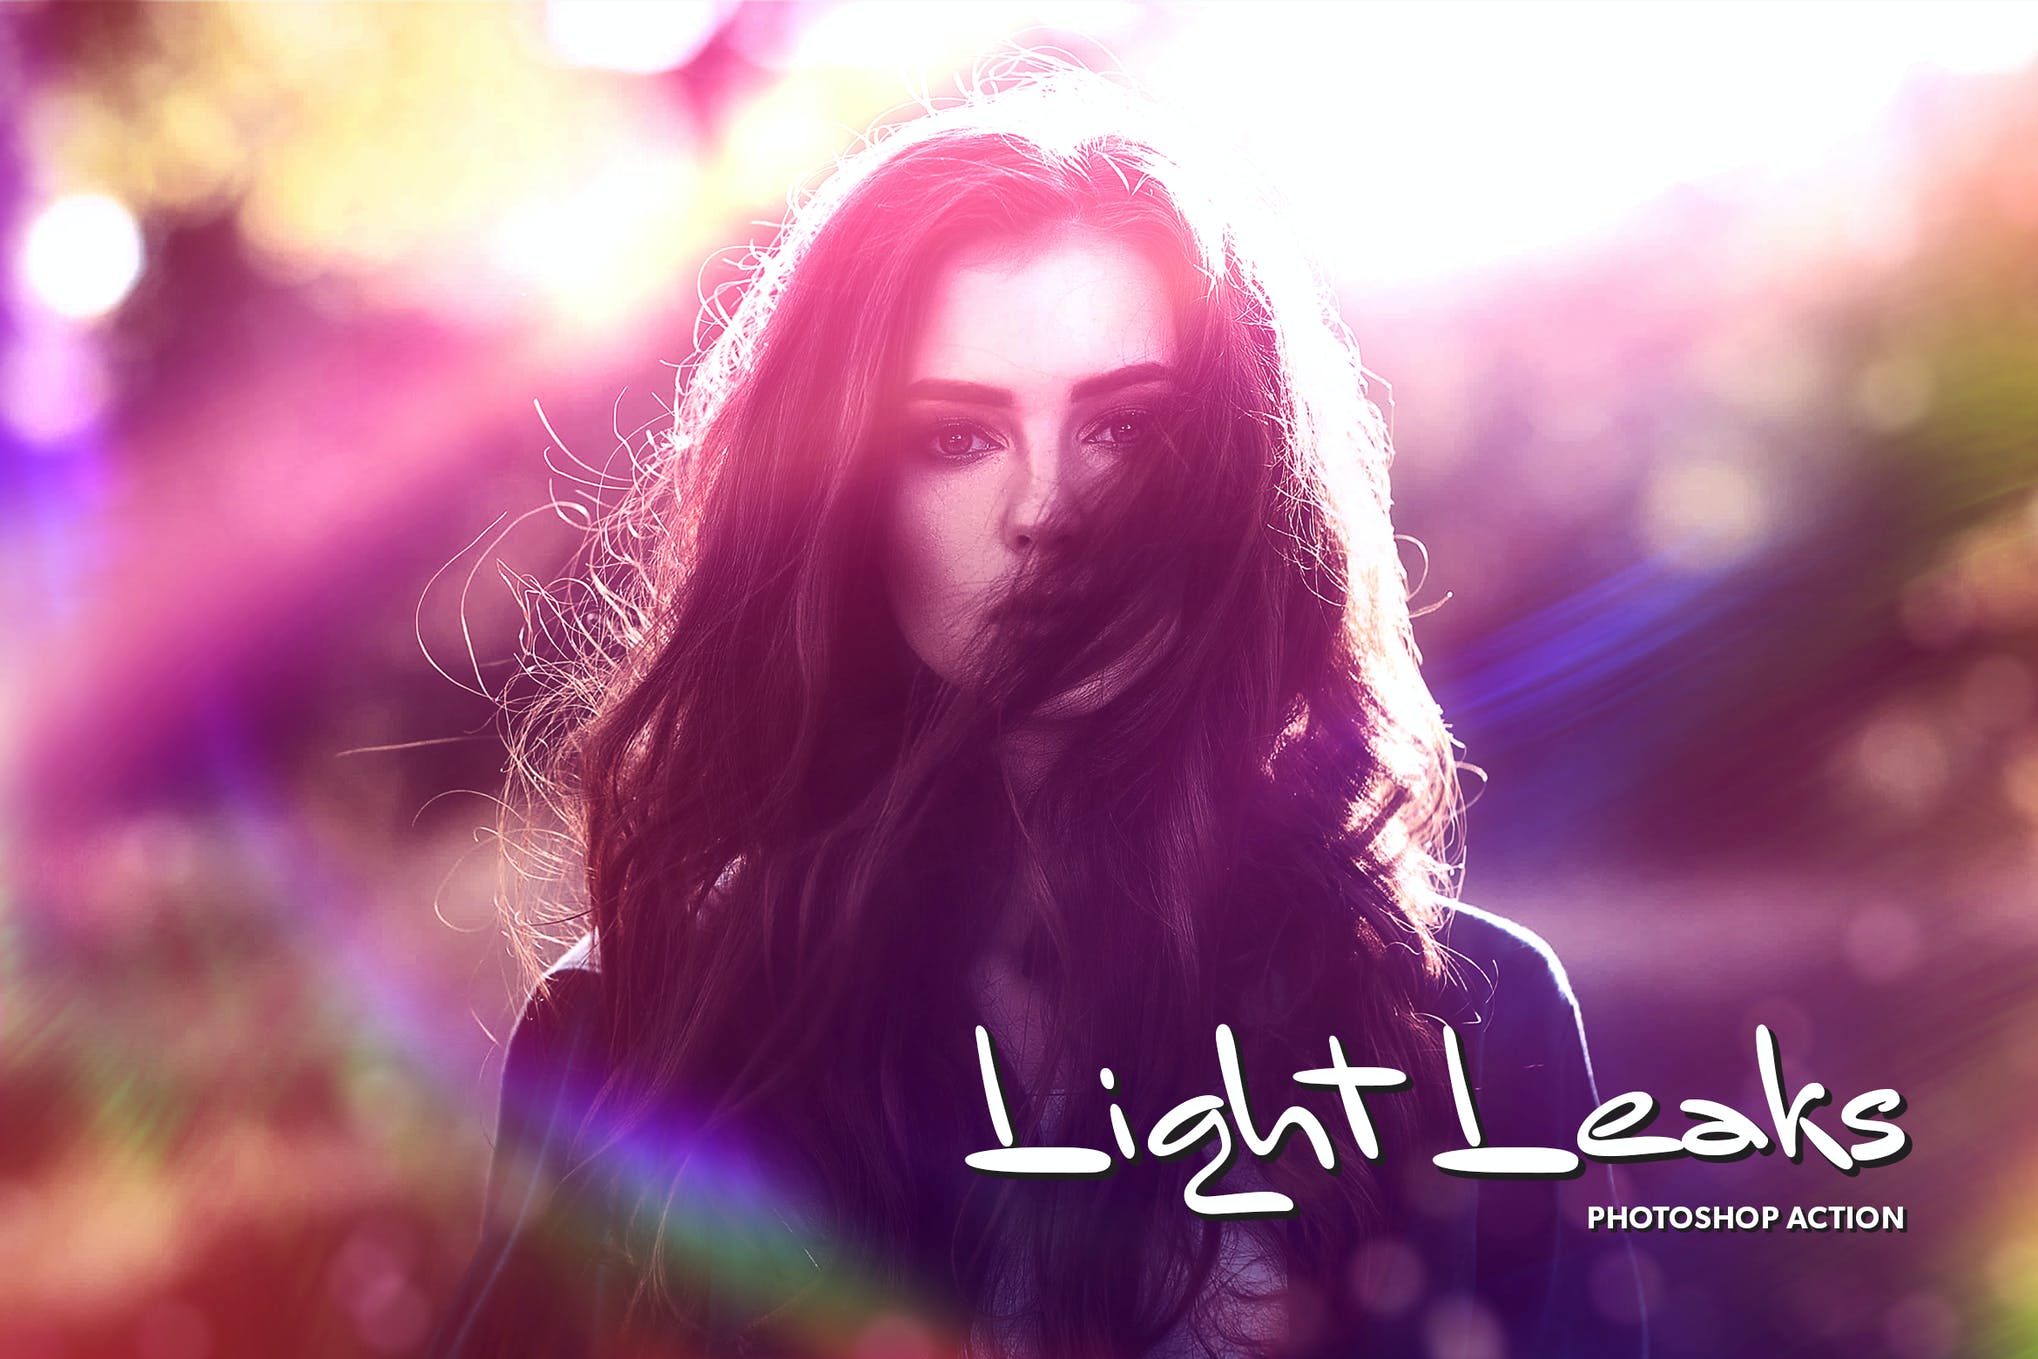
Create a beautiful effect on your photos using this Photoshop Action that comes with a range of color filters, light leaks, plus a video tutorial to help you make the most of the effect. Test it out for your Instagram pictures!
Free Photoshop Instagram Filters

Transform your pictures into a summer dream with the help of these professionally crafted Instagram filters for Photoshop. It’s an expansive package containing 50 Photoshop Actions each working to bring out the tropical vibe in your photographs.
Oil Painting Instagram Photoshop Action

Have you ever wished there was a Prisma-like filter available on Instagram? Well, you don’t have to use any of those apps if you get this Photoshop action. This PS action will instantly transform your photo into a painting with a realistic effect.
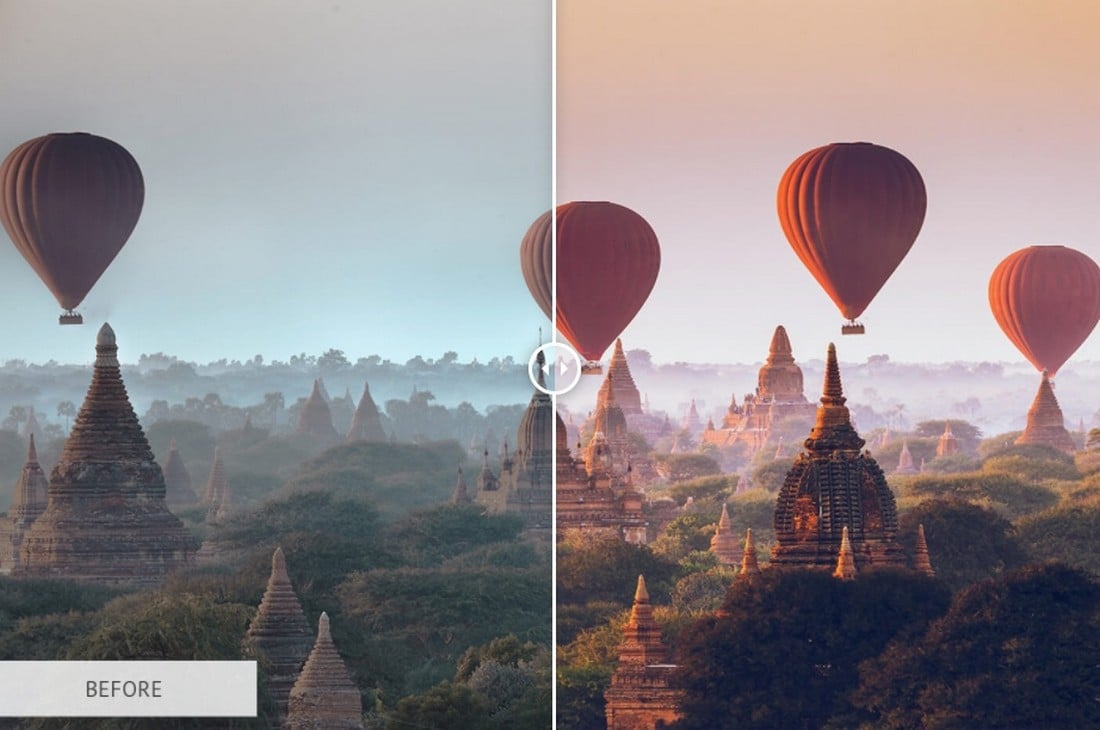
Free Greece Instagram Photoshop Actions

This is a premium-quality Photoshop action that features a filter effect inspired by the beautiful locations of Greece. It’s perfect for enhancing your outdoor landscape and travel photos.
Free Cats Love Photoshop Actions

Want to make your cat photos look even cuter for Instagram? Then use this free Photoshop action to add more color and vibrance to your adorable cat pictures.
50 Matte Photoshop Actions

The matte effect is perfect for enhancing all kinds of Instagram photos from your selfies to photos of adorable dogs. That’s why this bundle comes with 50 different Photoshop actions with the matte effect.
50 Vintage Photoshop Actions

If you’re a fan of the vintage-style filters, use this bundle of vintage Photoshop actions. It includes 50 different vintage effects ranging from subtle retro look to classic vintage effects.
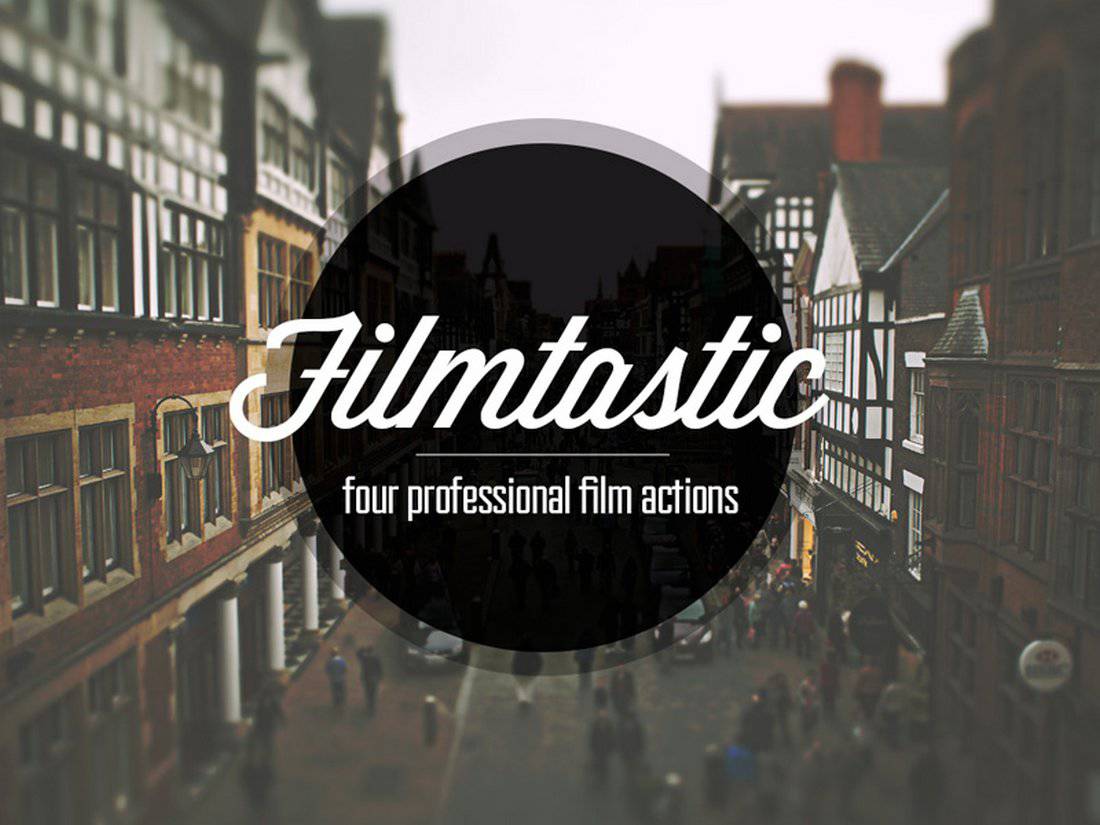
Streetographie – Cinematic Photoshop Actions

Give a colorful look and feel to your cityscape photos with this pack of Photoshop actions. This bundle comes with 7 filters that enhance the colors of your city and street photos to create an incredible look and feel.
Color Festival Photoshop Action

The colored powder effect is a popular effect used in poster and flyer designs. But this effect can also be quite useful for Instagram users, especially when promoting products and fashion designs. With this action, you can generate a similar colored dust and powder effect with just a few clicks.
Cyber Poster Photoshop Action

This is a unique Photoshop action that allows you to create a stylish poster-like effect to give a colorful and futuristic look to your photos. This filter is perfect for fashion and lifestyle brands to promote their products on Instagram. The action comes with brushes, shapes, and patterns as well.
Nude Instagram Filters for Photoshop

If you’re looking to add nude tones to your pictures, keeping them as natural as possible, this collection of 10 Photoshop actions can do it easily enough. Given that the actions can be used for a variety of photos, we recommend you give these Photoshop Instagram filters a try.
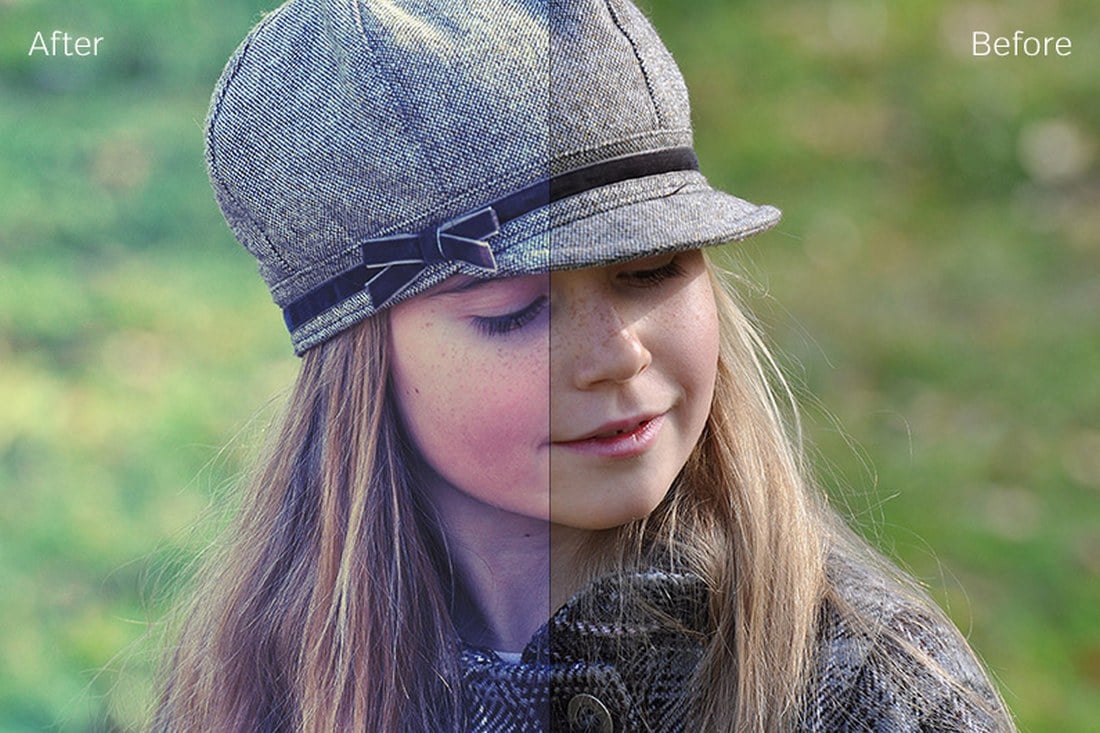
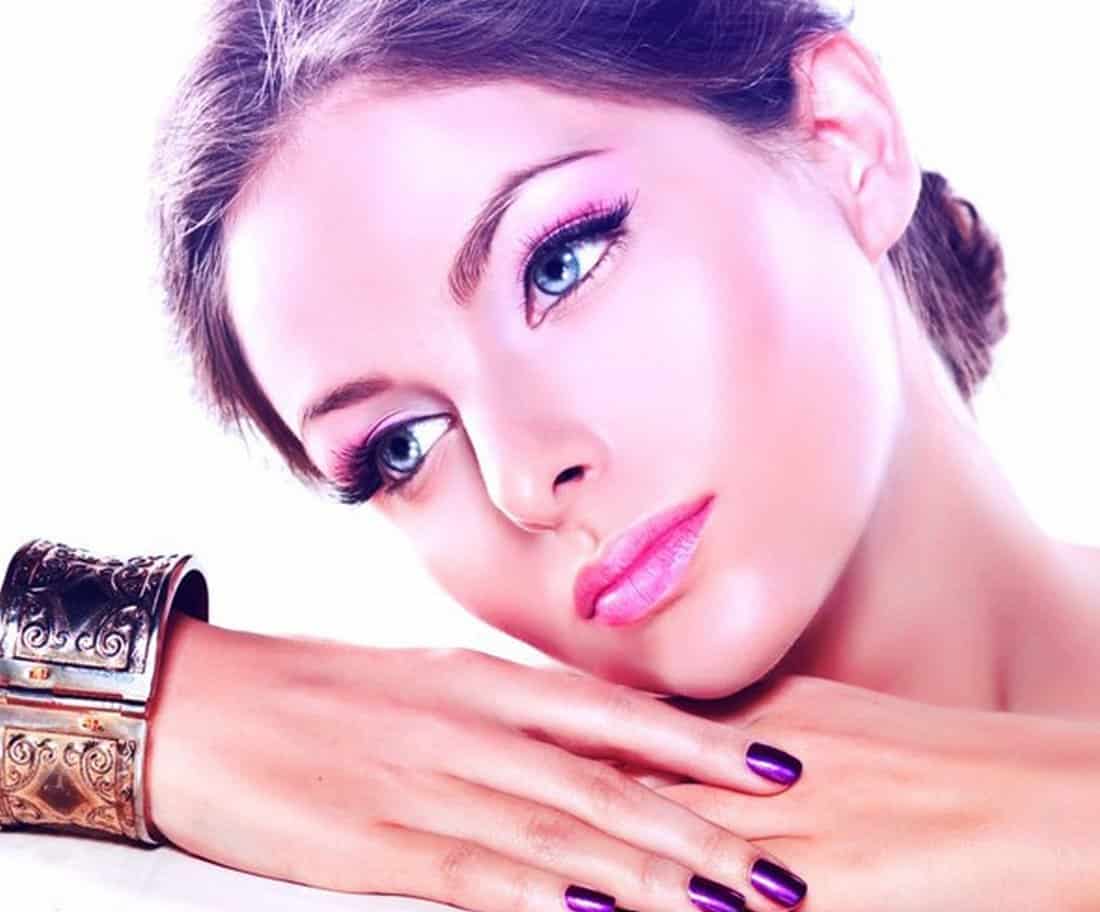
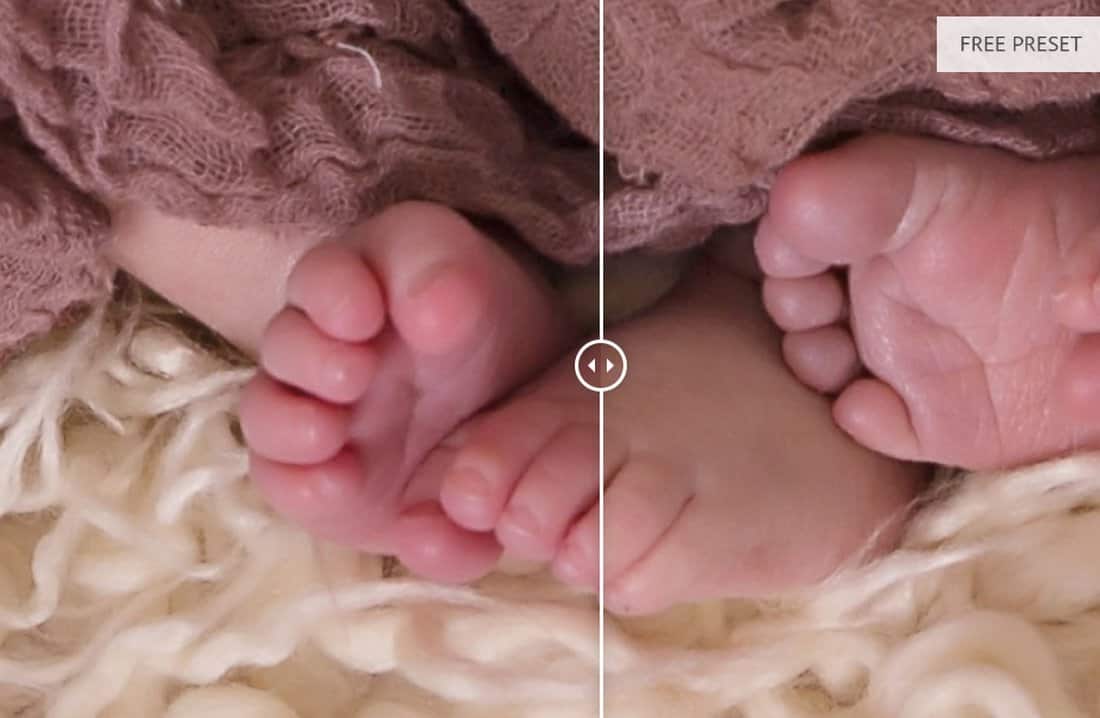
Free Newborn Instagram Filters for Photoshop
Here we have a set of 2 Photoshop actions, with each working to provide your pictures a soft glow, enhancing your facial features with a beautiful pastel effect. These Photoshop Instagram filters are great for improving the overall appeal of your pictures and will save you a lot of time.
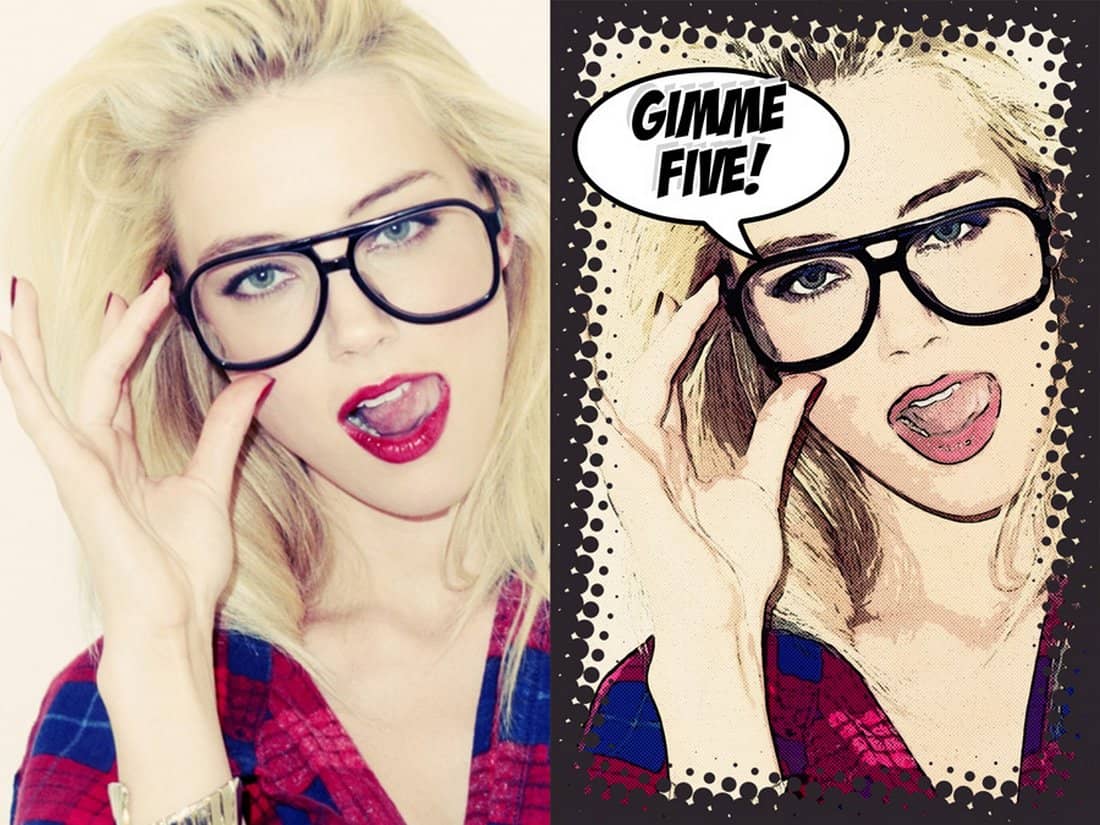
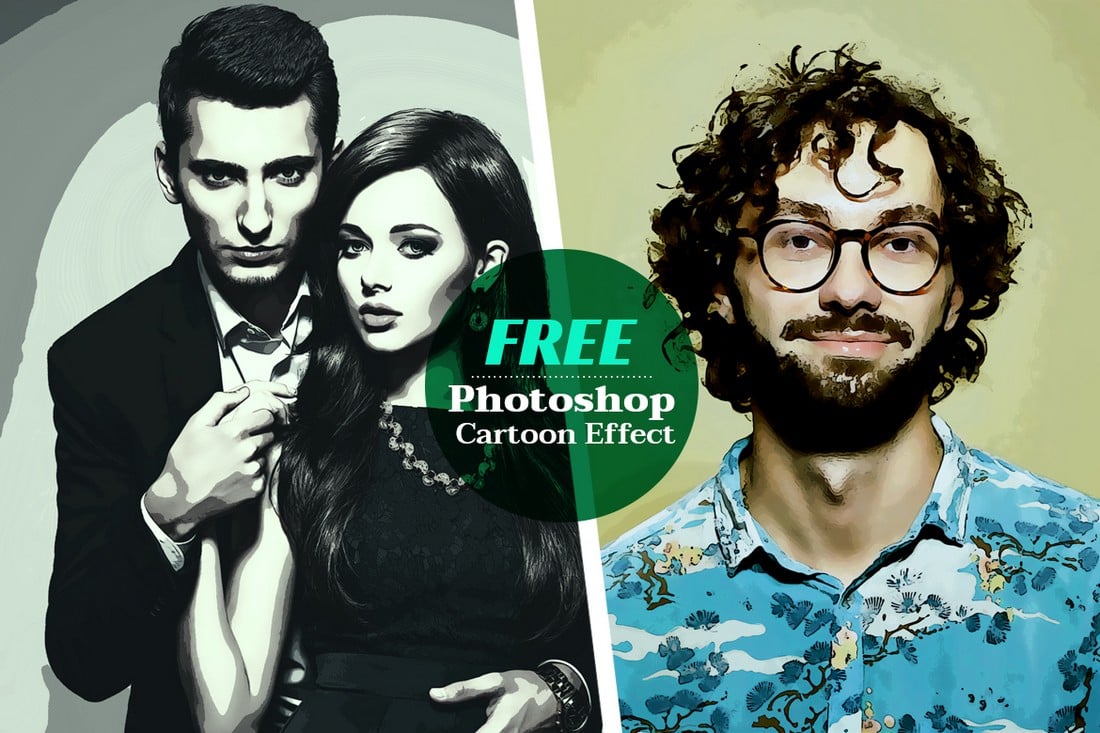
Cartoonize Photoshop Action

Want to stand out from your fellow Instagram bloggers? Then this Photoshop action will help. It allows you to transform your photos and make them look like cartoon sketches. This action is most suitable for portrait photos and selfies. It works with Photoshop CS3 and higher.
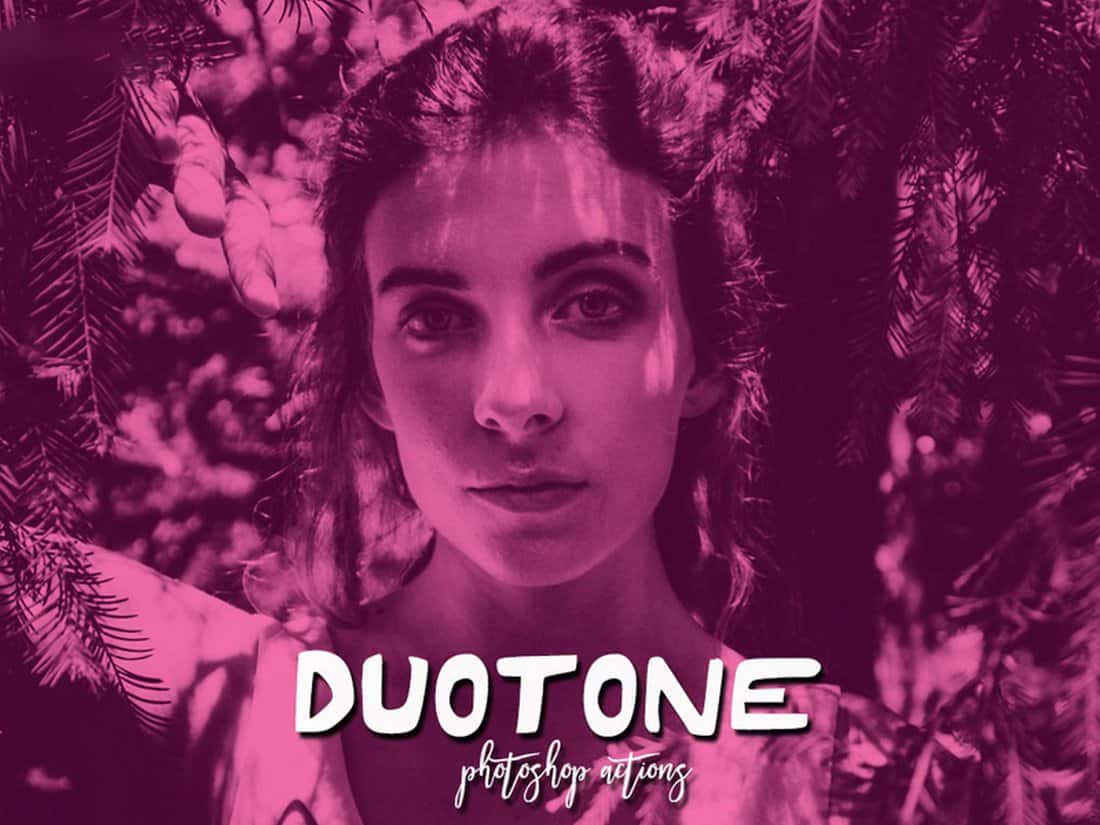
Duotone Pro Photoshop Actions

The duotone effect is everywhere. It fits right in with almost any type of photo and graphic and as a result, everyone loves it. With this collection of 50 Photoshop actions, you can easily add a high-quality duotone filter to your Instagram photos with just one-click.
Free Vintage Heaven Photoshop Action

With this free Photoshop action, you can add a stylish vintage filter and make the photos look colorful at the same time. It works well with both portraits and landscape photos. But it’s most suitable for outdoor photos.
Hologram Photoshop Action

Your cat and pet Instagram photos will never look the same with this amazing Photoshop action. With this action, you can add a stylish hologram-like effect to make your photos look more futuristic and stylish. It includes 6 different color variations as well.
Nighty Photoshop Actions

Nighty is a modern Photoshop action bundle that features a dark and gritty effect. These actions are perfect for giving a moody look and feel to your photos. The bundle includes 9 different actions that work great with both portraits and landscape photos.
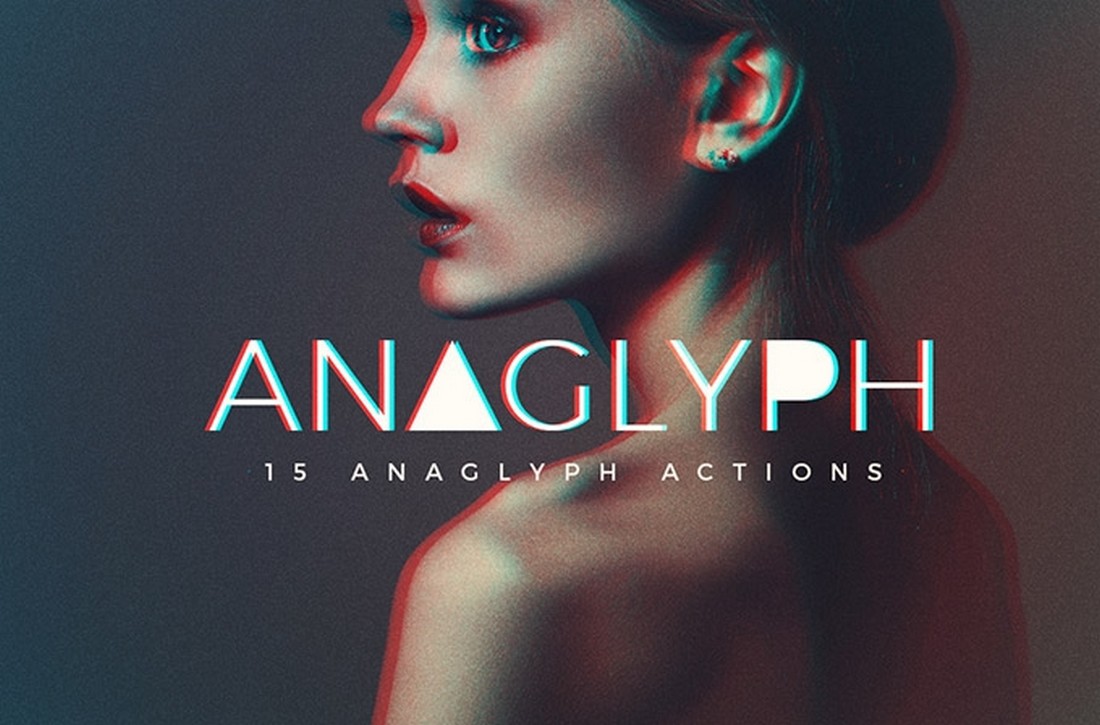
Anaglyph Photoshop Actions

Anaglyph Photoshop action is designed to add a glitch-style effect to your portraits and selfies. It comes with more than 10 different filters you can easily apply to your photos with just a few clicks. The effect is easily customizable.
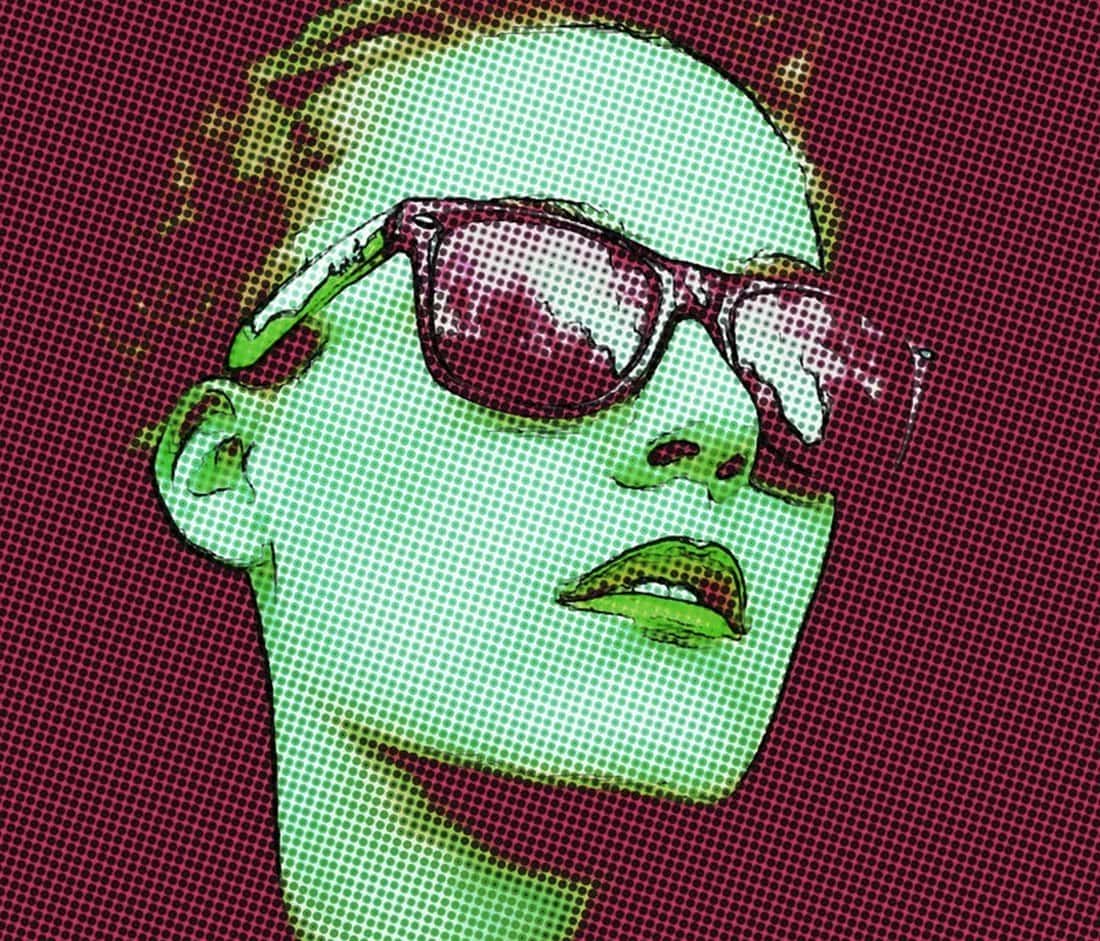
Realistic Cartoon Instagram Filters for Photoshop

Give your pictures an authentic cartoonic look with these Photoshop filters for Instagram, and knock the socks off your audience in style. These filters provide you with a unique way to stay relevant on Instagram without having to put an extra effort at all.
Free Professional Instagram Filters for Photoshop

Set your eyes on this extensive collection of Photoshop filters for Instagram that virtually has every effect you might ever need to amp up your social media game. It consists of a whopping 300 filters ranging from HDR and matte effects to retouching, and winter filters.
True Watercolor Photoshop Action

Want to make your Instagram photos look like a watercolor painting? Then try this Photoshop action. It lets you add a realistic painting effect to your portrait and landscape photos and make them look more creative.
Free Subtle Matte Photoshop Action

Add a subtle faded look to your selfies and portrait photos using this free Photoshop action. This filter is perfect for your regular and everyday lifestyle photos. You can apply the effect with just one click.
50 High Contrast Photoshop Actions

This is a massive bundle of Photoshop actions that includes a set of filters for adding a high-contrast effect to your photos. It’s perfect for optimizing your photos taken in low-light conditions before uploading them on Instagram.
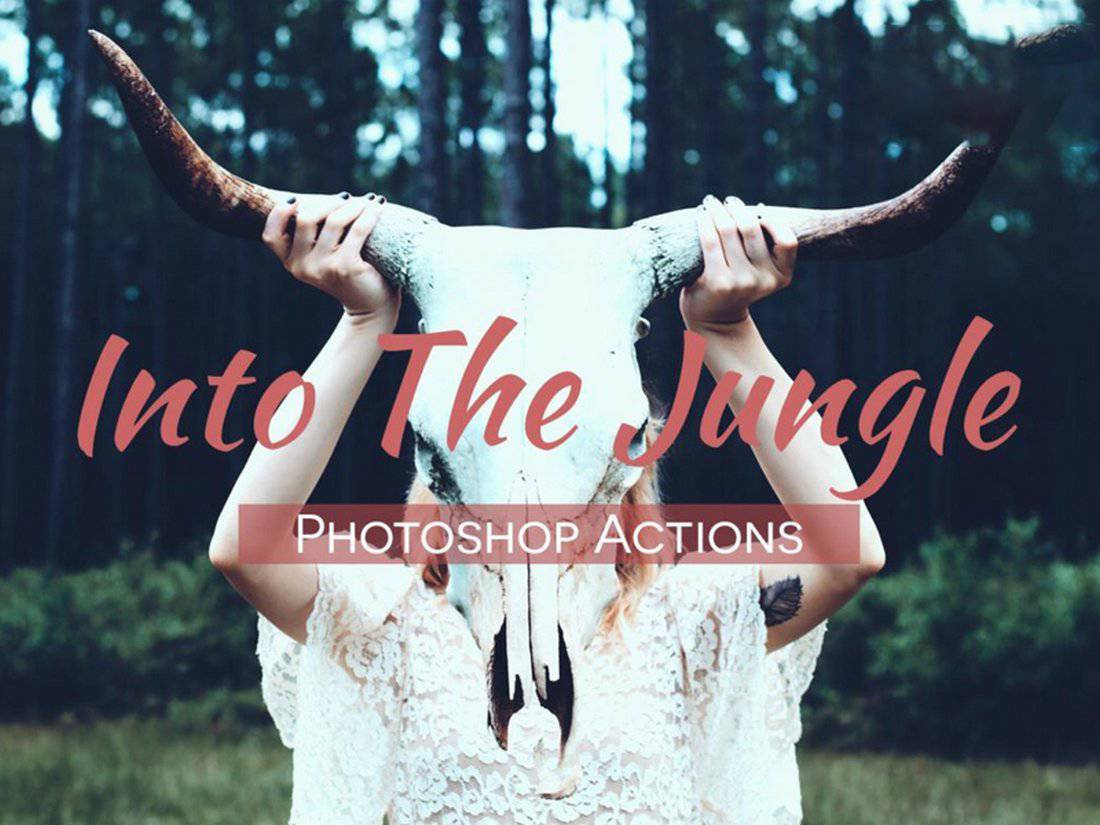
Into The Jungle – Instagram Photoshop Filters

Instagram bloggers are known to take a lot of selfies and photos outdoors. This pack of Photoshop actions is a must-have for those Instagram users. It includes 10 filters that will enhance your outdoor photos with the perfect combination of a retro-effect and mood.
Landscape Instagram Photoshop Actions

If you’re a fan of travel photography, use this set of Photoshop actions to enhance your photos to make them look extra special before uploading them to social media platforms. This bundle comes with 20 different filters with various styles of effects.
Imagine – Free Instagram Photoshop Action

Imagine is a free Photoshop action that allows you to optimize your Instagram selfies by adding a colorful and retro-inspired filter. It can be used with both portrait and outdoor landscape photos.
Free Friends Forever Photoshop Actions

Make all the photos you take with your friends look more professional using this free Photoshop action. It will also work well for enhancing your portrait photos and selfies as well.
100+ Duotone Photoshop Action Bundle

The duotone effect is quite popular among all Instagram users. This massive bundle comes with more than 100 different styles of duotone Photoshop actions. You can use these filters with all kinds of photos.
Anaglyph Photoshop Actions

This unique Photoshop action lets you create a stylish anaglyph effect with just a single click. This filter will help you create unique photos that stand out from the crowd.
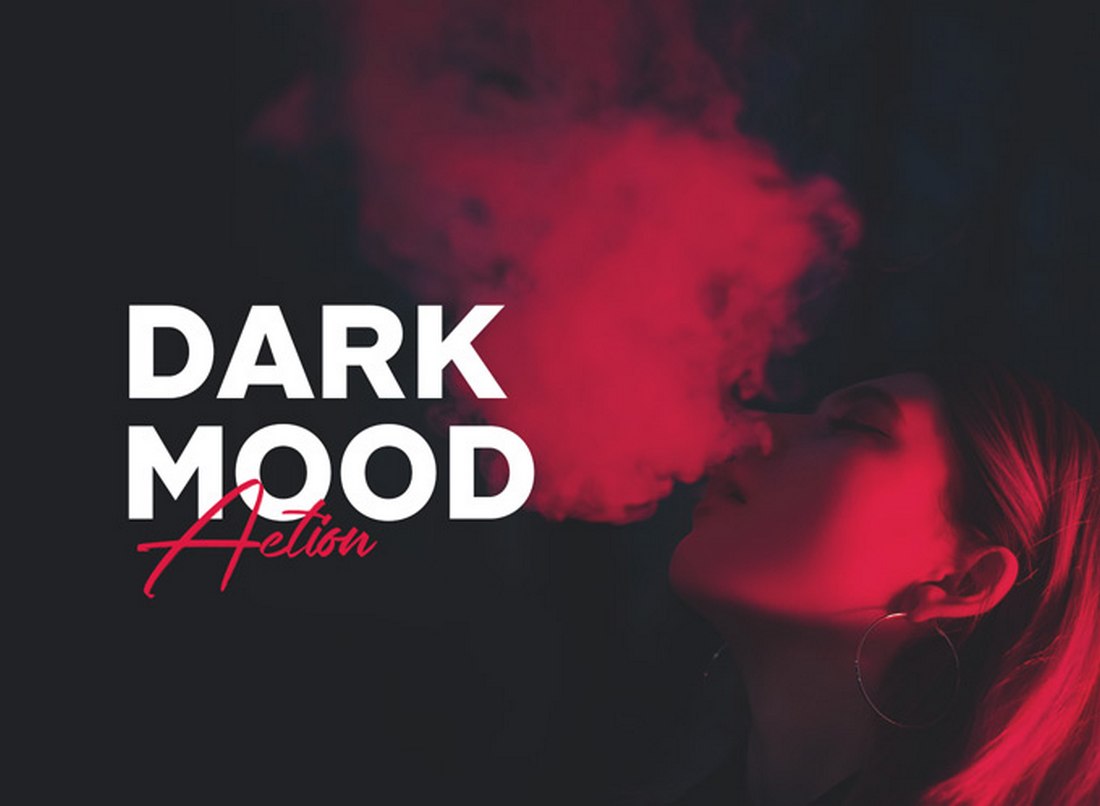
Dark Photography Photoshop Actions

Give your Instagram selfies and photos a dark and gritty look and feel using this pack of Photoshop actions. This pack comes with 10 professionally crafted filters you can instantly apply to your photos with just a few clicks.
Light Monochrome Free Instagram Photoshop Action

Want to give a washed out look to your Instagram photos? This Photoshop action will help. This filter applies a light monochrome effect to your photos to give them a unique and washed out look.
Free California Lightroom & Photoshop Actions

This free Photoshop action features a beautiful filter that adds the same warm color tone of California landscape to your photos. The effect is also available as a Lightroom preset.
Instant Hipster – 27 Photoshop Instagram Filters
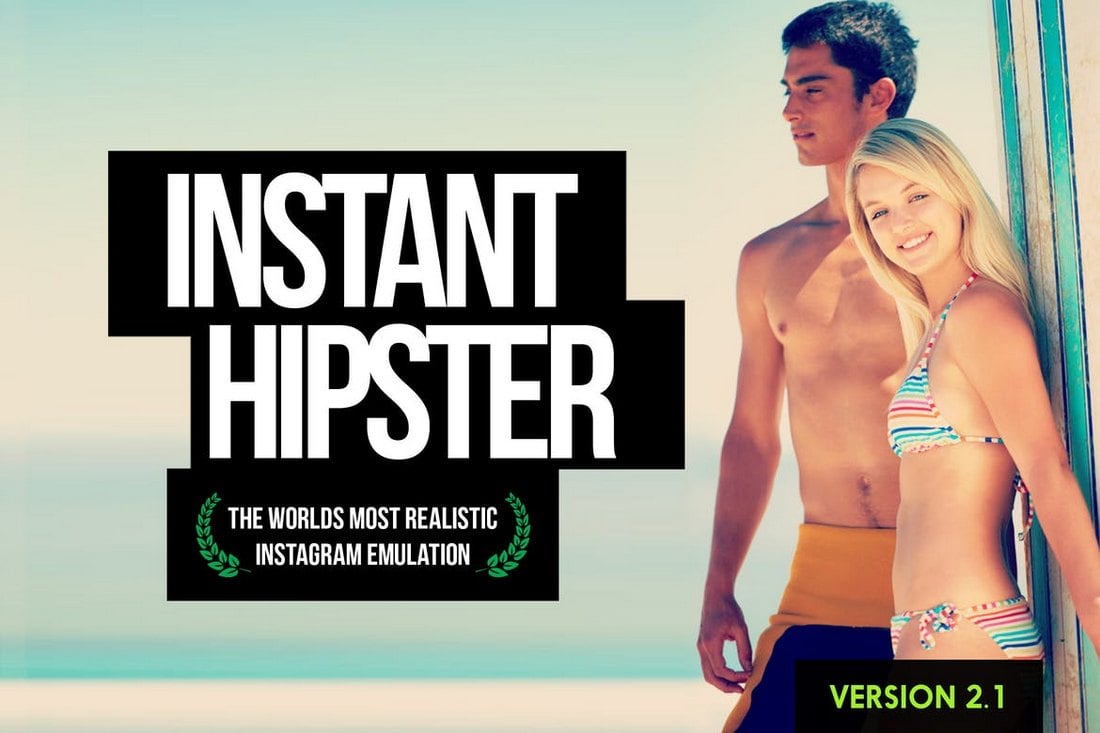
Instant hipster comes with a collection of 27 different Photoshop actions that allows you to create the same Instagram-style effects in Photoshop with just a single click. The actions feature warm, cool, retro, and many other types of effects. Each action can also be easily customized to adjust the effect for different types of photos as well.
Insta Blog – Instagram Filters For Photoshop
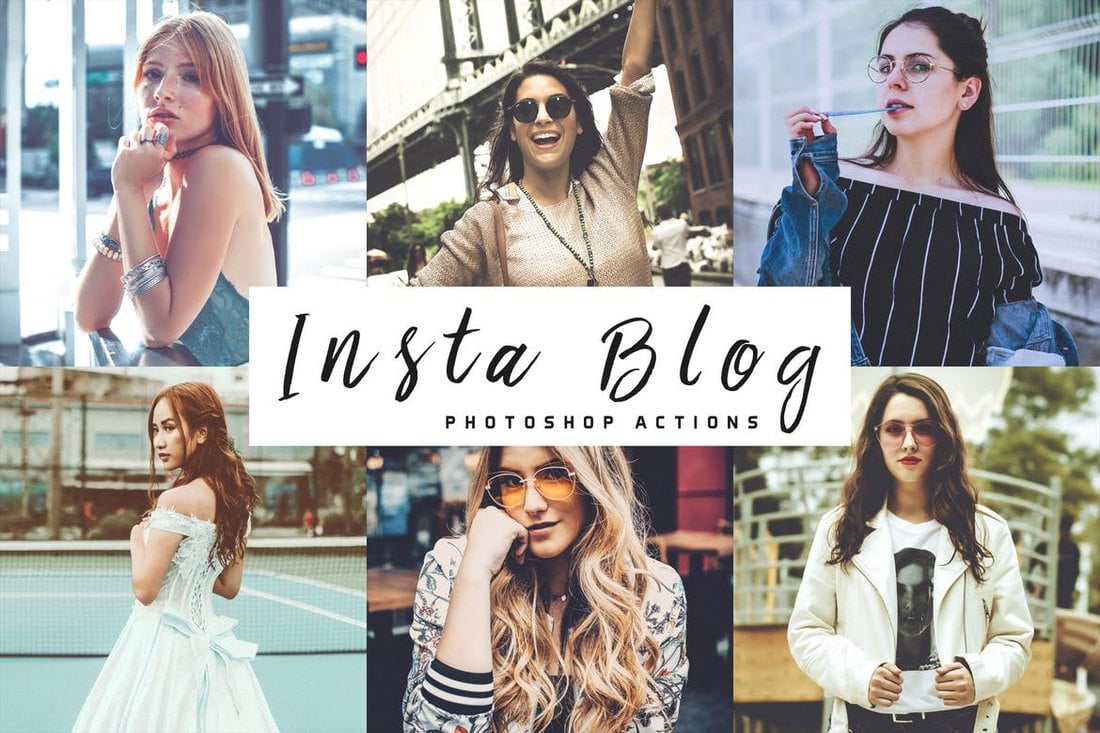
This is a collection of Photoshop actions that have been made for social media users who just love taking photos of everything everywhere they go. It features several different actions with various effects for adding more style to your selfies and travel photos.
Faded Films – 75 Photoshop Film & Retro Effects
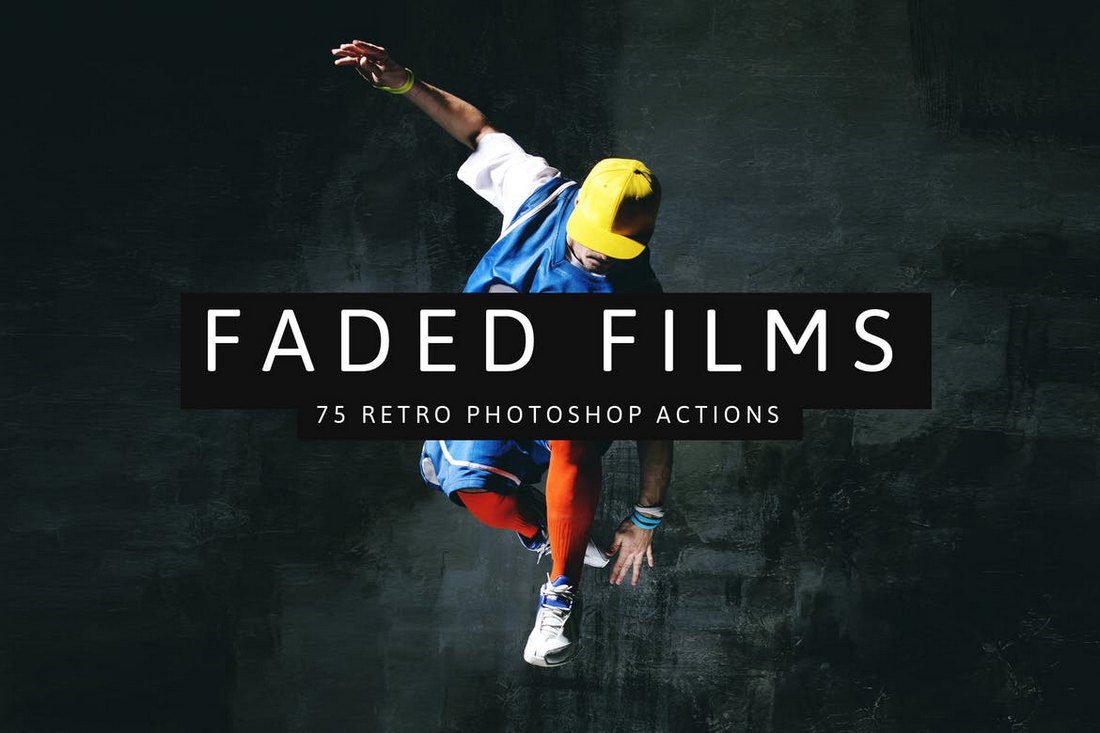
Faded Films come with 75 different Photoshop actions that allow you to give a unique look to your photos with a stylish faded color effect. The bundle includes 75 different actions, featuring 11 Instagram faded effects, 31 film effects, and 25 SparkleStock faded effects, that are also customizable.
25 Lifestyle Instagram Photoshop Actions
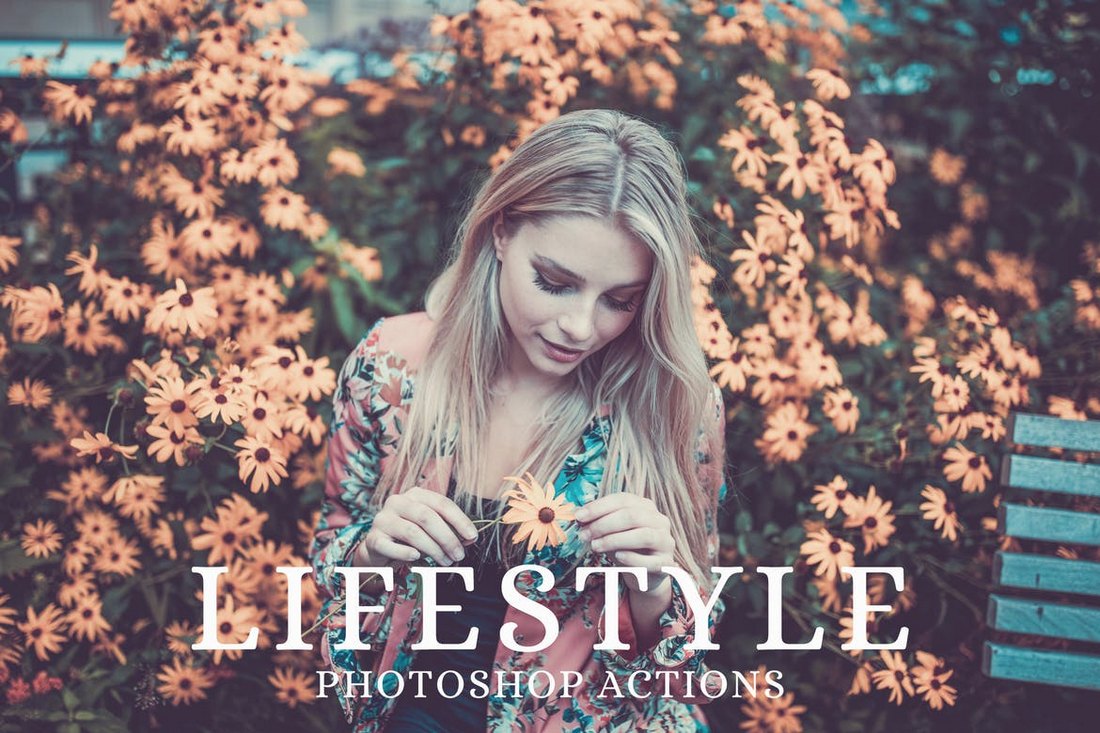
This set of Instagram Photoshop actions feature effects that have been optimized for improving your everyday selfies, lifestyle photos, travel photos, and fashion photography. It includes 25 different actions that are compatible with Photoshop CS5 and above.
Comic Oil Paint Photoshop Actions
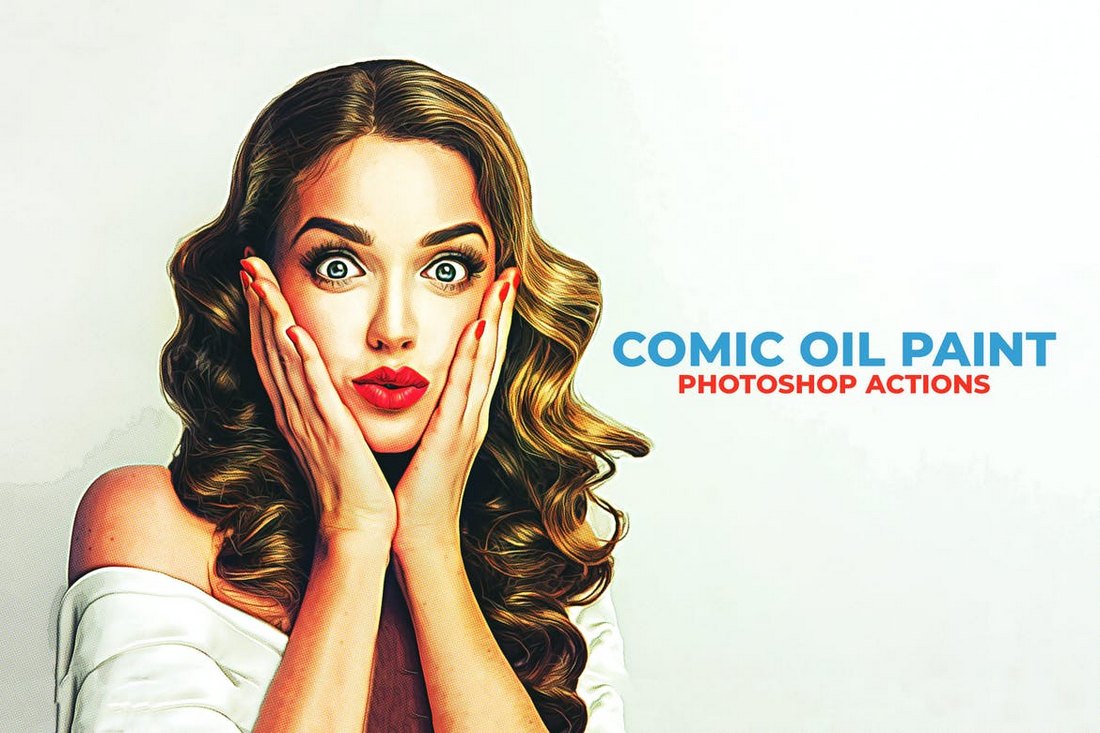
The Prisma app was quite popular among social media users for the filter that turned ordinary photos into paintings. With this Photoshop action, you can achieve the same effect with better customization options. It includes 10 different variations for giving a unique oil painting look to your photos.
Free Matte Photoshop Actions
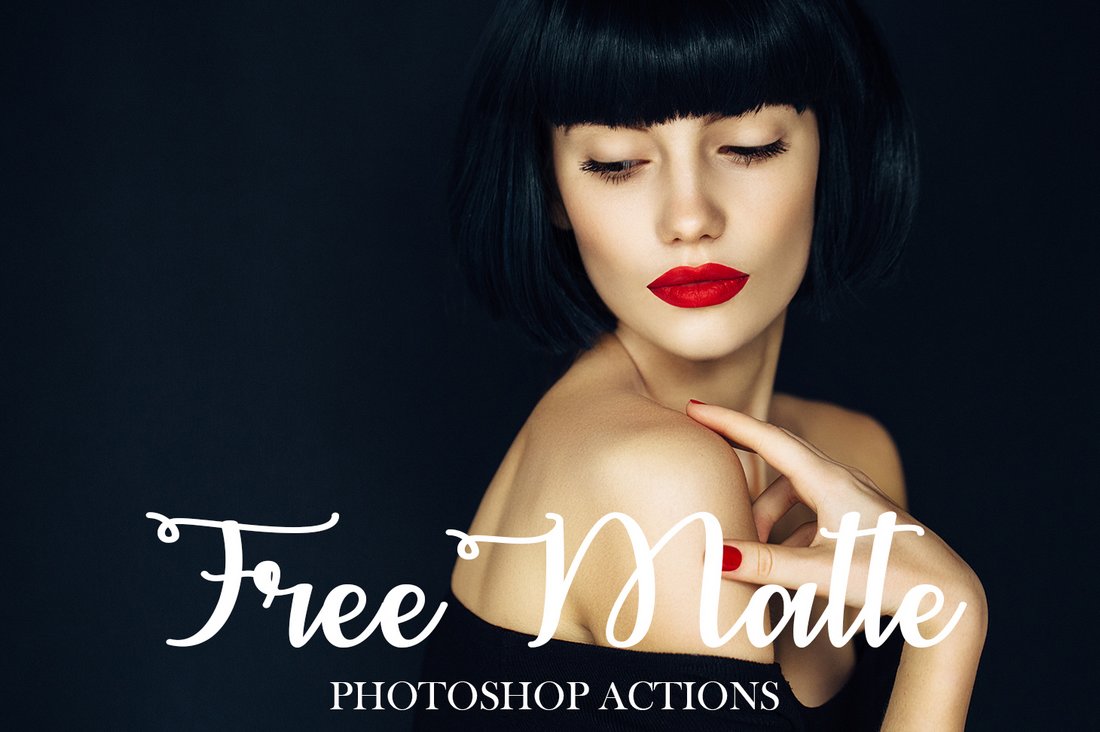
Make your fashion and glamour photos look more professional using this bundle of free Photoshop actions. It includes a stylish matte filter effect made specifically for improving fashion photos.
11 Free Instagram Filters For Photoshop Actions
This is a collection of free Instagram-style effects that includes several unique retro and matte-style filters. The Photoshop actions create non-destructive and customizable effects.
45 Free Instagram Filters For Photoshop
Featuring a collection of retro, vintage, matte, and many other Photoshop actions, this bundle comes with 25 creative Photoshop actions. You can download the pack for free to create your own Instagram filters.
Duotone Master Kit – Photoshop Instagram Filters
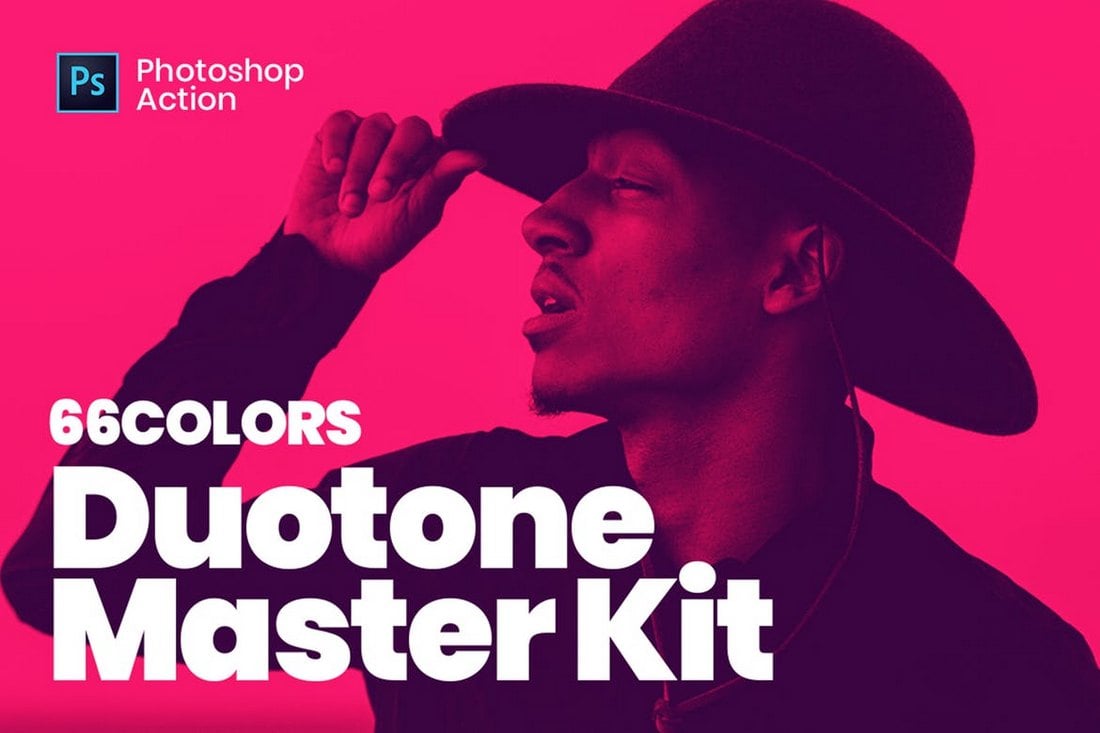
The duotone effect is quite popular among Instagram users and Pinterest users. With this bundle, you can create as many duotone effects as you like while combining many different colors. It includes 66 different Photoshop actions for creating editable duotone effects.
Toy Camera – Instagram Photoshop Actions
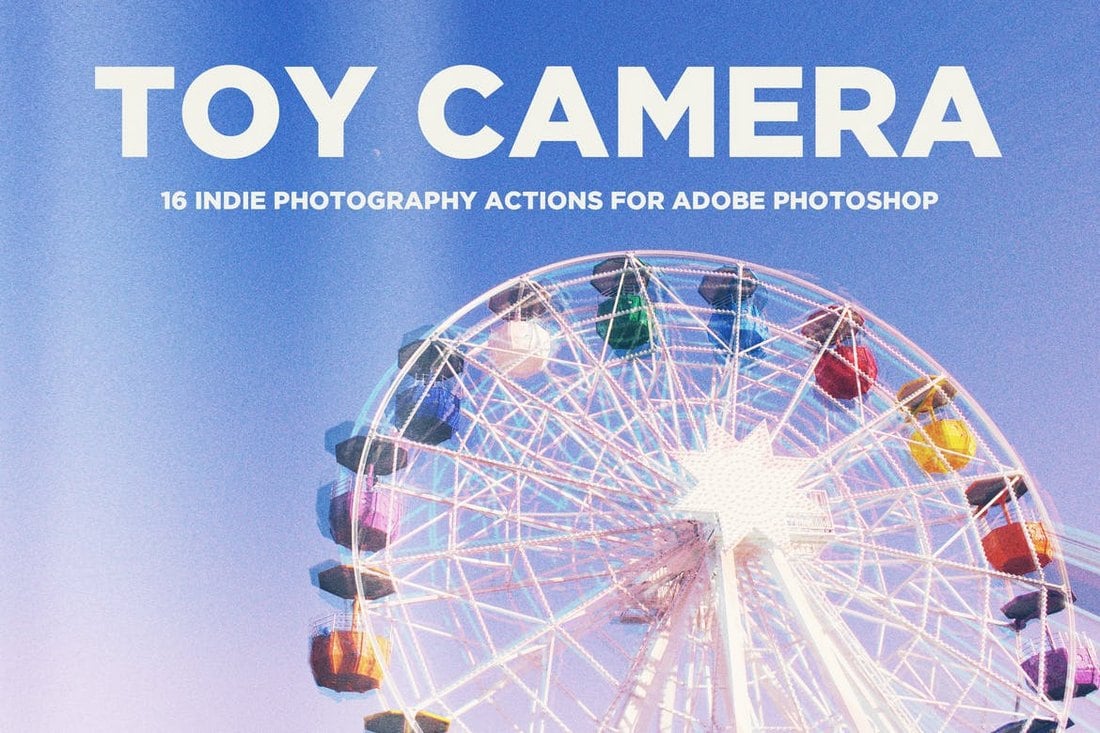
Give your landscape and portrait photos a unique and colorful look with this collection of Photoshop actions. This bundle comes with 16 Instagram filter effects inspired by toy cameras.
Vintage Film – Instagram Filters For Photoshop

Create an authentic vintage film effect to make your photos look even more amazing with 1 unique Photoshop actions. This pack comes with a set of actions that will make your photos look as if they were taken with an old-school Fujifilm, Agfa, or Kodak camera.
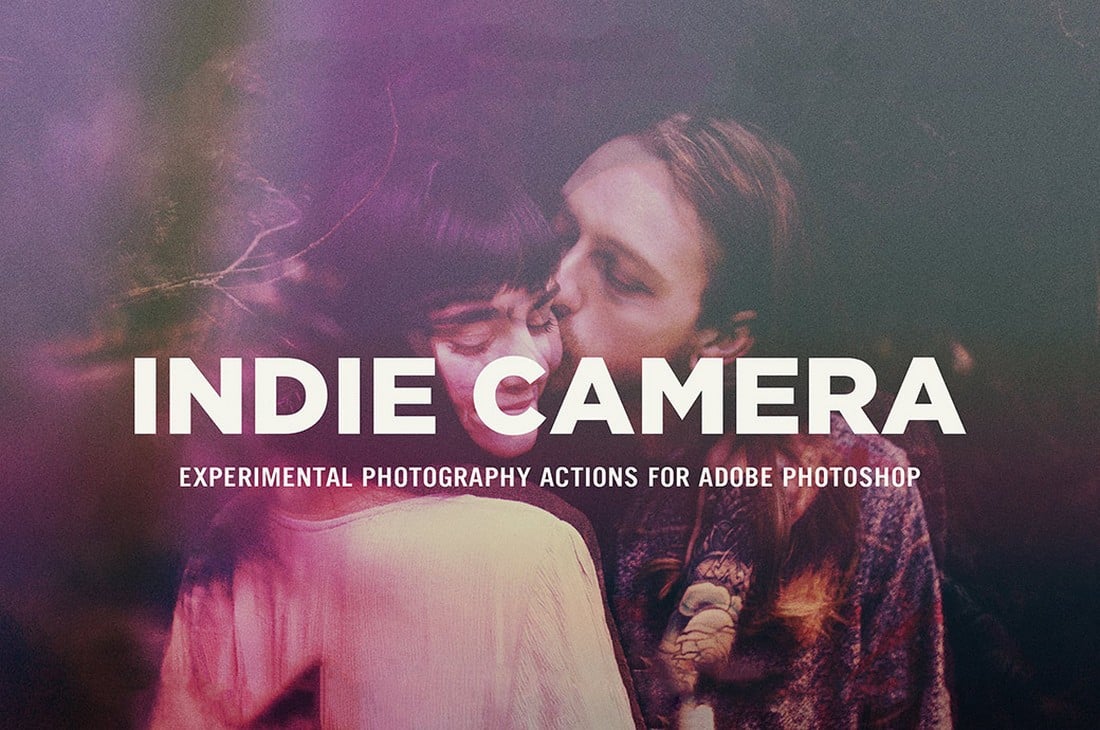
Indie Camera – Instagram Photoshop Actions
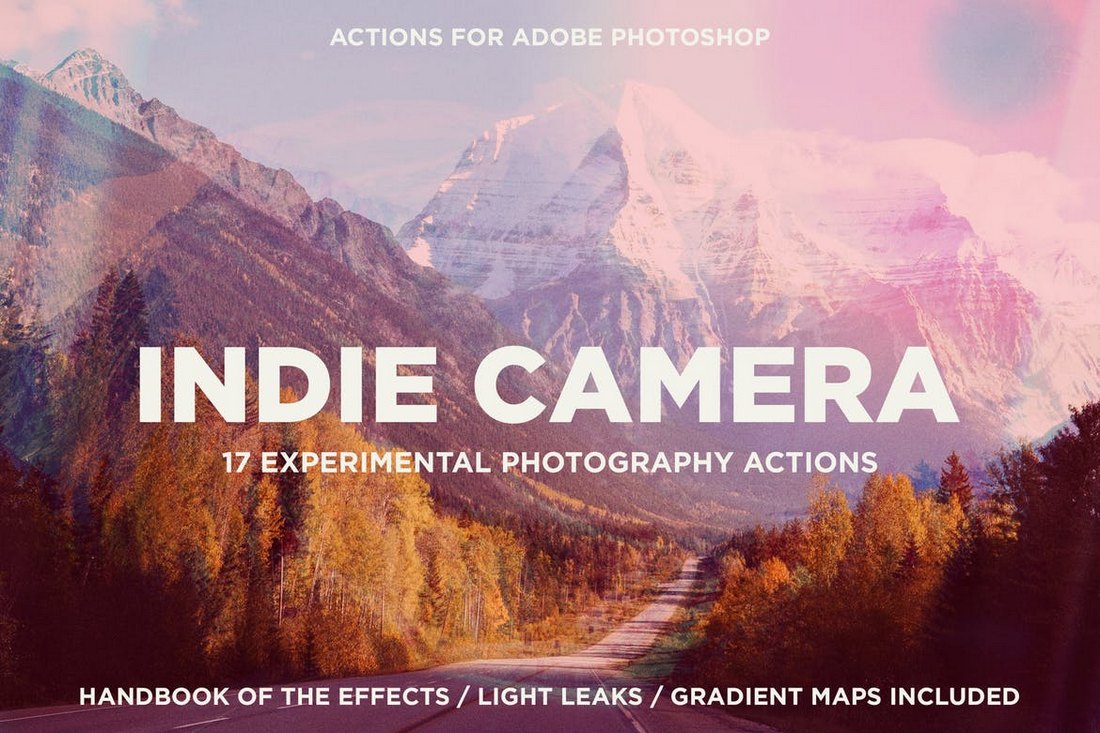
If you’re a fan of pastel colors and colorful effects, this collection of Photoshop actions are perfect for you. It includes 17 different Instagram filter effects with 110 gradient maps and 21 PNG light leak overlays for customizing the effects however you like.
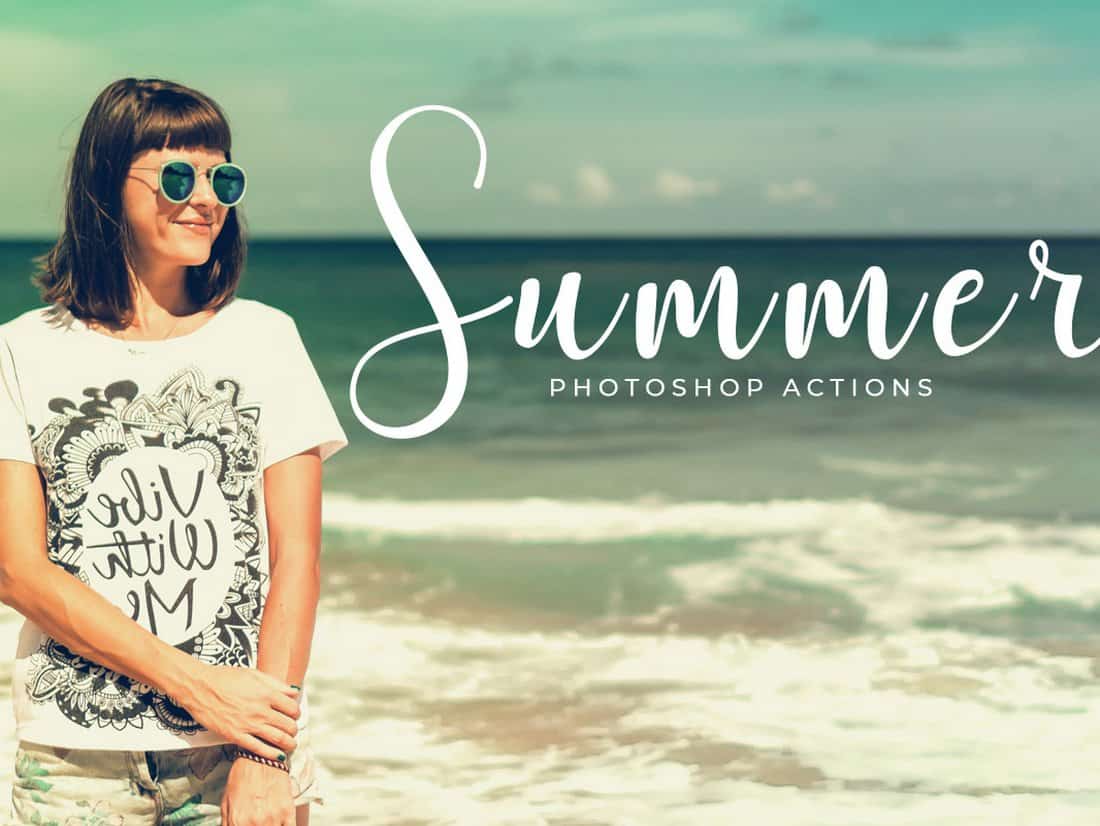
50 Free Summer Photoshop Instagram Filters Actions

A massive bundle of free Photoshop actions inspired by Instagram filters. You’ll get plenty of choices with this pack as it includes 50 different effects. The actions are compatible with Photoshop CS3 and above.
Free Elegant B&W Photoshop Actions Set

Sometimes a black and white filter is the perfect choice for giving your Instagram photos a natural and vintage look. This free Photoshop action will help you create the perfect B&W effect for your photos.
Free Faded Cross Process Photoshop Instagram Filter
This free Photoshop action is perfect for improving your selfies and portrait photos that you take on low-light conditions. It will instantly enhance your photos to look more professional.
Double Exposure – Photoshop Action

The double exposure effect is not one of the Instagram filters, but it should be. This effect allows you to combine two photos into one to make an amazing piece of art. Use this Photoshop action to create photos that stand out from the crowd.
22 Soft Pastel Photoshop Instagram Filters
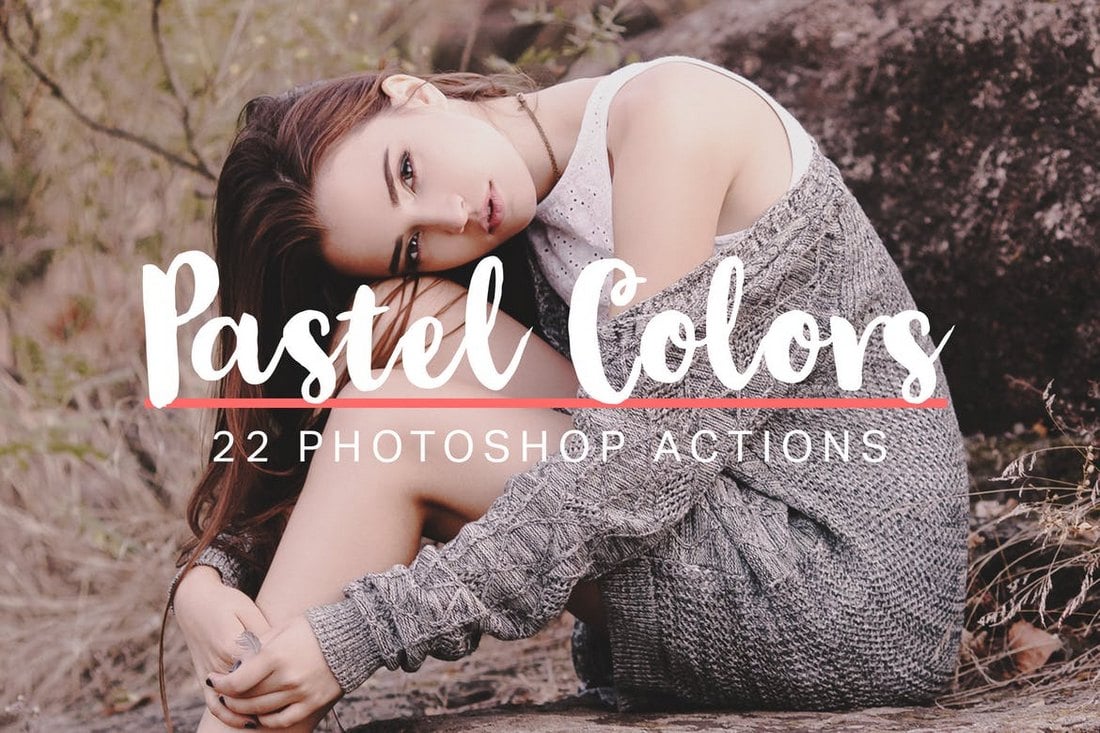
This bundle comes with 22 beautiful Instagram filter effects that are perfect for adding a colorful look to your selfies and travel photos. The Photoshop actions in this pack are non-destructive and are easily customizable.
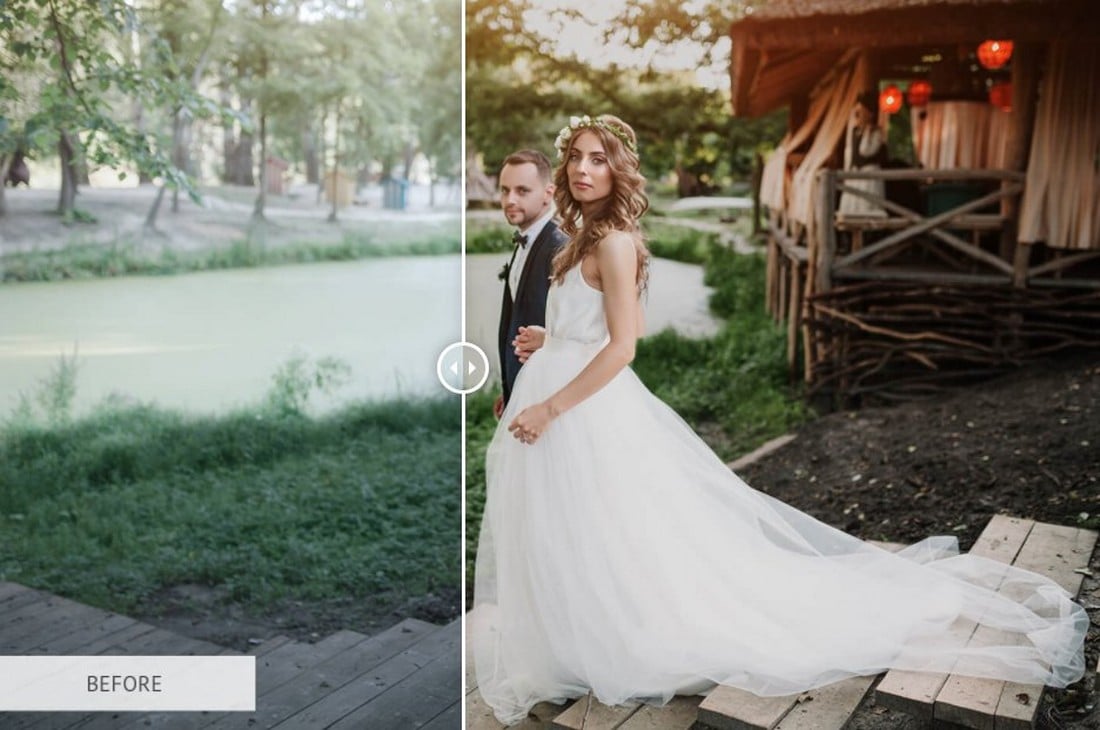
Suburbia – Instagram Filters For Photoshop
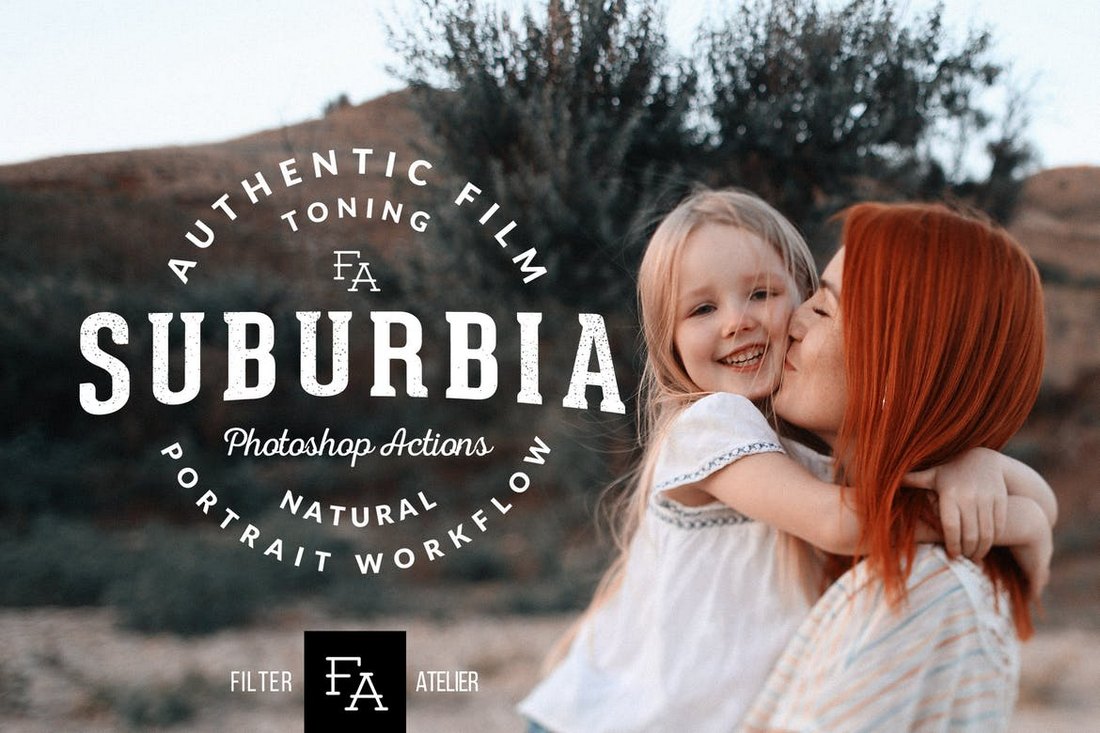
Suburbia is a collection of Photoshop actions that allows you to optimize and improve your outdoor portrait and landscape photos using 6 different Photoshop actions. These are perfect for improving your outdoor fashion photos, wedding photos, and nature photos as well.
HDR Pro – Photoshop Instagram Filters
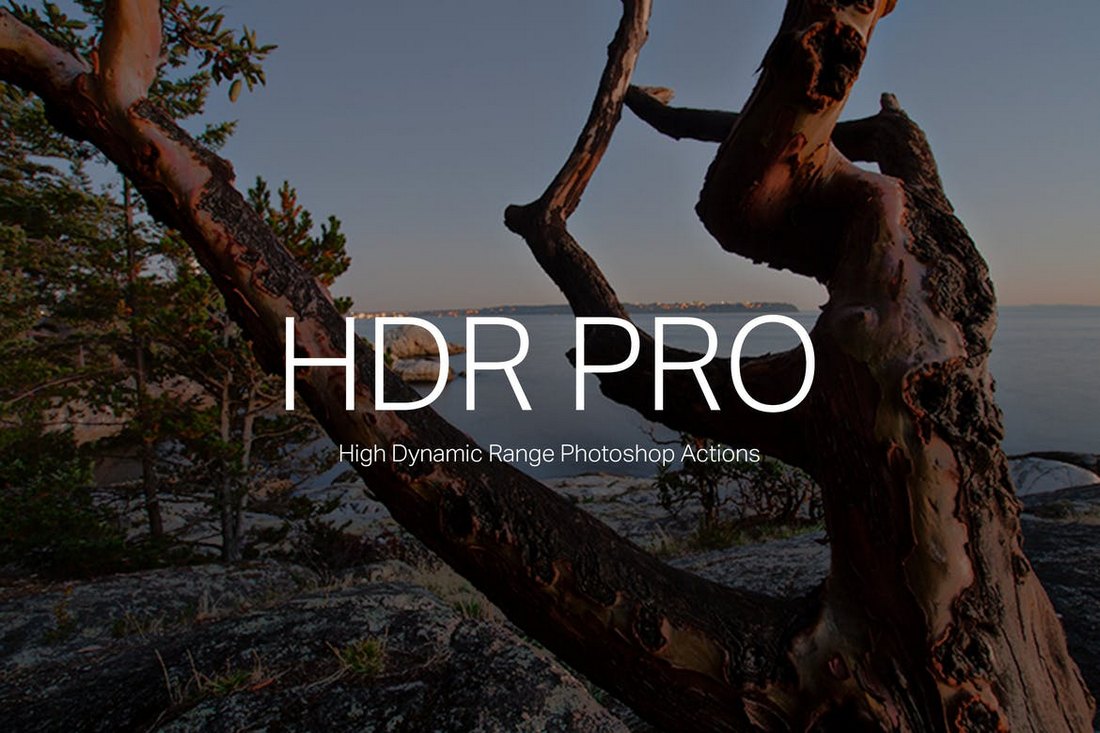
You don’t need an expensive DSLR camera to make your photos look HDR. With these Photoshop actions, you can make your smartphone photos look just as good. The bundle includes 10 HDR effects in various styles.
Night to Twilight – Photoshop Instagram Actions
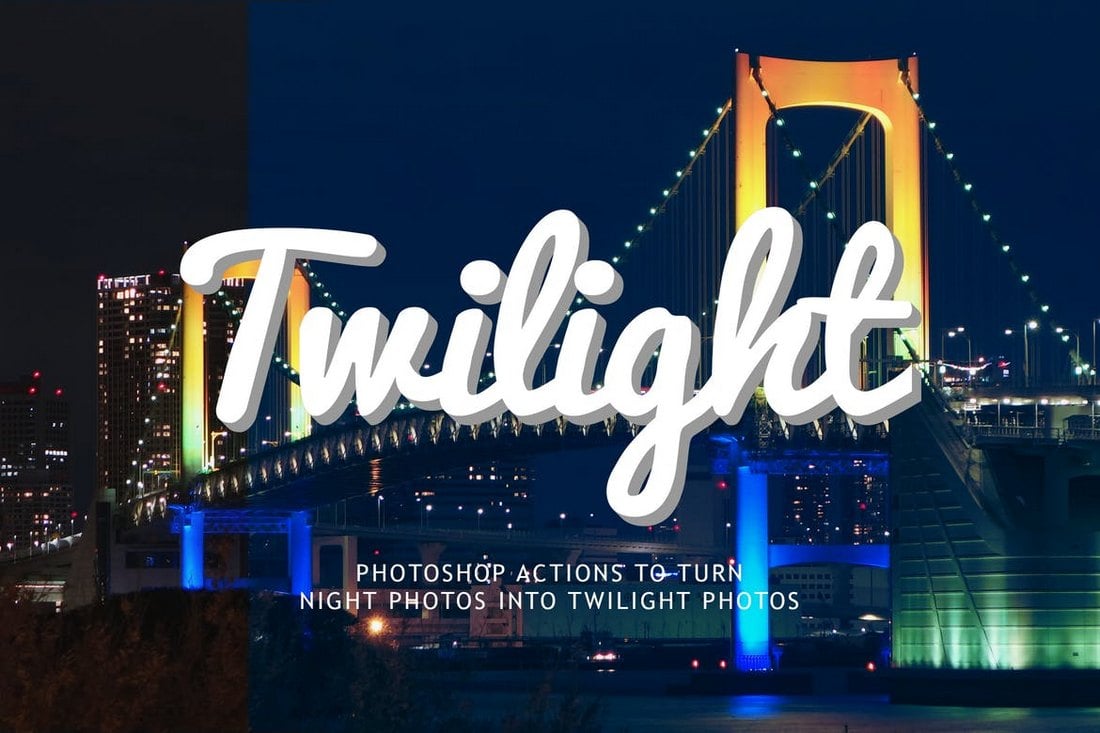
This set of Photoshop actions are designed to make your nighttime photos even more beautiful by giving a twilight effect to the photos. It includes several variants of the action and allows you to edit the effect to your preference as well.
Orange and Teal Pro – Photoshop Instagram Filters

This unique Photoshop action lets you create a stylish orange and teal effect to make your photos look like a scene from the Blade Runner movie. It comes with 16 different Photoshop actions and Lightroom varients of the actions as well.
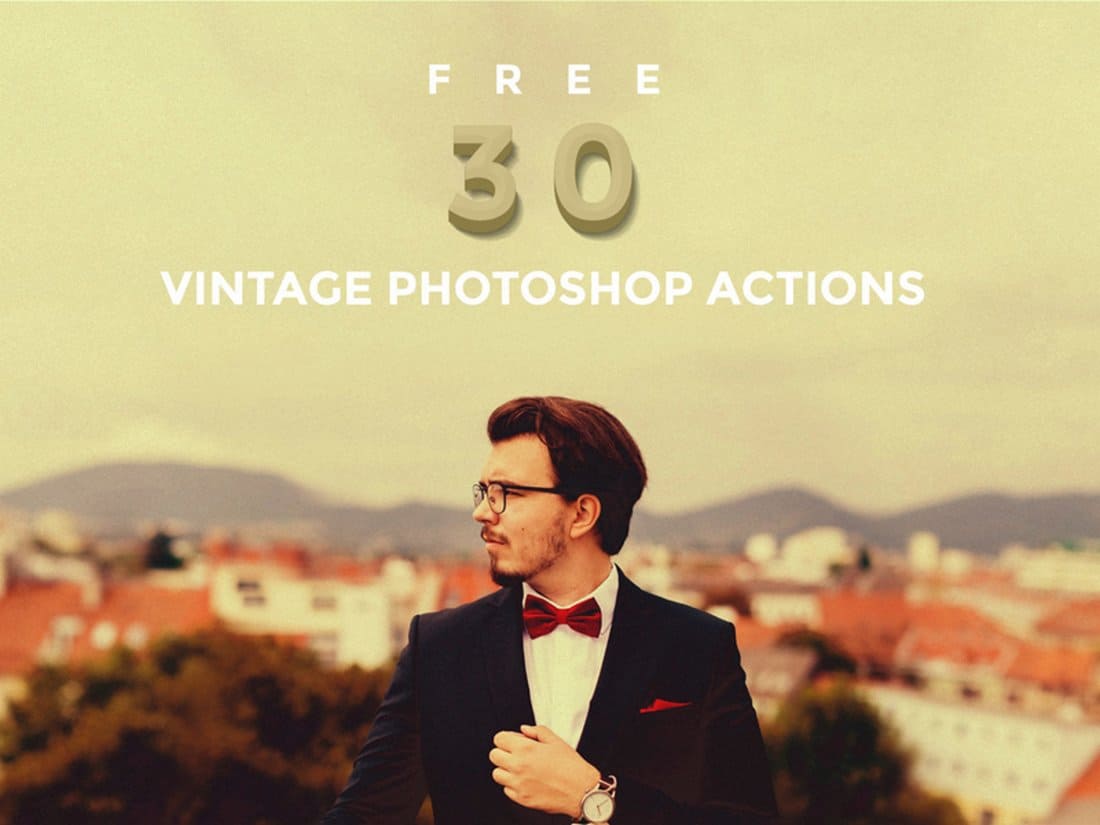
30 Free Instagram Photoshop Filters Actions
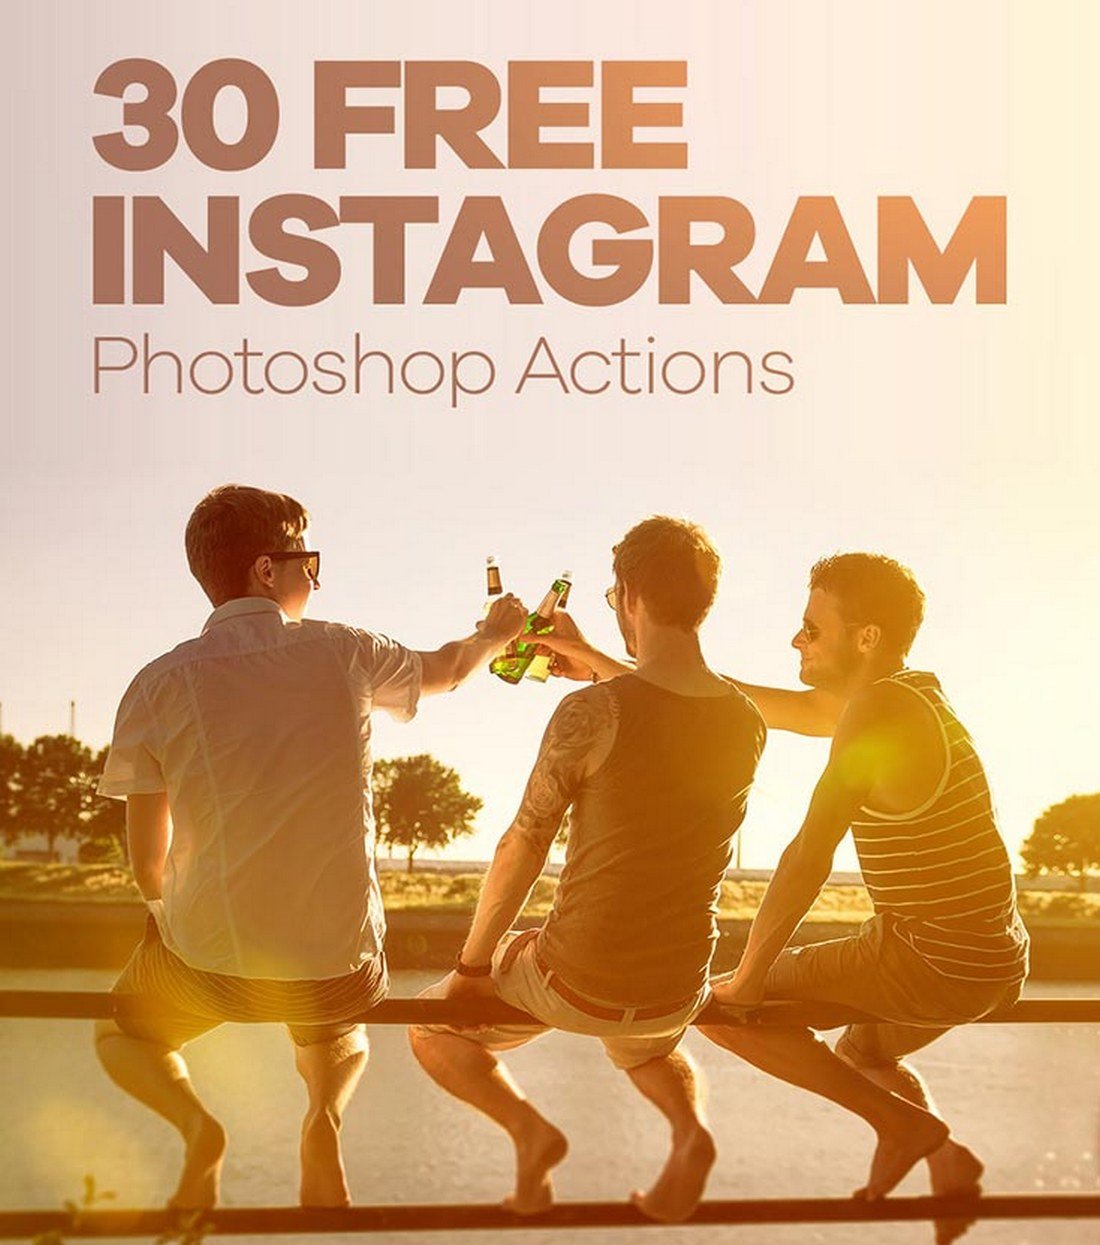
This bundle comes with 30 different Photoshop actions for recreating the same Instagram filter effects in Photoshop. The pack is perfect for adding effects to outdoor and landscape photos.
Free Portrait Instagram Photoshop Filter
This free Photoshop action is designed to improve your photos by adding an Instagram-like faded color filter effect. It’s easily customizable and you even get to choose the settings for the effect strength as well.
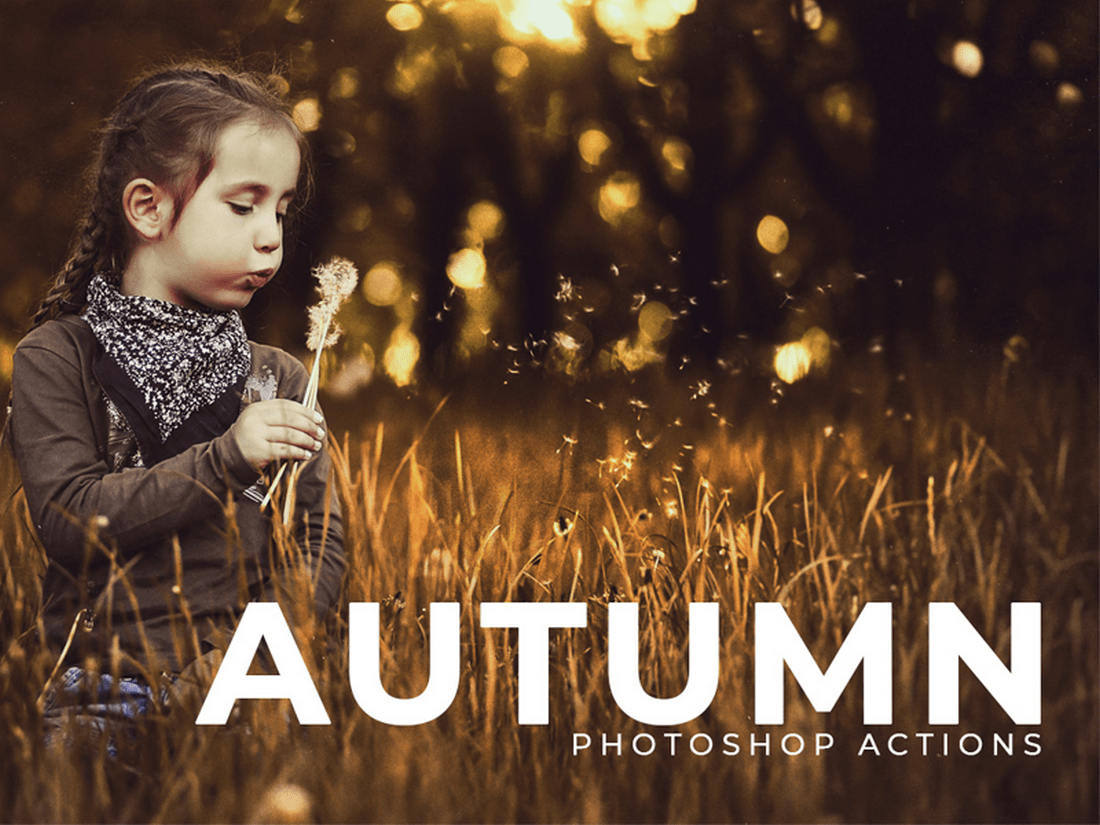
Free Autumn Instagram Photoshop Filter Action
Another free Photoshop action that transforms ordinary photos by making them look more vibrant with enhanced colors. The effect is easily customizable and works with Photoshop CS3 and above.
Cinnamon Instagram Photoshop Filter Actions
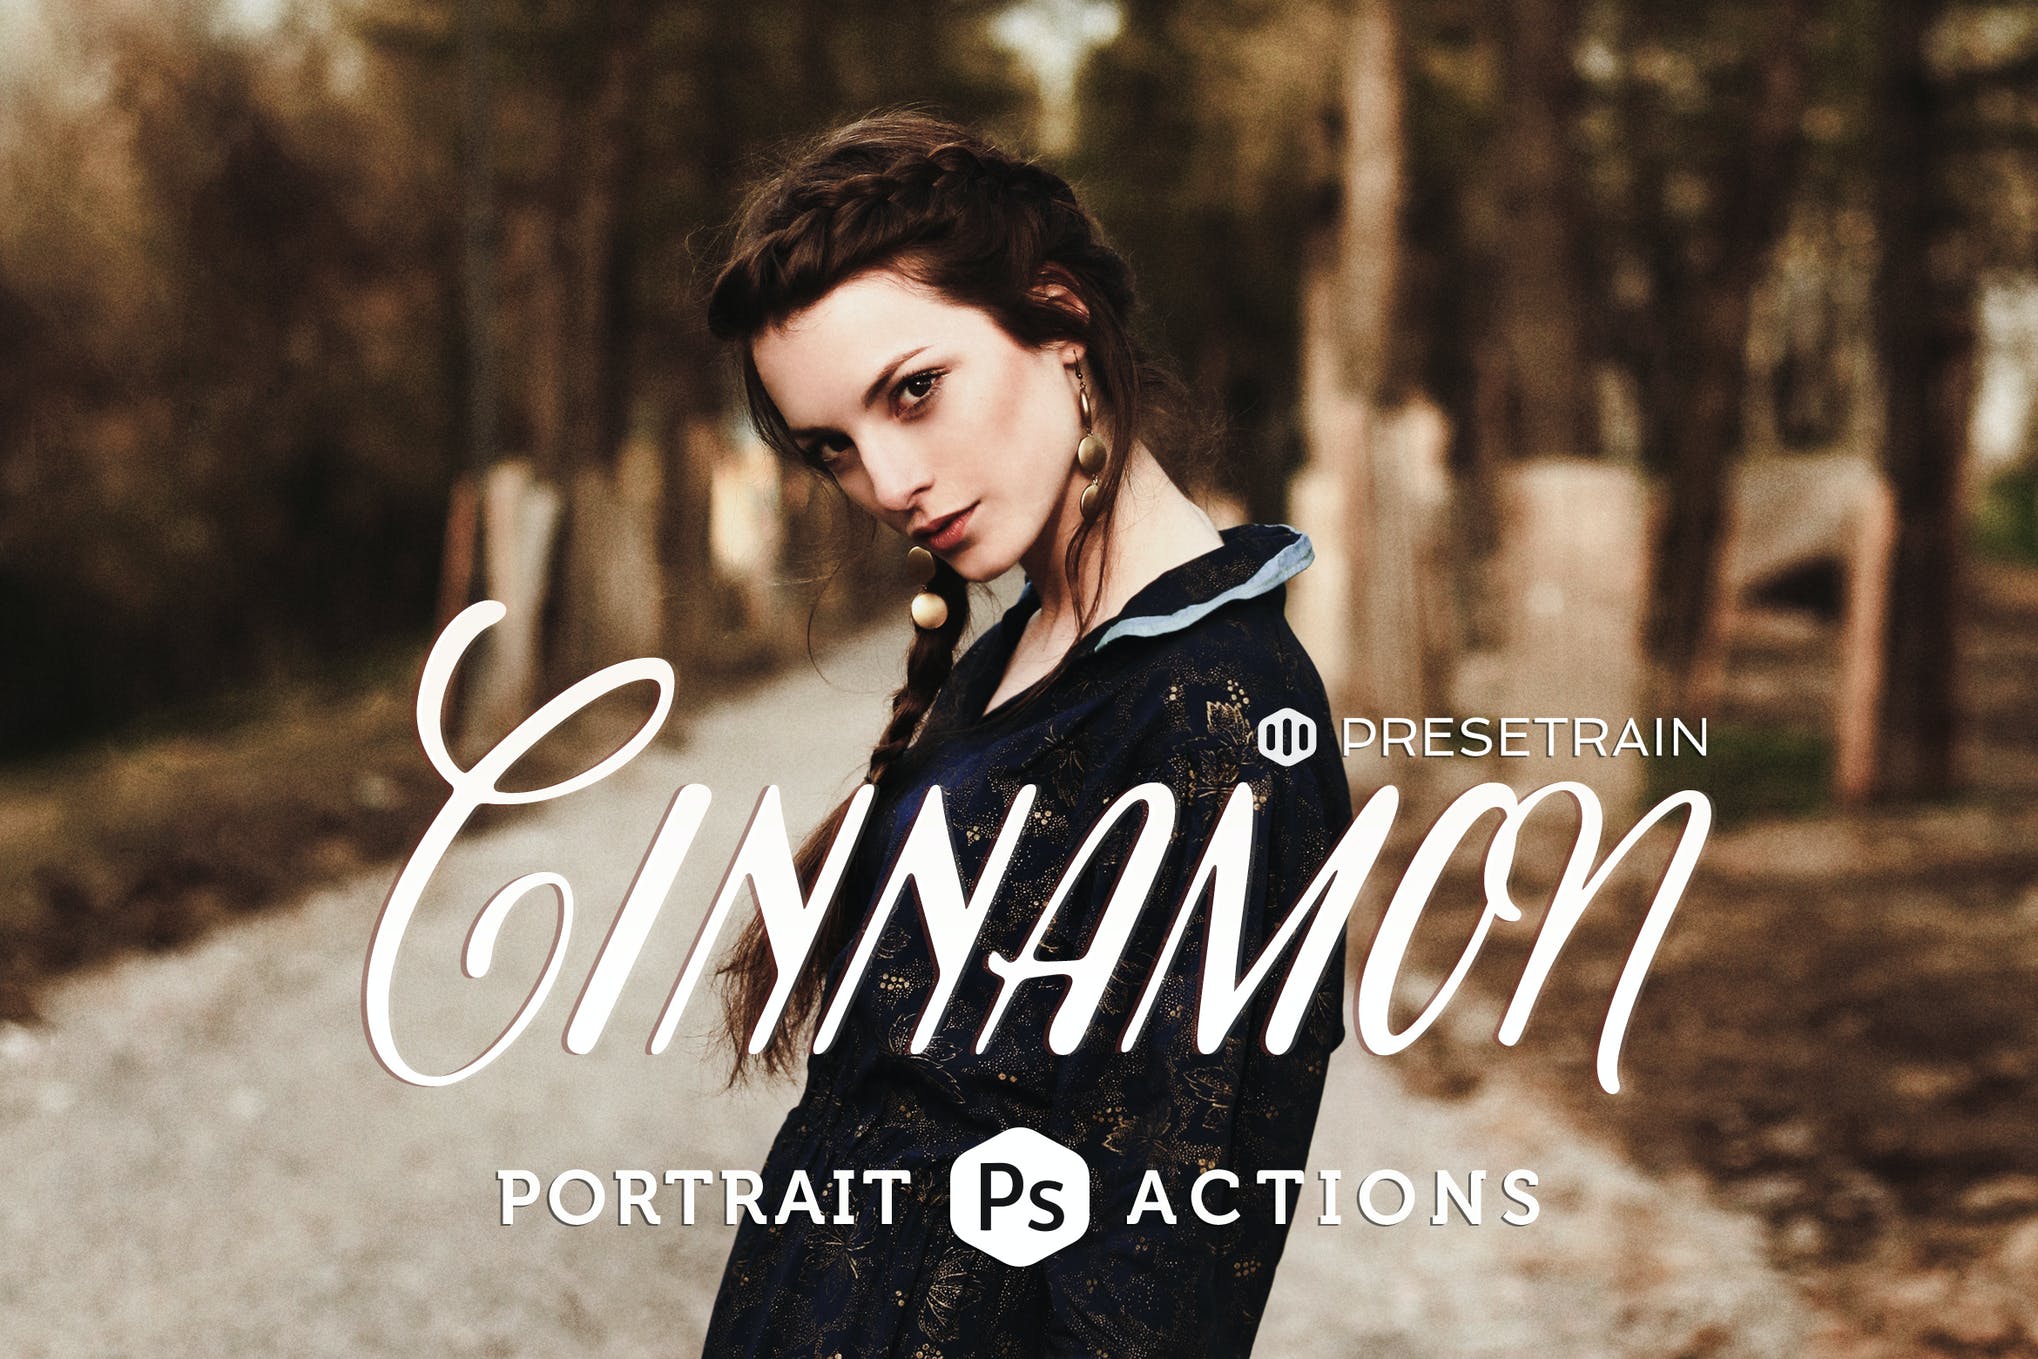
Cinnamon features 6 creative fantasy toning actions for Adobe Photoshop. Wild, mysterious, and enigmatic, Cinnamon actions can be used to process your portrait, fashion, editorial, or fine-art imagery.
Liquidum Instagram Photoshop Filter Action

Here we have a unique Photoshop action to transform your photo into a transparent “camouflage” object with color painting elements. It provides a highly detailed result, a lot of possibilities to easily customize and improve. Video tutorial included.
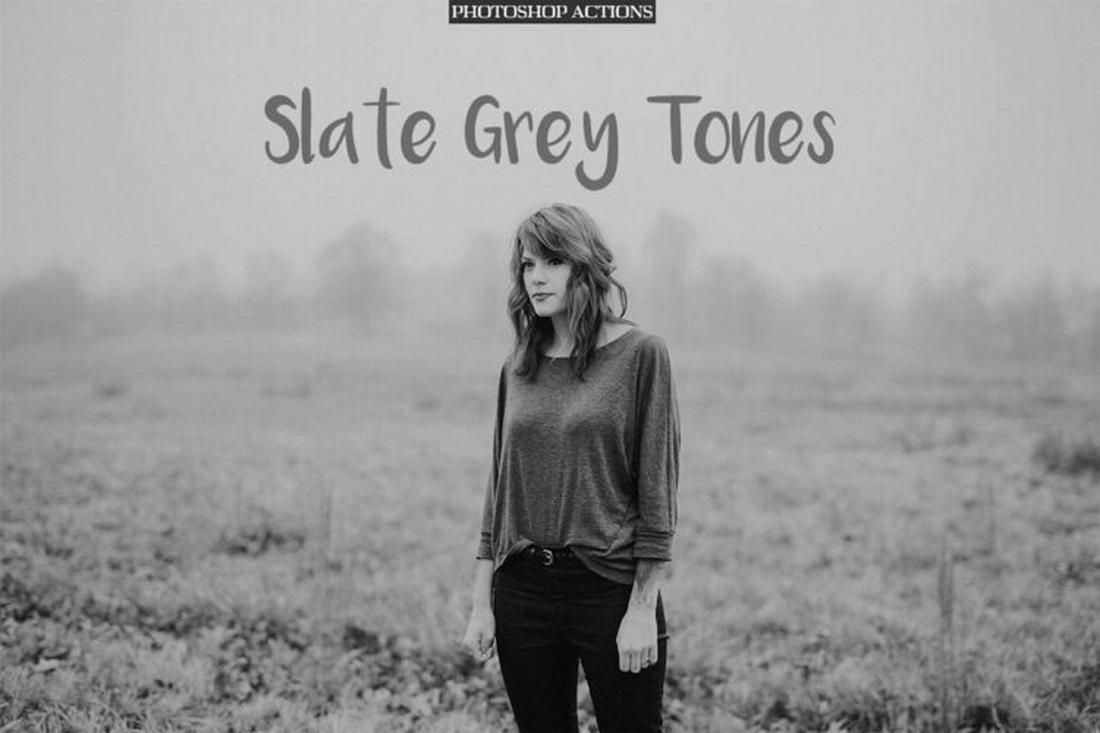
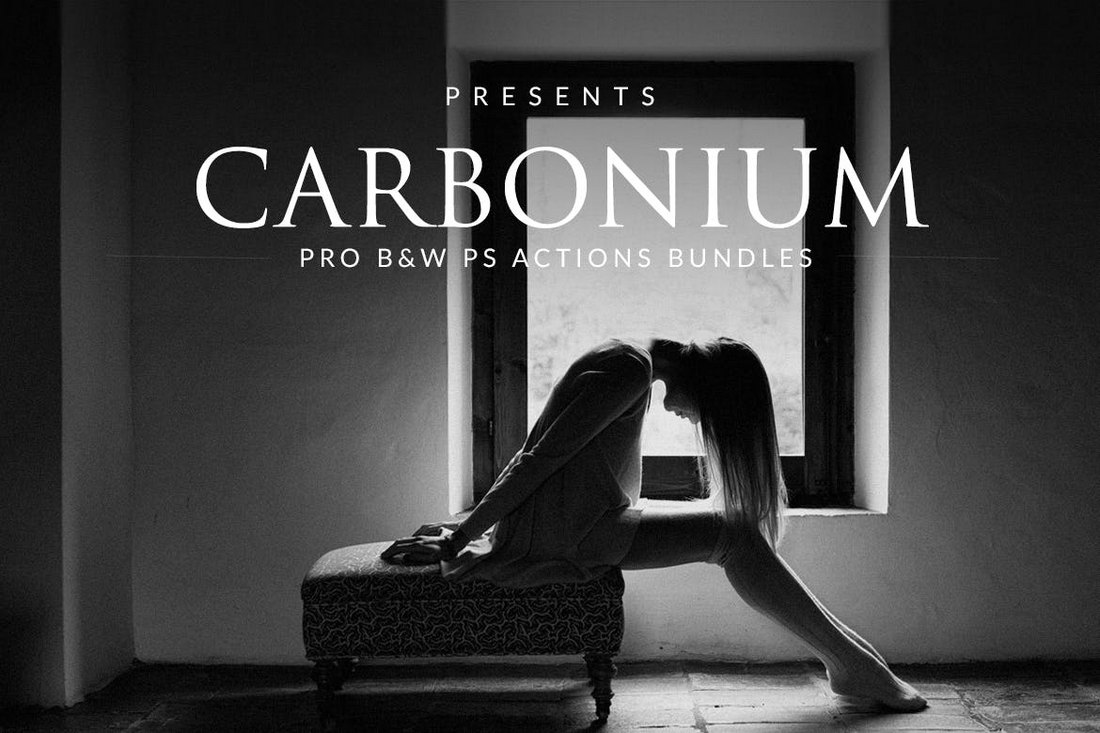
Carbonium Instagram Photoshop Filter Action

This is a huge collection of Black & White grading actions presets from vintage look to modern touch of photography.
Premium Instagram Photoshop Actions

Here we have a set of Photoshop actions that are sure to make your everyday dull pictures Instagram-worthy. The product comes packed with a detailed instructions guide on how to effectively use the actions, ensuring you make the most out of your purchase.
10 Instagram Photoshop Actions

If you’re on the hunt for the best Instagram Photoshop actions, this product must make it to your shortlist. It comprises 10 actions, each designed with attention to detail so you’re able to create photos that instantly grab eyeballs.
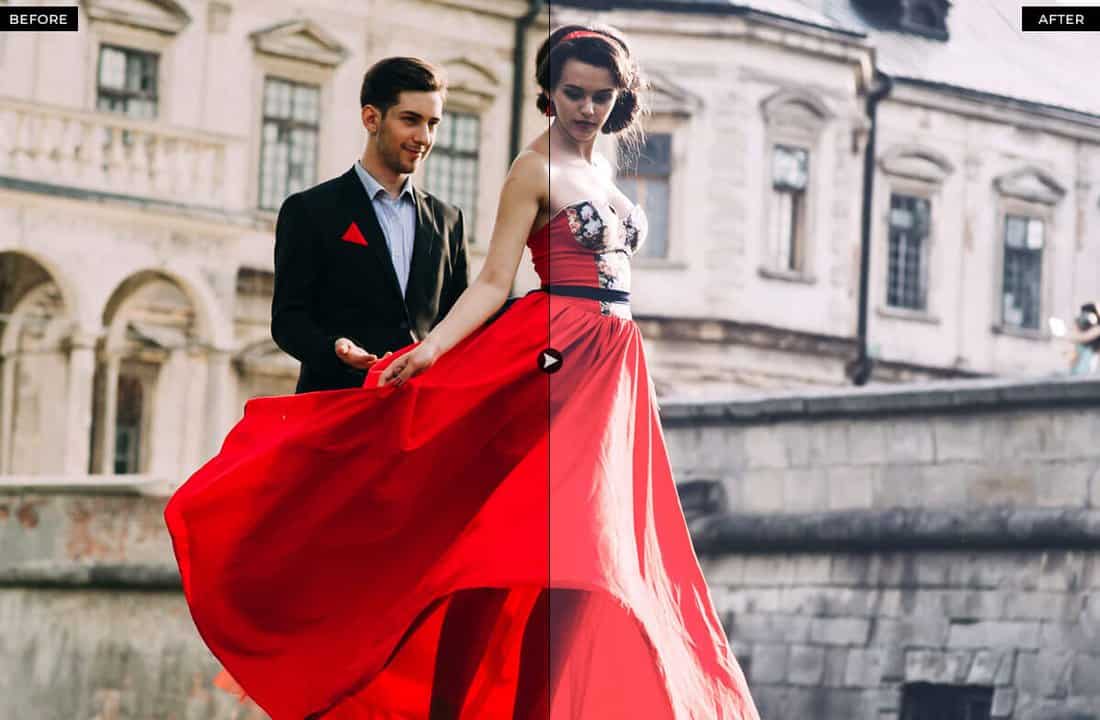
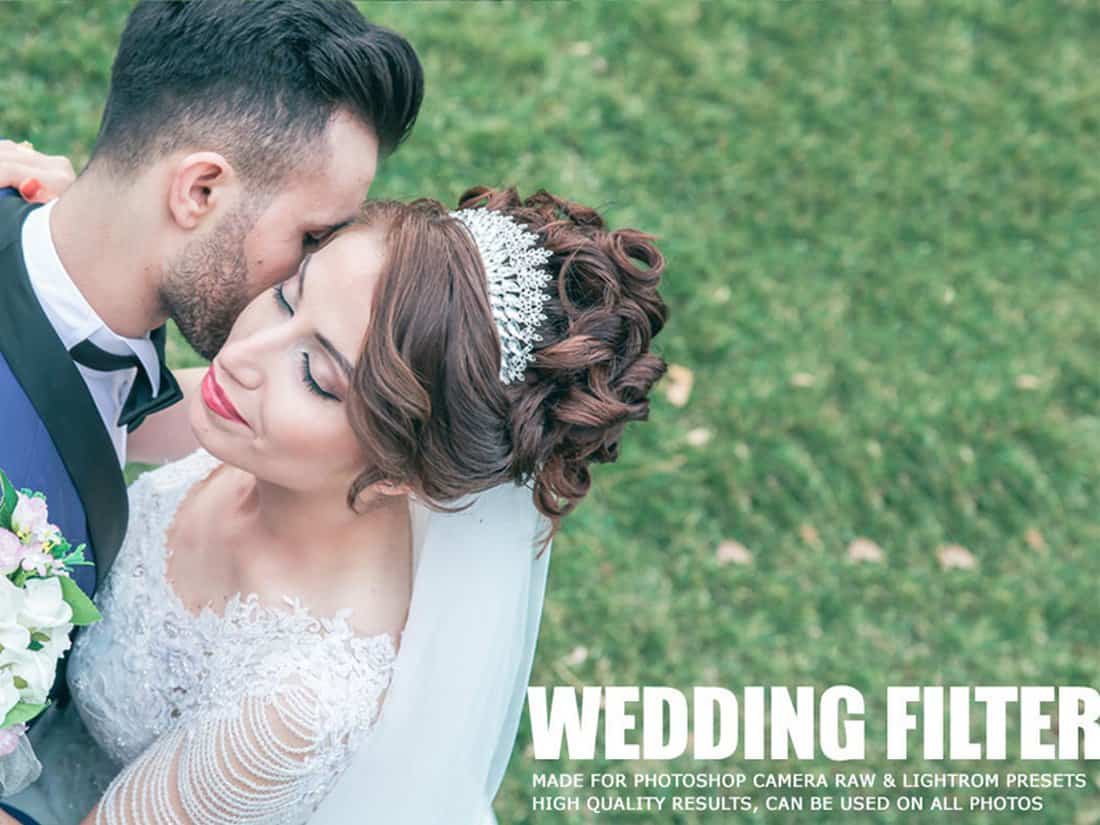
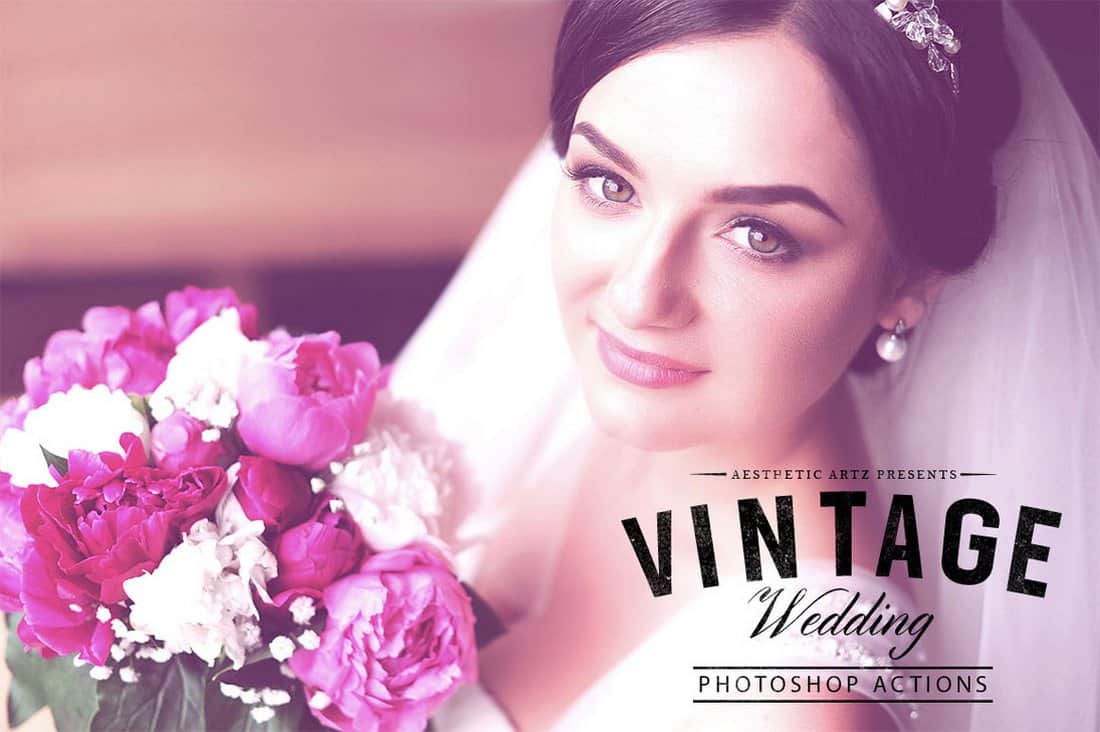
Wedding Instagram Photoshop Actions

Make your wedding pictures stand out with this bundle of 10 orange and teal Photoshop actions. Easy to use for both amateurs, and professionals alike, this product will instantly add a beautiful cinematic effect to your photos, and impress your friends, relatives, and followers.
Double Light Instagram Photoshop Action

This is an incredibly unique Photoshop action that adds a breathtaking double light effect to your images, making them look more appealing, and enthralling. It works well on PC and MAC and comes with a video tutorial, walking you through each and every step of installing and customizing the action.
Real Estate Instagram Photoshop Actions

If you want to advertise your real estate pictures in the best light possible, this collection of 25 Photoshop actions is well worth checking out. The actions will give your pictures a sharp, clear, and detailed look that’s guaranteed to entice potential buyers.
How to Use Instagram Filters: 3 Useful Tips
Unlike the filters on the Instagram app, when using Photoshop to add Instagram filter effects to your photos you’ll have all the freedom in the world to customize the effect and make adjustments however you like. Just make sure to follow these simple tips before getting started.
1. Use Non-Destructive Actions
The first and the most important thing to remember when using Photoshop actions is to use non-destructive actions.
Some Photoshop actions apply effects and flatten the image without leaving any adjustment layers for you to customize the effect. Try to avoid such filters and use Photoshop actions that create editable and non-destructive effects.
2. Choose the Right Filter Effects
Most Photoshop actions are also designed for improving specific types of photos. For example, there are actions for enhancing outdoor portrait photos and different actions for optimizing travel photos.
When choosing filter effects for your photos, make sure to pick Photoshop actions that are designed for the type of photos you’re working on.
3. Customize the Effect
Photoshop actions are quite easy to use. In fact, you can run the action and apply an Instagram filter to your photos with just a single click.
However, don’t forget that you can customize the filter effect afterward. Use the adjustment layers to optimize the filter effect and adjust the strength of the filter to match your photo.
Looking for cool post ideas to share on your Instagram? Then check out our feature on Instagram templates.


