Social media marketing isn’t just chatting on Facebook and posting cool pictures on Instagram. It is a modern discipline that demands particular skills and knowledge. And the students happen to possess the right skill set that develops naturally. Let’s see what it is! 1. Online communication culture Students, especially those who use distant learning a […]
Secure Sockets Layer (SSL) remains an essential technology for security between a server and a client. It is a standard security tool for establishing an encrypted link typically between a web server and a browser or a mail server and …
It’s probably one part coronavirus, one part new-fancy-video setup, and one part “hey this is good for CodePen too,” but I’ve been doing more videos lately. It’s nice to be back in the swing of that for a minute. There’s something fun about coming back to an old familiar workflow.
Where do the videos get published? I’m a publish-on-your-own site kinda guy, as I’m sure you know, so there is a whole Videos section of this site where every video we’ve ever published lives. There is also a YouTube channel, of course, which is probably the most practical way for most people to subscribe. We’re about halfway to Wes Bos-level, so let’s go people!
I had literally forgotten about it, but ages ago when I set this up, I created a special RSS feed for the videos so I could submit it as a video podcast on iTunes. That’s all still there and working! An interesting side note is that this enables offline viewing, as most podcatchers can cache subscriptions. Why build an app when you get the core ability for free, right?
I keep the original videos, of course. On individual video pages, I show a YouTube player that could be somewhat easily swapped out for another player if something crazy happened, like YouTube closes down or drastically changed their business model in some way that makes it problematic to show videos with their player. The originals are stored in an S3 bucket. If you’re an MVP Supporter, I give you the original high-quality download link right on the video pages.
If your curious about my workflow, I’m still using ScreenFlow. I don’t make nearly enough use of it, but it feels good in that it’s fairly easy to use, very reliable and fast, and I can always learn and do more with it. Shooting my screen is easy and a built-in feature of ScreenFlow of course. I also have a Rode Podcaster on a boom arm at my desk so the audio is passable. And I just went through a whole process to use a DSLR camera at my desk too, and I think the quality from that is great. It’s all a little funny because I have this whole sound recording booth as well, with a $1,000 audio setup in there, but I only use that for podcasting. The lighting sucks in there, making it no good for video.
It’s this new desk setup that has inspired me to do more video, and I suspect it will continue! One thing I could really use is a new high quality intro video. Just like a five-second thing with refreshed aesthetics. Anyone do that kind of work?
In a world of advancing digital innovations and technology, the struggle to keep up with the changes and trends of online platforms remains a challenge to web developers. Apart from the technical issues and glitch that comes with maintaining a website, SEO optimization ranks top of the list of concerns for web developers. One thing […]
I started my previous question with the title "Filter by" . I typed my question, clicked go to the next step. After that I clicked "Free" and only after that I got turned back to my question indicating that the title was too short. Shouldn't it say that before continuing to the next step?
The "filter by" at the top of a forum is by default set to "recommended". I'd love to have it remember (at least for the duration of my session) that I want a different filter (or none), prefarably one filter setting for all forums. Everytime I switch to a different forum "recommended" is back on. I already found the thread where you answered "no" to this, but I want it anyway.
GitHub is hosting the company’s first-ever major virtual event for developers across the globe. The event is highlighted by the launch of four new products aimed at broadly improving the overall developer experience on the platform. The new products include GitHub Codespaces, GitHub Discussions, Code scanning and secret scanning, and GitHub Private Instances.
Maintaining grid systems across a website can be a challenge. Implementing a CSS grid has become standard practice, whereas implementing horizontal grids – aka vertical rhythm – can be too. However, there is added complexity thanks to responsive design and …
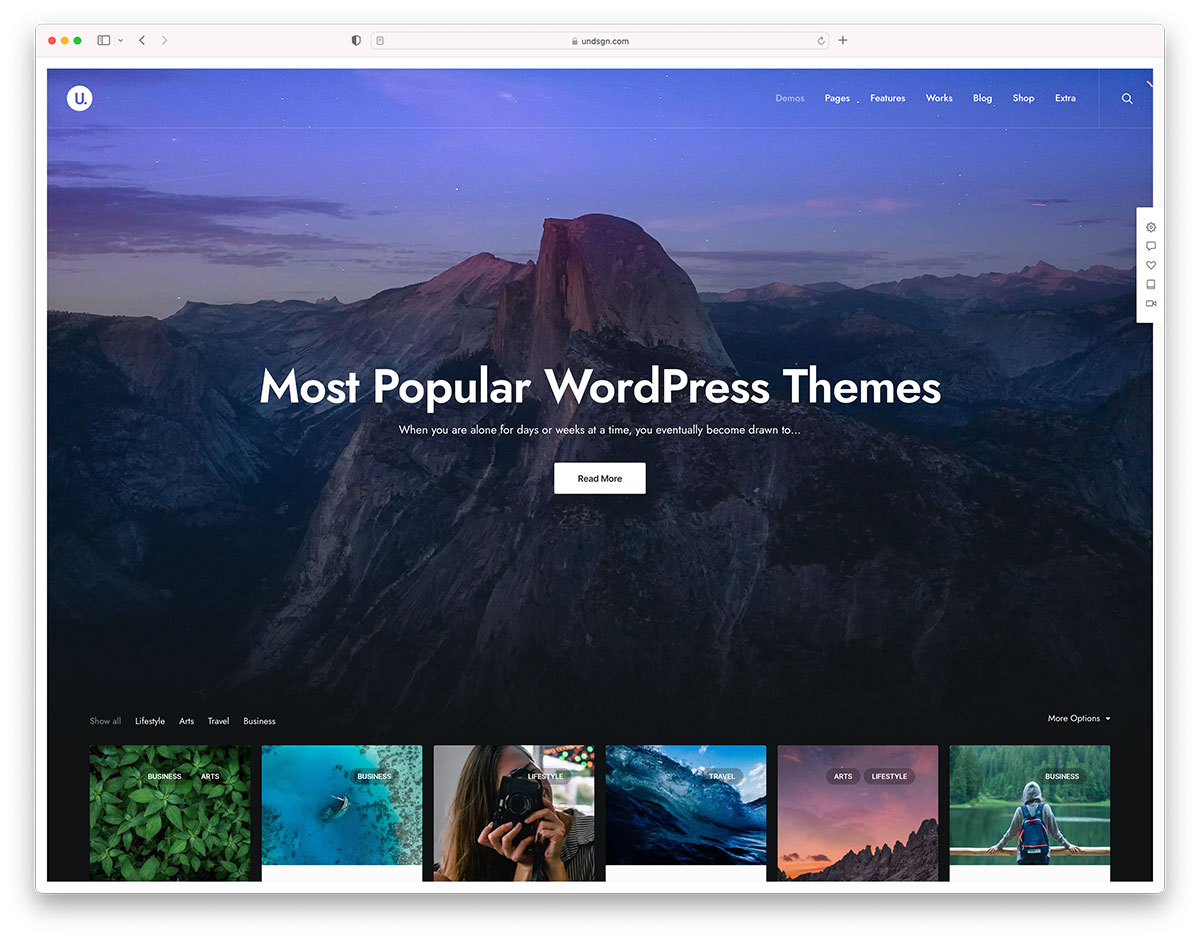
Do you want to add custom navigation menus in your WordPress theme?
All themes have set locations where you can display a navigation menu. However, by default, you can’t add a menu anywhere else except these pre-defined locations.
In this article, we’ll show you how to add a custom navigation menu to any area of your WordPress theme.
Why Add Custom Navigation Menus in WordPress Themes?
The exact location of your menu will vary based on your WordPress theme. Most themes have several options, so you can create different menus and show them in different places.
To see where you can display menus in your current WordPress theme, simply head over to Appearance » Menus and then take a look at the ‘Display location’ section.
The following image shows the locations that are supported by the Astra WordPress Theme.
However, sometimes you may want to show a menu in an area that isn’t listed as a ‘Display location’ in your theme.
With that in mind, let’s take a look at how to create WordPress navigation menus and then add them to your theme. Simply use the quick links below to jump to the method you prefer.
Method 1. Adding a Custom Navigation Menu in Full Site Editing
If you’re using a block theme, then you can add a custom navigation menu using Full Site Editing (FSE) and the block editor. For more details, you can see our article on the best WordPress full-site editing themes.
This method doesn’t work with every theme, and it doesn’t let you customize every part of the menu. If you want to add a completely custom menu to any WordPress theme, then we recommend using a page builder plugin.
If you are using a block-based theme, then head over to Appearance » Editor.
This will launch the full site editor with one of your active theme’s templates already selected.
If you want to add a custom navigation menu to a different template, then click on the arrow in the toolbar and select ‘Browse all templates.’
The site editor will now show all the different templates that are part of your theme.
Simply find the template that you want to edit, and give it a click.
The next step is adding a Navigation block to the area where you want to show your menu.
In the top-left corner, click on the blue ‘+’ button.
Now, go ahead and type ‘Navigation’ into the search bar.
When the ‘Navigation’ block appears, simply drag and drop it onto your layout.
Next, click to select the Navigation block.
If you’ve already created the menu that you want to display, then click ‘Select Menu’ and make your selection from the dropdown.
Another option is to click on ‘Create new menu,’ which allows you to build a navigation menu inside the full site editor.
To start with a blank menu, simply click on ‘Start empty.’
To add items to the new menu, just click on the ‘+’ icon.
This opens a popup where you add any post or page, and decide whether these links should open in a new tab.
Simply repeat these steps to add more items to the menu.
When you’re happy with how the menu looks, simply click on the ‘Save’ button. Your site will now be using the new template, and visitors can interact with your custom navigation menu.
Method 2. Creating a Custom Navigation Menu in WordPress Using SeedProd (Works With All Themes)
The full site editor is a quick and easy way to add a basic custom menu to block-based themes. However, if you want to add an advanced, fully-customizable menu to any theme, then you’ll need a page builder plugin.
SeedProd comes with over 180 professionally-designed templates that you can use as your starting point. After choosing a template, you can add a custom navigation menu to your site using simple drag and drop.
First, you need to install and activate the SeedProd plugin. For more details, see our step-by-step guide on how to install a WordPress plugin.
Note: There’s also a free version of SeedProd that allows you to create custom navigation menus without writing code. However, in this guide, we’ll be using SeedProd Pro since it has lots more templates for you to choose from.
After activating the plugin, SeedProd will ask for your license key.
Once you’ve done that, go to SeedProd » Landing Pages and click on the ‘Add New Landing Page’ button.
You can now choose a template for your custom page.
To help you find the right design, all of SeedProd’s templates are organized into different campaign types such as coming soon and lead squeeze campaigns. You can even use SeedProd’s templates to improve your 404 page.
To take a closer look at any design, simply hover your mouse over that template and then click on the magnifying glass icon.
When you find a design that you want to use, click on ‘Choose This Template.’
We’re using the ‘Black Friday Sales Page’ template in all our images, but you can use any template you want.
After choosing a template, type in a name for that custom page. SeedProd will automatically create a URL based on the page’s title, but you can change this URL to anything you want.
After entering this information, click on the ‘Save and Start Editing the Page’ button.
Most templates already contain some blocks, which are the core components of all SeedProd page layouts.
To customize a block, just click to select it in the page editor.
The left-hand toolbar will then show all the settings for that block. For example, in the image below, we’re changing the text inside a ‘Headline’ block.
You can format the text, change its alignment, add links, and more using the settings in the left-hand menu.
To add new blocks to your design, simply find any block in the left-hand menu and then drag it onto your design. If you want to delete a block, then simply click to select that block and then click on the trash can icon.
Since we want to create a custom navigation menu, drag a ‘Nav Menu’ block onto the page.
This creates a navigation menu with a single default ‘About’ item.
To customize this menu item, click to select it in the left-hand menu.
This opens some controls where you can change the text, as well as add the URL for the menu item to link to.
By default, the menu item will be a ‘dofollow’ link and open in the same browser window. To change either of these settings, simply use the checkboxes in the ‘URL Link’ section.
In the following image, we’re creating a “nofollow” link that will open in a new window.
To add more items to the menu, simply click on the ‘Add New Item’ button.
You can then customize each of these items by following the same process described above.
The left-hand menu also has settings that change the font size and text alignment.
You can even create a divider, which will appear between each item in the menu.
After that, go ahead and switch to the ‘Advanced’ tab. Here, you can change the menu’s colors, spacing, typography, and other advanced options.
As you make changes, the live preview will update automatically so you can try different settings to see what looks good in your design.
When you’re happy with how the custom menu looks, it’s time to publish it.
Simply click the dropdown arrow next to ‘Save’ and then select ‘Publish.’
Your custom navigation menu and the page will now go live on your WordPress blog.
Method 3. Creating a Custom Navigation Menu in WordPress Using Code (Advanced)
If you don’t want to set up a page builder plugin, then you can add a custom navigation menu using code. Normally, you would need to add custom code snippets to your theme’s functions.php file.
However, we don’t recommend this method for anyone but advanced users, and even then, a small mistake in your code could cause a number of common WordPress errors, or break your site completely.
That’s why we recommend using WPCode. It is the easiest and safest way to add custom code in WordPress without having to edit any core WordPress files.
This will add a new menu location to your theme, called ‘My Custom Menu.’ To use a different name, simply change the above code snippet.
If you want to add more than one new navigation menu to your theme, then simply add an extra line to your code snippet. For example, here we’re adding two new menu locations to our theme, called My Custom Menu and Extra Menu:
Below the code box, you will see insertion options. If it isn’t already selected, then choose the ‘Auto Insert’ method so the snippet will be automatically inserted and executed on your site.
After that, open the ‘Location’ dropdown and click on ‘Run Everywhere.’
Then, you’re ready to scroll to the top of the screen and click on the ‘Inactive’ toggle so it changes to ‘Active.’
Finally, go ahead and click on ‘Save’ to make this snippet live.
After that, go to Appearance » Menus and look at the ‘Display location’ area.
When you’re happy with your menu, the next step is adding it to your WordPress theme.
Adding the custom navigation menu to your WordPress theme
Most website owners show their navigation menu directly under the header section just after the site logo or title. This means the navigation menu is the first thing visitors see.
However, you can display your custom navigation menu anywhere you want by adding some code to the theme’s template file.
In your WordPress dashboard, go to Appearance » Theme File Editor.
In the right-hand menu, select the template that you want to edit. For example, if you want to show the custom navigation menu in your website’s header, then you’ll typically want to select the header.php file.
After selecting the template file, you need to add a wp_nav_menu function and specify the name of your custom menu. For example, in the following code snippet we’re adding My Custom Menu to the theme’s header:
If you are a WordPress website owner, there is a lot of stuff to take care of. Constantly updating your blog content, adding new products, changing prices, and we do not even mention regular plugins update, providing a dev with access and doing many more things as a part of daily WordPress routine. Sometimes, if […]
For the first time, at least 19 people from the WordPress community can literally call themselves WordPress rock stars without it sounding like an outdated marketing gimmick.
GravityView dropped a community music video and website named WordPress Strong earlier today. It is fun. It is inspirational. It will leave a smile on your face. The video features a wide range of faces, voices, and musical talent from around the planet.
Much of the world is looking for small ways to cope with the ongoing COVID-19 pandemic. Each day is about finding the things we should be thankful for while waiting for life to feel like normal. The WordPress community has been a beacon of hope for many. It has continued providing purpose to people despite their daily lives being upended. This project is one more way to show the strength of our community.
“People were scrambling to adjust to the new reality of living in a pandemic, and there was a rush of uncertainty,” said Zack Katz, the creator of GravityView, on starting the project. “In the middle of all that uncertainty, I felt lucky to be part of the WordPress community: doing what we do, working on an open and thriving platform, with a culture of people who are kind to each other and support each other.”
Many GravityView customers began using the plugin to enable COVID-19 responses, such as sites like Support Redditch, which coordinates relief efforts. “I sensed a movement of coming together to help each other, and I wanted to get the word out: if you need help, ask the community,” said Katz. “We’re here for you. We’ll get through this together.”
A total of 19 volunteers contributed to the music video, including WordPress co-founder Matt Mullenweg. However, the true star of the group was Tracy Apps, the owner of tracy apps design, who laid down the beat on the drums.
“It involved asking a lot of people!” said Katz of finding willing subjects. “I get why people are reluctant. I even waited until the last minute to record my video! Something special happens when people are invited to go beyond their comfort zone, especially when it comes to creative endeavors. It was moving to have the emails come in with their videos. People were willing to share a different part of themselves.”
The #WordPressStrong hashtag is open for anyone to contribute to on Twitter. The project is calling for volunteers to join in on the fun. If you can sing, play an instrument, or dance — or if you can’t — you can be a part of this movement for our community to become stronger. If nothing else, it will give you something to do to pass the time. Tag yourself doing something and share it. I am certain it will brighten at least one person’s day.
The WordPress Strong Project
Katz began the project in March. He shared some initial lyric ideas with Jonathan Mann who then wrote and recorded WordPress Strong. The GravityView team reached out to members of the WordPress community and asked them to lend their voices.
“I deeply respect [Mann] as a musician and how he exposes himself through his music,” said Katz. “His album I Used to Love My Body was my soundtrack for last year.”
Mann is the voice of the GravityView brand and has previously created a song for the product. Katz and Mann also worked on the WordPress Wiggle song in 2017.
“When creating WordPress Strong, I shared a poem with [Mann] and expressed the tone that I wanted to convey,” said Katz. “The email had the subject line ‘WordPress Hope Song.’ He wrote and recorded WordPress Strong, and I think you agree, it’s a great WordPress Hope Song.”
The plan for the WordPress Strong website goes beyond releasing a song. Katz wants to expand the site to be a place where people from the community can ask and receive help during the pandemic. The team is currently working on a part of the site where community members can request assistance or offer help anonymously.
“I was hoping artists of all stripes would be interested in sharing their work on the WordPress Strong website,” said Katz. “Sharing creativity together empowers us to be vulnerable in our despair as well as our hope. I would like to help foster that.”
There’s some new units I was totally unaware of from the Level 4 spec for CSS values! The lh unit is “equal to the computed value of line-height” and rlh is the same only of the root element (probably the <html> element) rather than the current element.
OpenPayd, an API-based banking as a service provider, now has direct access to the Single Euro Payments Area (SEPA) scheme. SEPA was created and adopted by EU members to make cross-border payments as easy as domestic payments. Until recently, OpenPayd had to rely on a partner bank for its SEPA capabilities.
We don't want to allow signups from VPNs or proxies. Visitors could be using a VPN to mask their real location and bypass location restrictions. A visitor using TOR, which hides their real location and identity, might be trying to perform malicious activity on your site. So how can we block these users?


 If you are a WordPress website owner, there is a lot of stuff to take care of. Constantly updating your blog content, adding new products, changing prices, and we do not even mention regular plugins update, providing a dev with access and doing many more things as a part of daily WordPress routine. Sometimes, if […]