Do you want to change the font size in your WordPress posts or pages?
Sometimes, you may want to make a line or a paragraph larger, or you might want to increase the font size of your entire page content.
In this article, we’ll show you how to easily change the font size in WordPress. You’ll learn not only how to change font size in your WordPress posts, but also how to do it across your website.

Method 1: Using Paragraph Headings
It takes your visitors just a couple of seconds to decide whether they want to stay or leave your website. This gives you very little time to convince them to stay on your website.
Using Headings in your content is a great way to grab user attention.
They allow you to break your posts and pages into sections using different headings (often called “subheadings”).
Headings are great for SEO as well. Search engines give proper headings more weight than normal paragraph text.
How to add a heading in the default WordPress block editor
You can add a heading to your posts or pages by simply adding the ‘Heading’ block. You can search for it or find it in the ‘Common Blocks’ section in the WordPress block editor.

The block will default to Heading 2. Normally, it makes sense to stick with Heading 2 for your subheadings. If you want to change this, then you can simply click on the ‘H2’ drop-down to select a different size.

Alternatively, you can change this in the block settings on the right-hand side of the screen. You can also change the heading’s color there as well.
How to add a heading in the older Classic Editor
If you are still using the older classic editor in WordPress, then you can add headings using the ‘Paragraph’ drop-down.
Just highlight the text that you want to turn into a heading, click the ‘Paragraph’ drop-down, and select your heading size.

The sizes and colors of the different Heading styles are controlled by your theme’s stylesheet (style.css).
If you’re using a premium WordPress theme, then you may have the option to change these settings under Appearance » Customize.
Using subheadings in your articles makes it easier for readers to follow what you’re telling them. At the same time, it also makes your WordPress posts SEO friendly.
Method 2: Changing the Size of the Text in the Block Editor
What if you want to have a paragraph or even your whole post in a larger font? You can do this really easily using the default WordPress block editor.
Just click on any paragraph block, then select the font size under ‘Text Settings’ on the right-hand side.

You can select from the drop-down, which covers Small, Normal, Medium, Large, and Huge. If you change your mind, then just click the ‘Reset’ button to set your paragraph back to the default text.
There’s also a ‘Custom’ option where you can simply type in the pixel size that you’d like. If you want, you can also set a large Drop Cap to appear at the start of your paragraph.
These options aren’t available in the older classic editor for WordPress. If you want to use them, then think about making the switch. Our tutorial on how to use the new WordPress block editor will help you.
If you are determined to stick with the classic editor, then this next option is for you.
Method 3: Change Font Size Using The TinyMCE Advanced Plugin
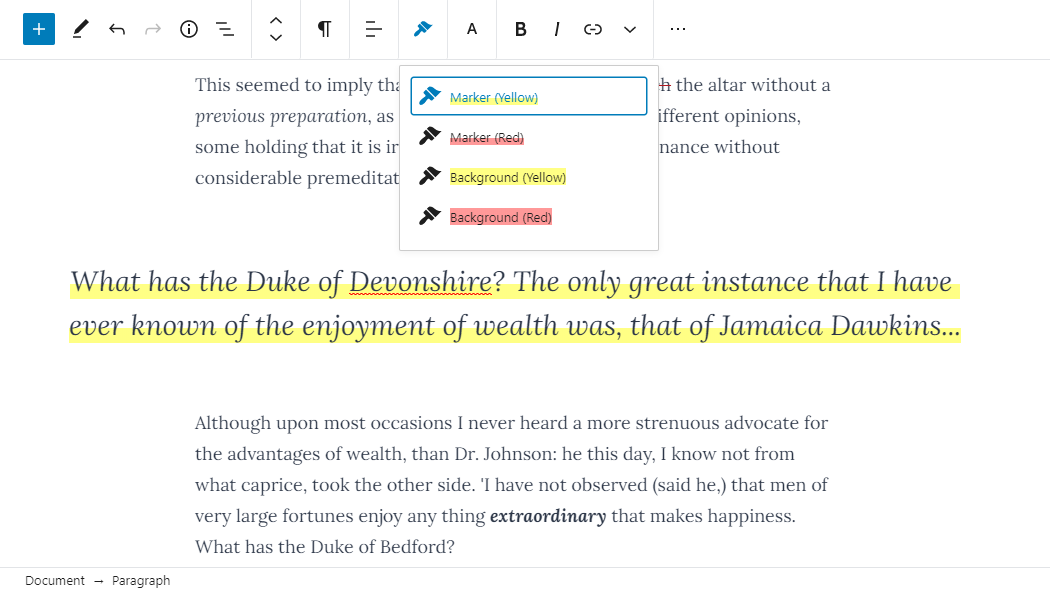
TinyMCE Advanced is a WordPress plugin that gives you more control over font sizes and text formatting, as well as a range of other features.
This is particularly useful with the older classic editor, but it also works with the block editor. It adds a new block called “Classic Paragraph” that has all the TinyMCE controls.
To use it, you’ll first need to install and activate the TinyMCE Advanced plugin. If you’re not sure how to do that, check out our step by step guide on how to install a WordPress plugin.
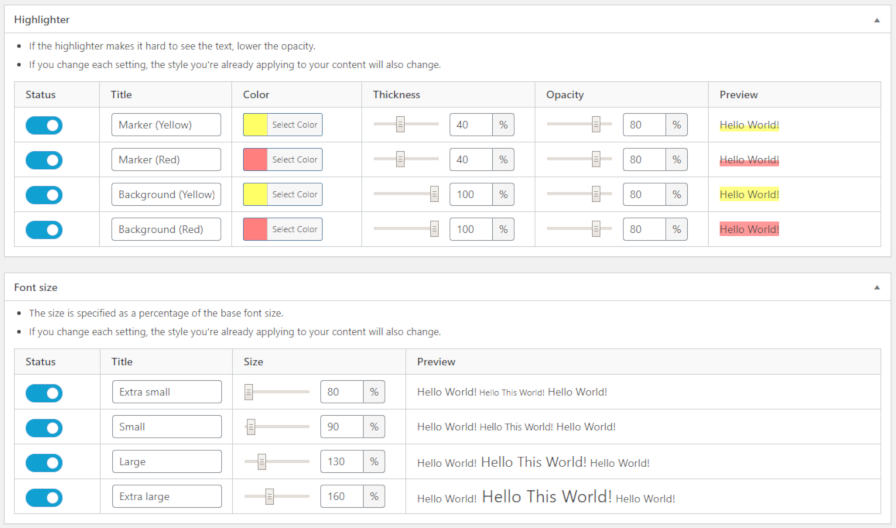
Next, go to Settings » TinyMCE Advanced to configure the editor settings. This is where you can set up the buttons you want to use in the TinyMCE Advanced toolbar.
If you’re using it with the Classic editor, then you should see that TinyMCE has the ‘Font Size’ drop-down enabled by default in the second row of icons.
You can move it to the first row by dragging it upwards if you want.

If you’re using the block editor, then you’ll need to scroll down the screen and add the Font Sizes drop-down to the toolbar by dragging and dropping it:

Make sure you click ‘Save Changes’ at the bottom of the screen.
To see the button in action, create a new post or edit an existing one.
In the block editor, you’ll now have the option to add a ‘Classic Paragraph’ block. It will have the TinyMCE Advanced controls, like this:

In the classic editor, you’ll see the TinyMCE Advanced toolbars with a font size drop-down:

You can select any font size from the drop-down.
Note: this doesn’t give you as many options as the WordPress block editor, and you can’t type in your own font size.
Method 4: Change Site-Wide Font Size Using CSS
If you are changing font sizes every time you edit a post, then you may want to make it easier by changing it permanently in your theme.
The good news is that you can change the default paragraph size across your whole site. The best way to do this is by using the Theme Customizer under Appearance » Customize.
Some WordPress themes may come with an option for you to change the font size. If you can find this option, then you can use it without writing CSS code.
However, if your theme does not have that feature, then you can add custom CSS to add your own font size rules.
Simply click on the ‘Additional CSS’ option in the theme customizer. This is where you can store all your custom CSS code.

Now under the additional CSS text box, simply add your CSS code. In this example, we are changing the font size to ’16px’, you can choose a different font size.
p {
font-size:16px;
}
You’ll immediately see the changes on the preview on the right-hand side of the screen. If you’re happy with the font size, click the ‘Publish’ button at the top of your screen to make it live.
Note: Your custom CSS will only be applied to the theme you’re using. If you later choose to switch to a different WordPress theme, you’ll need to copy and paste it into the Customizer again.
The above code only applies to paragraph text. What if you wanted to change the font size of all h2 sub-headings?
Simply modify the above code to target the h2 element in your theme like this:
h2 {
font-size:32px;
}
You can do the same thing with other headings as well by simply changing h2 to h3, h4, or h5.
We hope this article helped you learn how to easily change the font size in WordPress. You may also want to see our guide on how to use custom fonts in WordPress or our list of the best drag & drop WordPress page builder plugins.
If you liked this article, then please subscribe to our YouTube Channel for WordPress video tutorials. You can also find us on Twitter and Facebook.
The post How to Easily Change the Font Size in WordPress appeared first on WPBeginner.