Optimizing your WordPress workflow often involves tweaking a few settings and functions. One of these features is post revisions. This built-in functionality can be a lifesaver, especially when you want to revert changes or restore an earlier version of a post. However, having an excessive number of revisions can be overwhelming and may clutter your database.
We’ll guide you through the steps to limit post revisions in WordPress, without turning to specific plugins.

Understanding WordPress Post Revisions
Post revisions, a core feature of WordPress, allows you to undo changes and revert to previous versions of your posts or pages. For every draft in progress, WordPress automatically generates a temporary revision (known as an auto-save) every 60 seconds. It supersedes older versions with these new auto-saves.
Alongside auto-saves, WordPress creates permanent revisions each time a user hits save, update, or publish. These permanent revisions are stored in the WordPress database and can be managed from the post-edit screen.
Why Would You Limit Post Revisions?
Limiting post revisions does not necessarily mean you’re capping your site’s performance. WordPress intelligently excludes post revisions from the database calls on the front end, only including them on the post-edit screen or while browsing revisions.
However, having a large number of post revisions can cause your WordPress database to become bulky, and although it won’t affect your site’s performance, it may make you feel a bit disorganized. Keeping your database clean and neat is good practice and can make your backend operations smoother.
The Manual Approach
Now, let’s jump into how you can limit post revisions manually in WordPress without the use of plugins.
Restricting the Number of WordPress Post Revisions
WordPress enables you to control the number of revisions retained for an article. To set a limit, you’ll need to add a specific line of code to your WordPress site’s wp-config.php file.
define( 'WP_POST_REVISIONS', 7 );
In the above code snippet, replace “7” with the desired number of revisions you wish to store for each post. Remember to save and close the file after making your adjustments.
How to Completely Turn Off WordPress Post Revisions
If your objective is to entirely disable post revisions, WordPress allows for this as well. By incorporating the following line of code into your wp-config.php file, you can turn off the post revision functionality:
define('WP_POST_REVISIONS', false );
Specifically, this command will deactivate the post revisions feature on your website. However, it’s crucial to understand that WordPress will continue to preserve one auto-save and one browser-stored revision despite this change.
Wrapping Up
Fine-tuning how post revisions are handled in WordPress can lead to a tidier database and a more streamlined content production process. It’s worth noting that manipulating core files requires a basic level of comfort with code or additional guidance. For related WordPress management topics, feel free to check out our guide on managing widgets in your WordPress dashboard.

 A sticky header can improve your site experience, as well as help increase conversions. Let's take a closer look at sticky headers and discuss some best practices. Then we’ll show you four ways to create a WordPress sticky header.
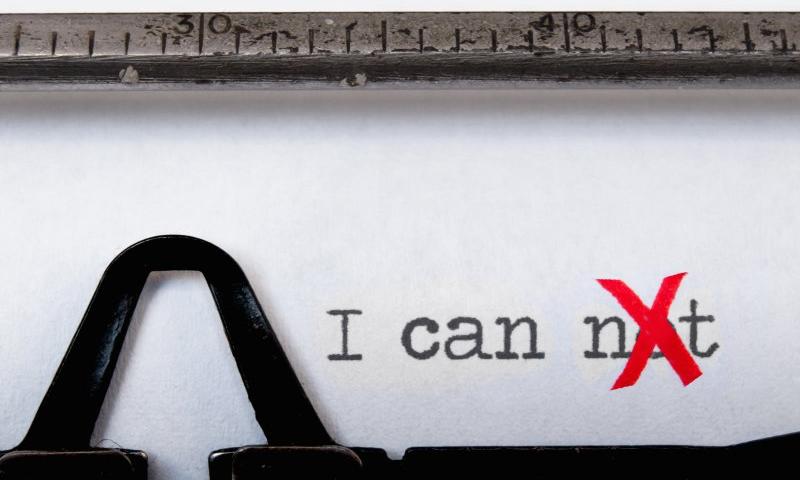
 When you install a WordPress theme, you’ll get a built-in header that sits at the top of your site. However, this header design is often quite basic and might not include the elements you want. Therefore, you might be wondering how to edit a WordPress header. In this post, we’ll take a closer look at why you might want to edit a WordPress header. Then, we’ll show you the ways to do it.


 If you run a small business, creating a meet the team page on your site can help you appear more approachable. Fortunately, you don’t need to be a web designer to create an effective and nice looking meet the team page. In this article we'll show you some real-life examples and then we'll teach you how to build a team page of your own.
  The WordPress White Screen of Death (WSoD) is arguably one of the most infuriating errors on the platform. Getting no indication of what has happened means you have to put in the work to find a fix. The error is also one that can cause some panic and anxiety. While you have the error, your site will be out of commission. Because of this, you need to work quickly and methodically to put everything right again. Fortunately, that’s where this tutorial comes in.
  Whether you’re a photographer, artist, or someone who just wants to display some images in an interesting fashion, online galleries are the tool of choice. In this guide on how to create a gallery in WordPress, we’ll look at two easy methods for adding them.
  Creating a membership site on WordPress can be valuable to your new or existing business. In this tutorial, we’ll introduce the tools you’ll need to create a membership site on WordPress, and show you how to set them up.
  Search engines opt to show different formats of results depending on what’s searched. Among those, you have regular results (title and meta description), Q&As, advertisements, and rich snippets. In this article, we’ll talk more about what rich snippets are and how you can use them. Then we’ll show you how to use rich snippets in WordPress. Let’s get to it!
  WordPress is a powerful content management system (CMS) that lets you install plugins, themes, and various types of media. However, when you install WordPress using your preferred web host, the default settings will put limits on the size of what you can upload. So, you may wonder how you can modify WordPress to increase upload size. In this post, we’ll discuss some of the main reasons you may want to configure WordPress to increase upload size. Then, we’ll show you four ways to do it. Let’s get started!
  User experience and site management become notably smoother with the WordPress dark mode toggle feature enabled.
Take, for instance, the case of OLED and AMOLED screens, which operate by lighting individual pixels. In dark mode, their pixels are essentially turned off, thereby conserving power and increasing battery life.
User experience and site management become notably smoother with the WordPress dark mode toggle feature enabled.
Take, for instance, the case of OLED and AMOLED screens, which operate by lighting individual pixels. In dark mode, their pixels are essentially turned off, thereby conserving power and increasing battery life. 
 Wondering how to create ecommerce website in WordPress?
Building an ecommerce website is not hard, but it can be time-consuming. It involves a number of steps and carrying them out can be overwhelming for a newbie. The good news is that, with the Elementor page builder and Neve theme, the process becomes significantly faster.
Wondering how to create ecommerce website in WordPress?
Building an ecommerce website is not hard, but it can be time-consuming. It involves a number of steps and carrying them out can be overwhelming for a newbie. The good news is that, with the Elementor page builder and Neve theme, the process becomes significantly faster. 
 Want to learn how to hide page titles in WordPress? Although WordPress does not offer a native feature to hide page titles, you have plenty of options to get the job done, including both code-free options and custom CSS. In this article, you’ll learn four methods that you can use to hide the title for individual pieces of content or for all of your content:
  Ever felt that maybe WordPress caching plugins are overrated? Or maybe, could you be scratching your head wondering how many caching plugins would be too many? Whether you’re a seasoned WordPress aficionado or just getting started, caching is one of those technical WordPress subjects with a lot of grey areas.
 Whether you’re a blogger or an artist, you may be looking for the best way to display videos on your site.
A WordPress video gallery can help you showcase your work in a neat grid, though you might be wondering if it’s the right option for you, or how to get started.
Whether you’re a blogger or an artist, you may be looking for the best way to display videos on your site.
A WordPress video gallery can help you showcase your work in a neat grid, though you might be wondering if it’s the right option for you, or how to get started.  For many indie creators, Gumroad represents a near-perfect platform. You have a captive audience and can set up an online marketplace with minimum fuss. However, a recent pricing change might be enticing you to seek out cheaper options - including WordPress. In this tutorial, we'll teach you how to switch from Gumroad to WordPress in four steps.
  Cross-posting on other websites can help boost your visibility. Plus, it's an effective way to collaborate with other bloggers or businesses in your niche. Therefore, you might be looking for an easy way to implement WordPress content syndication on your site. Fortunately, we've put together a complete guide to help you get started.